Do you know what tools are needed for removing tiles? According to statistics, most people do not choose the right tools when removing tiles. This not only makes them feel exhausted but also reduces work efficiency.
Now, let's comprehensively review the practical tile removal tools, so you no longer have to worry about this.
Table: Essential Tile Removal Tools by Project Scale
Tool Category | Tools | Best Used For |
|---|---|---|
Basic Tools | Hammer, Masonry Chisel, Grout Saw | Small-scale projects like kitchen backsplash |
Advanced Tools | Air Hammer, Demolition Fork, Jack Hammer, Electric Grout Scraper | Large-scale projects like floor replacements |
Pro Tools | Drill and Tile Drill Bit, Floor Scraper | Firmly fixed tiles or extensive adhesive removal |
Safety Equipment | Work Gloves, Safety Goggles, Knee Pads | Personal protection during tile removal |
Cleaning Equipment | Bucket, Wheelbarrow, Shovel, Vacuum | Post-removal cleanup |
How To Choose the Right Tile Removal Tool?
Purpose
First, you need to be clear about the structure of the tiles you are going to dismantle. For instance, if you just want to smash the tiles, then there's no need to prepare tools for removing grout or adhesive. Conversely, if you plan to replace the tiles with new ones, you might need to prepare tools like scrapers.
Scale
Next, you need to assess your work area. When you are only dismantling a small portion of tiles, you don't need too many tile removal tools. For example, when you are removing the tiles from a kitchen backsplash, often a hammer and a chisel will suffice.
>> See How to Remove Tile Backsplash
On the contrary, if you are planning to replace the tile flooring throughout your home, this will be a large project, and you may need tools for large-scale tile removal like a sledgehammer or demolition fork.
5 Recommended Basic Tile Removal Tools
1. Hammer
If I could only recommend one tool from all the options, I would choose the hammer. The hammer is definitely the choice for most people. It's not only affordable but also versatile. You might not even need to buy one specifically, as you surely have a handy hammer at home.
Here are two of the most common types of hammers:
- Mallet hammer
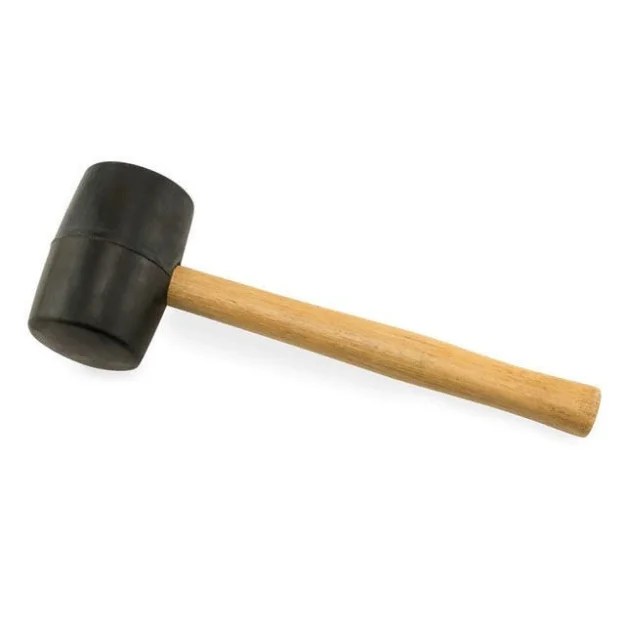
The mallet hammer is the most suitable for removing tiles. Its larger contact area makes it convenient for breaking tiles. More importantly, the mallet hammer works well with chisels, which is why professional tile workers prefer it.
- Claw hammer
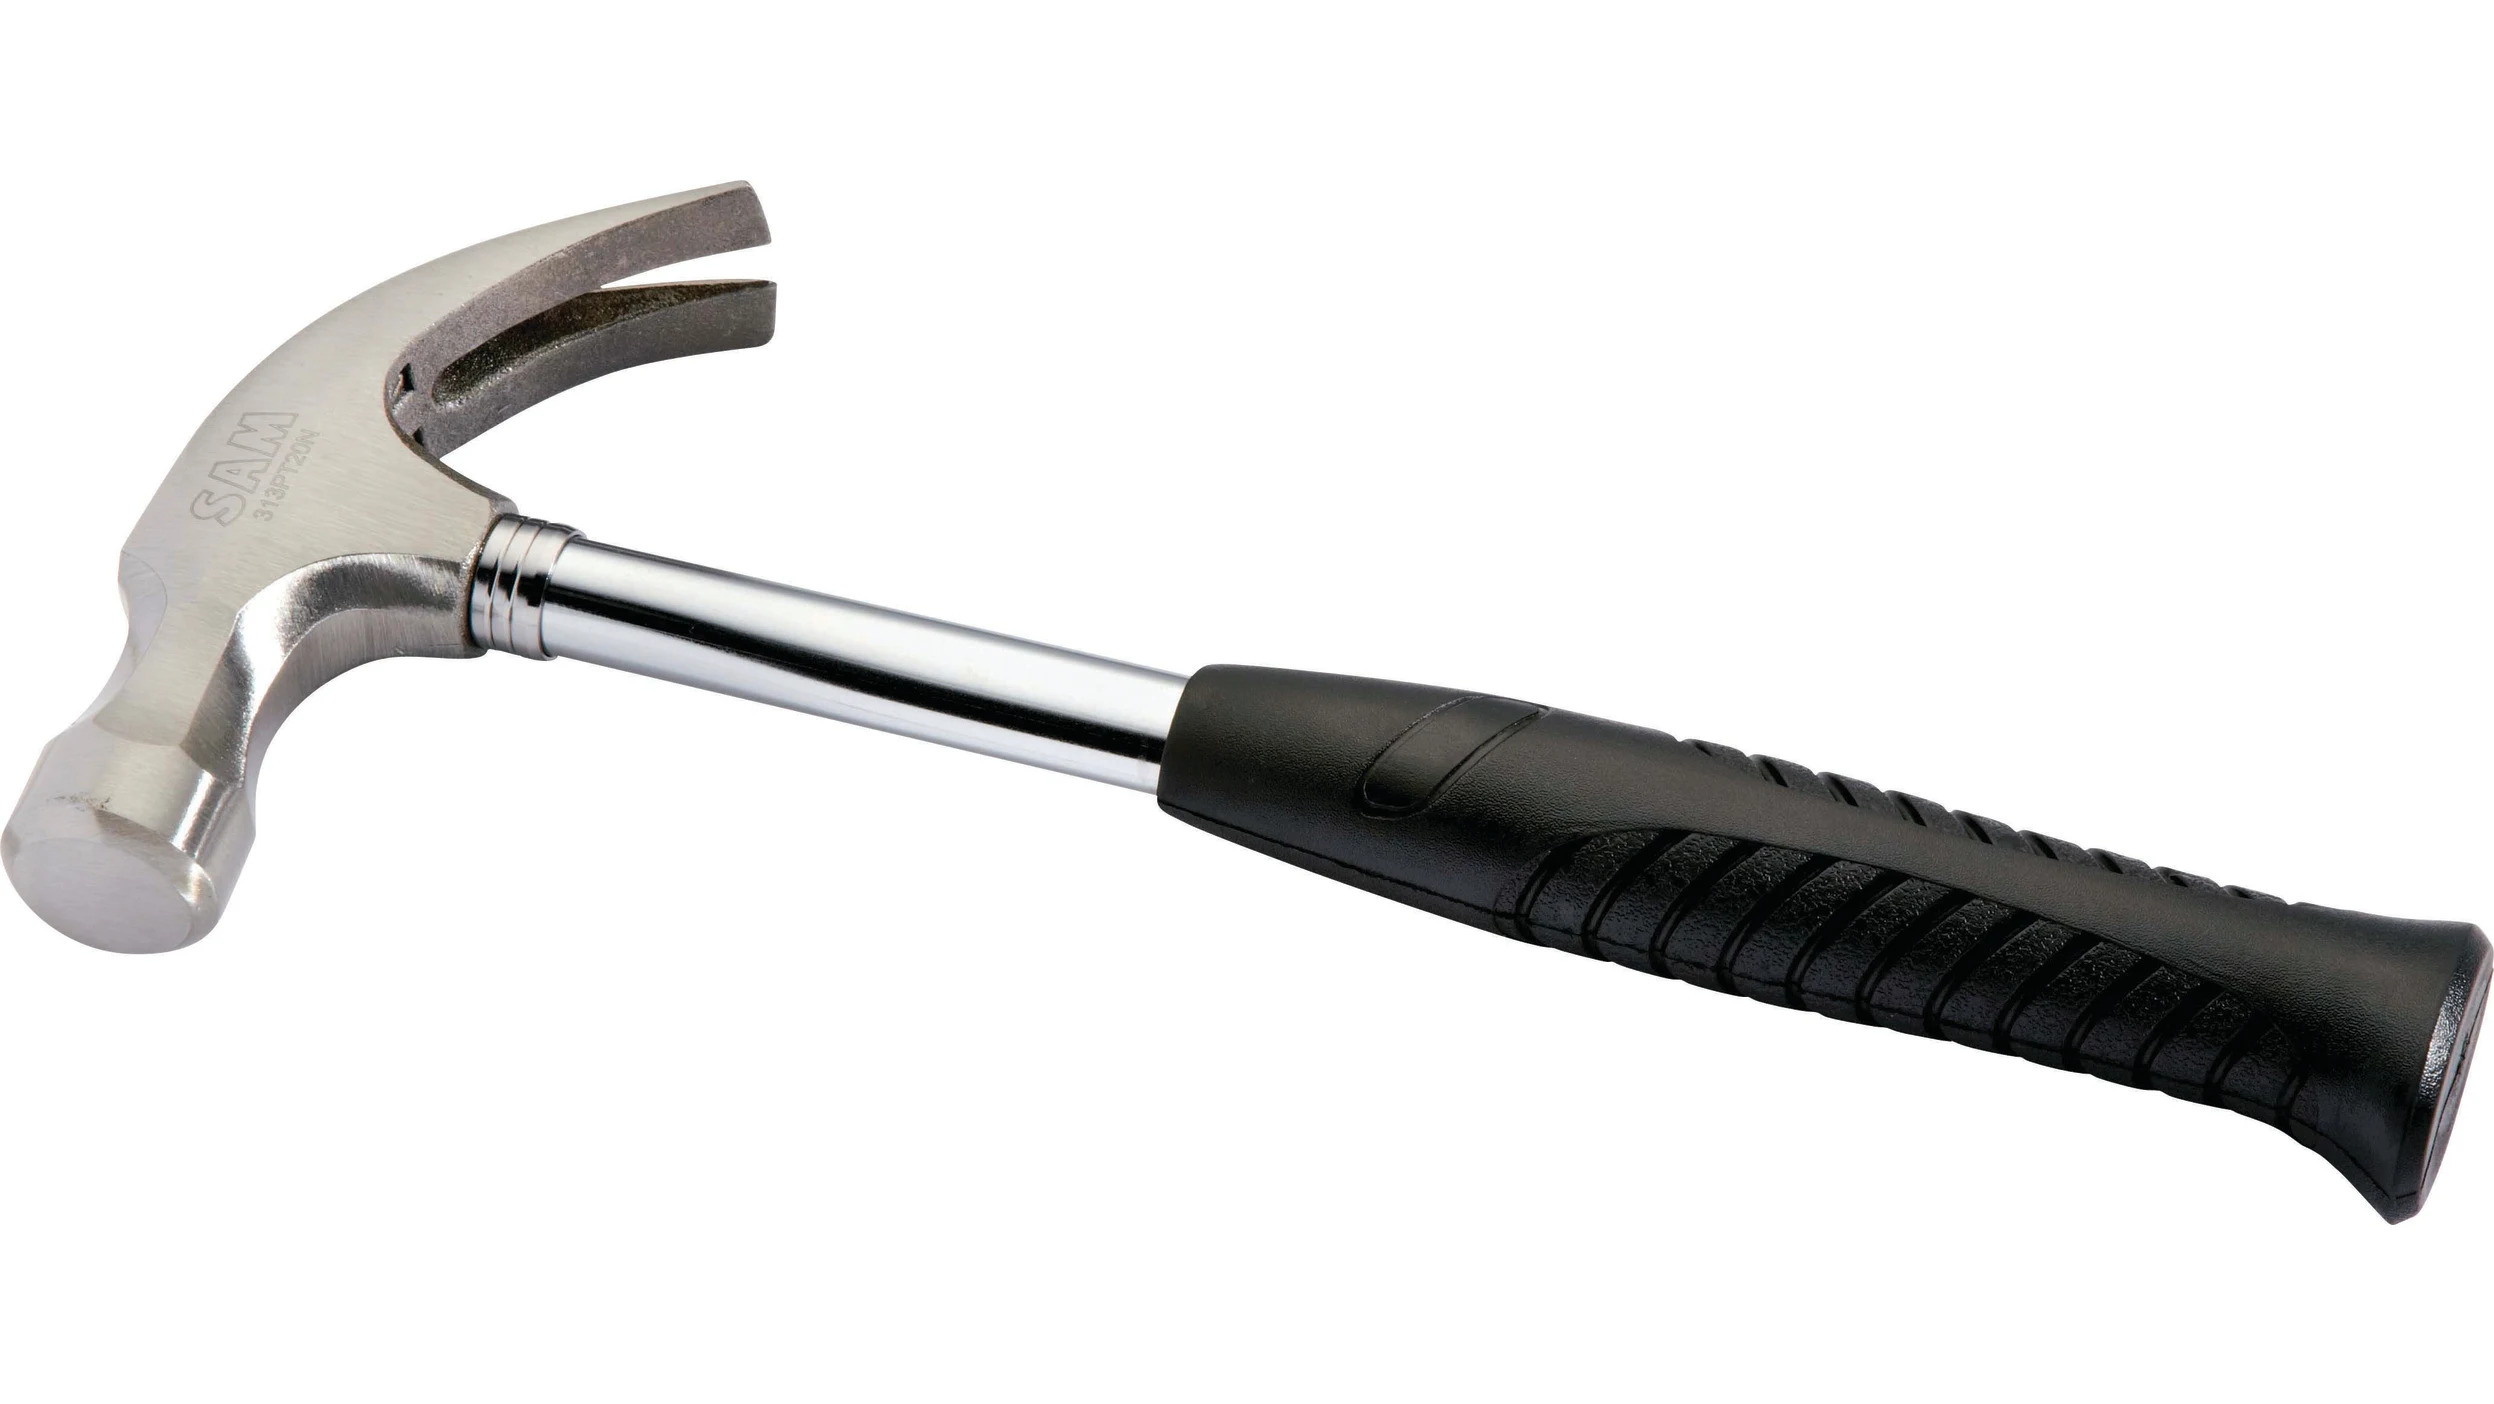
In contrast, the claw hammer has a smaller contact area and can be more troublesome when removing tiles. You might wonder, doesn't a smaller area of force mean greater pressure? Yes, but remember, tiles are very fragile. You don't need to apply force concentrated in one spot, so a mallet hammer is more useful than a claw hammer.
More importantly, it's hard to use a claw hammer with a chisel. You might accidentally hit your own hand.
However, this doesn't mean it has no advantages. The claw hammer is well-suited for use in tight workspaces, allowing you to precisely control your force.
2. Masonry Chisel
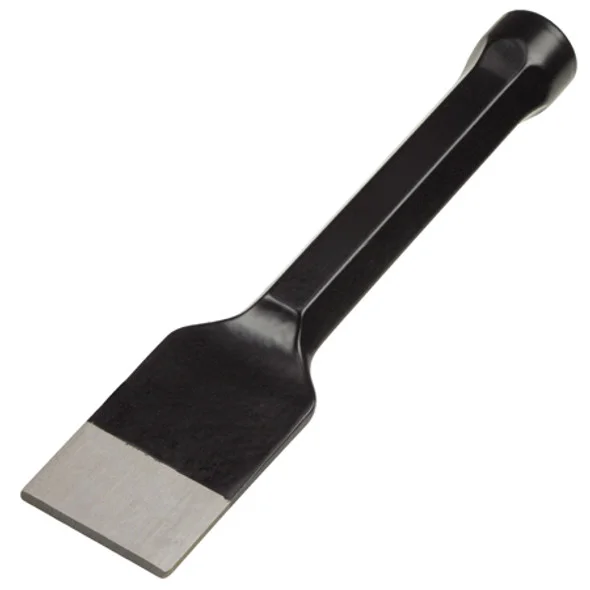
The chisel is very suitable for small-scale projects. With it, you can easily pry up tiles in narrow spaces or corners. Additionally, the chisel can be used to remove residual adhesive and grout.
Generally, I don't recommend using it alone. You should find a hammer to strike the end of the chisel's handle. This will greatly save your effort.
3. SledgeHammer
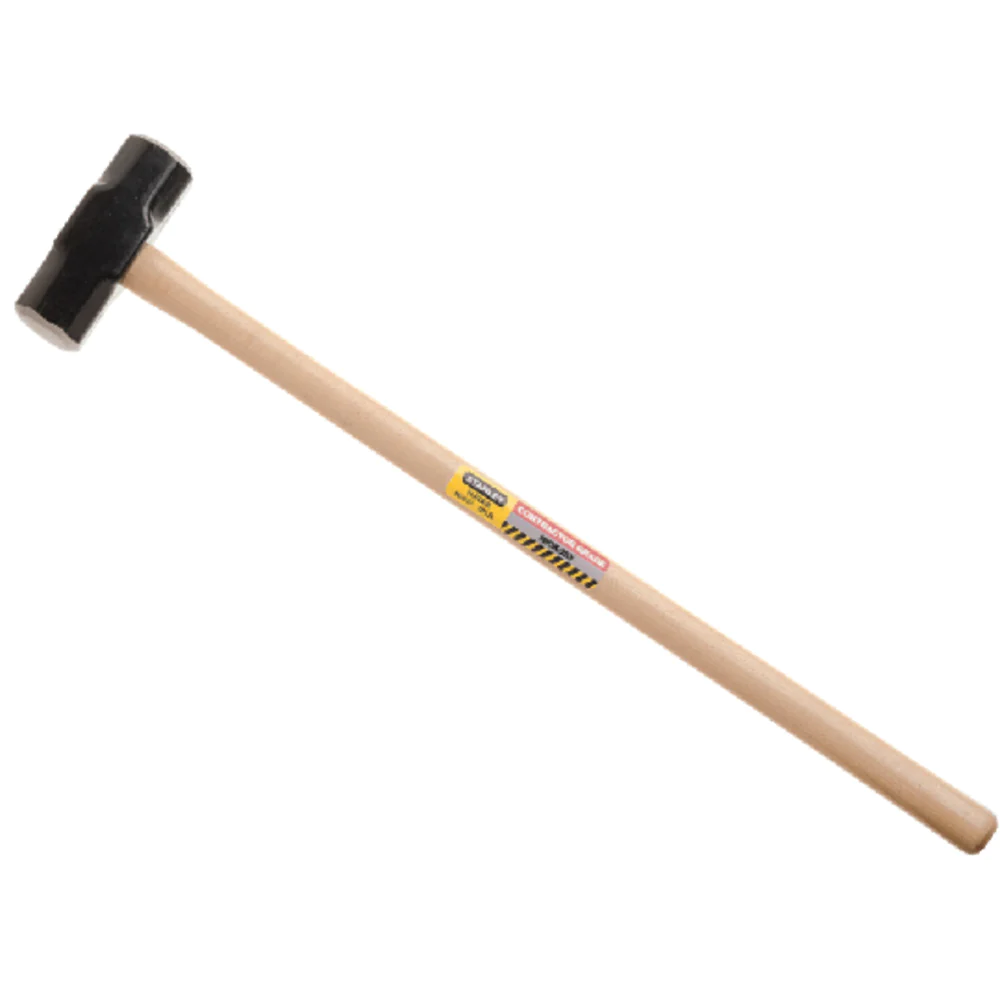
Working on a large-scale demolition? Then you should switch to a larger hammer. A sledgehammer has more destructive power, and its long wooden handle acts as a lever. Just hold the end and swing it to easily smash the floor tiles.
Be mindful to ensure that your work environment has enough space to prevent damage to surrounding objects. It's not recommended to use it in small spaces like bathrooms.
4. Grout Saw

A grout saw is a tool specifically designed for removing the grout between tiles. If you find it troublesome to remove grout with a chisel, consider purchasing a grout saw. It offers a more comfortable experience than a chisel, thanks to its effort-saving design.
Additionally, it's more efficient in removing grout.
5. PRY BAR
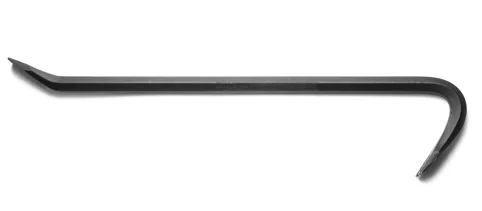
A pry bar is actually not commonly used and is mentioned here only as an additional option. It's needed only for prying up very firmly attached tiles. Also, using it requires a lot of effort. Sometimes you may find that your hands feel tired and sore before you've removed many tiles.
6 Pro Tile Removal Tools To Remove Easier
If the basic tools above do not meet your needs, consider trying these six advanced tools. Don't worry, you don't need to be a professional to use them. With the help of the instruction manual, you can master the techniques.
Another reason I call them pro tile removal tools is that many households do not have these devices. Additionally, some of the tools are quite expensive.
1. Air Hammer

An air hammer generates pneumatic power through compressed air. You just need to press the trigger to easily break the tiles. Even in the face of very hard adhesives and grout, the air hammer can accomplish the task excellently.
Moreover, air hammers are generally equipped with several different types of chisels, so you can break tiles or grout faster in various scenarios.
2. Drill and Tile Drill Bit
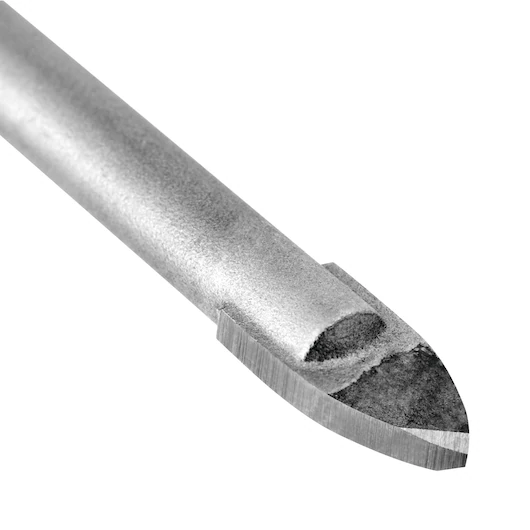
To remove firmly fixed tiles, you can also use a drill with a tile drill bit installed. This tile drill bit is designed for drilling holes in tiles, but it can also damage the internal structure of the tile. Drilling holes in the tightest parts can help you remove the entire tile to some extent.
3. Floor Scraper
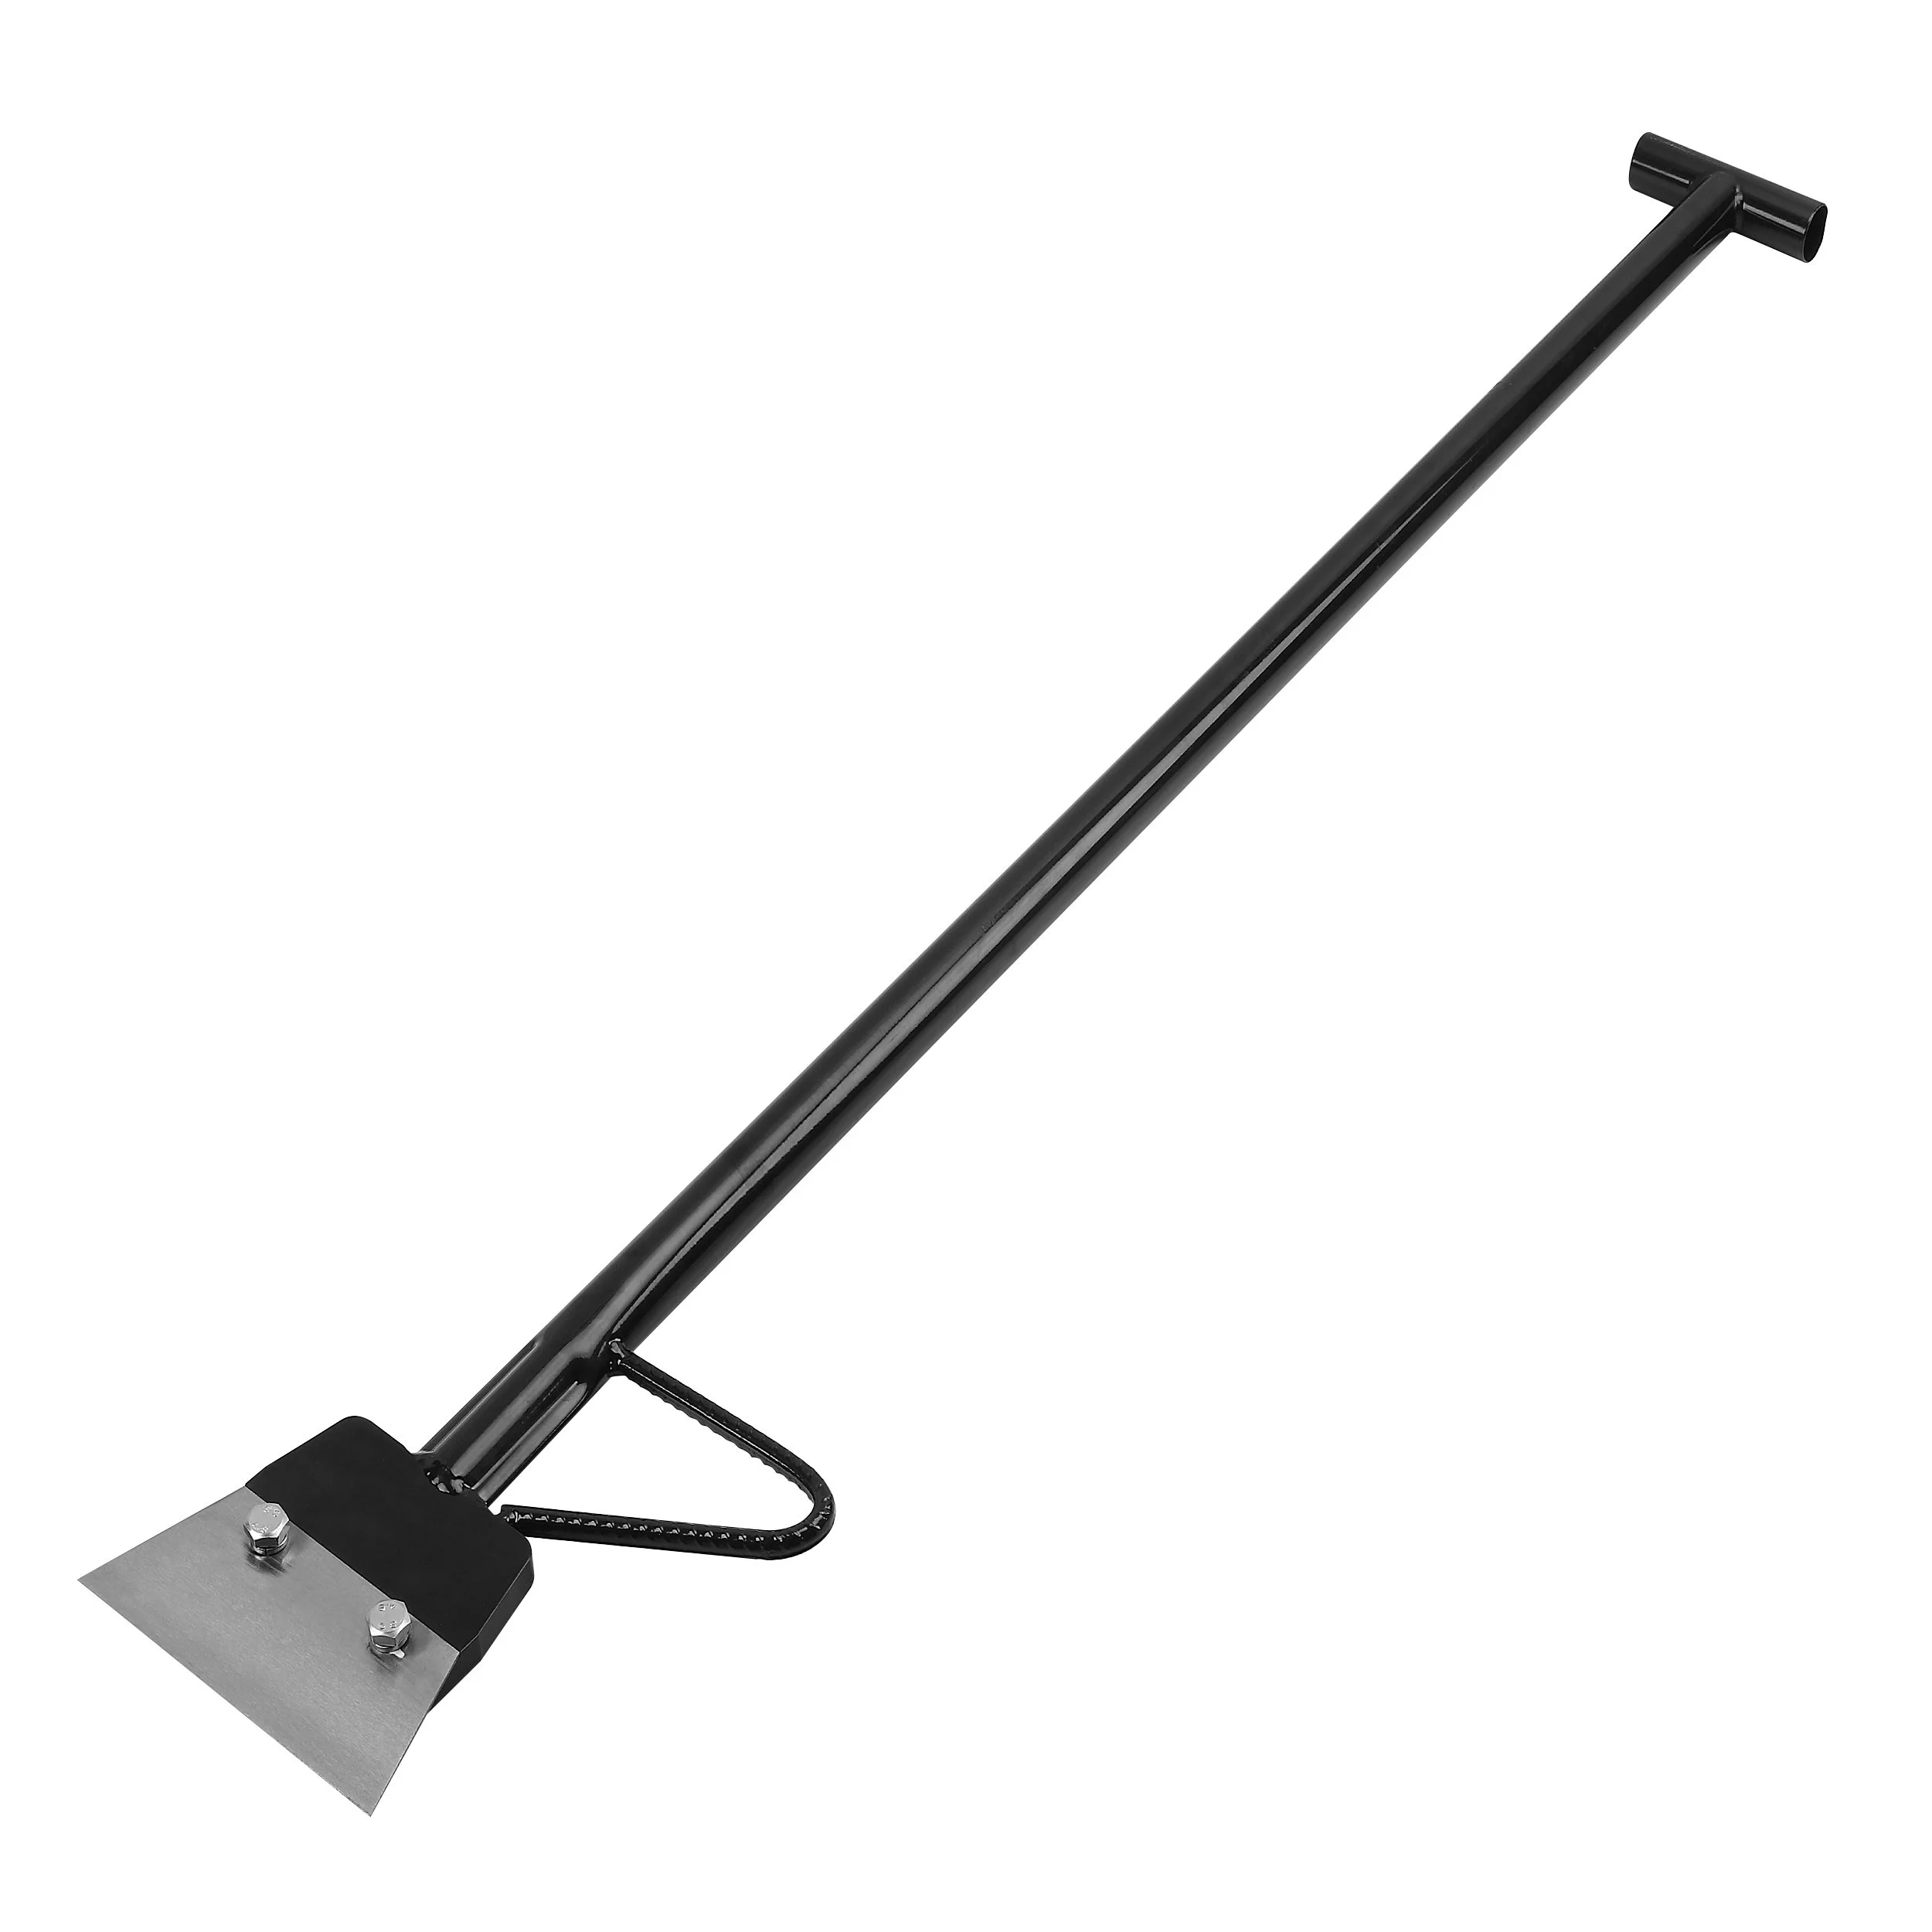
A floor scraper has a smooth blade and is specially used to remove various adhesives, wood panels, and tiles from the floor. You can remove all the tiles from the floor like cleaning a bathroom. This is under the premise that the tiles you installed are relatively thin and you did not use a lot of adhesive. A floor scraper is not suitable for removing tiles that are firmly fixed to the floor.
Additionally, there's another benefit of using a floor scraper. It can remove the tiles without damaging your wooden subfloor or concrete subfloor.
4. Demolition Fork
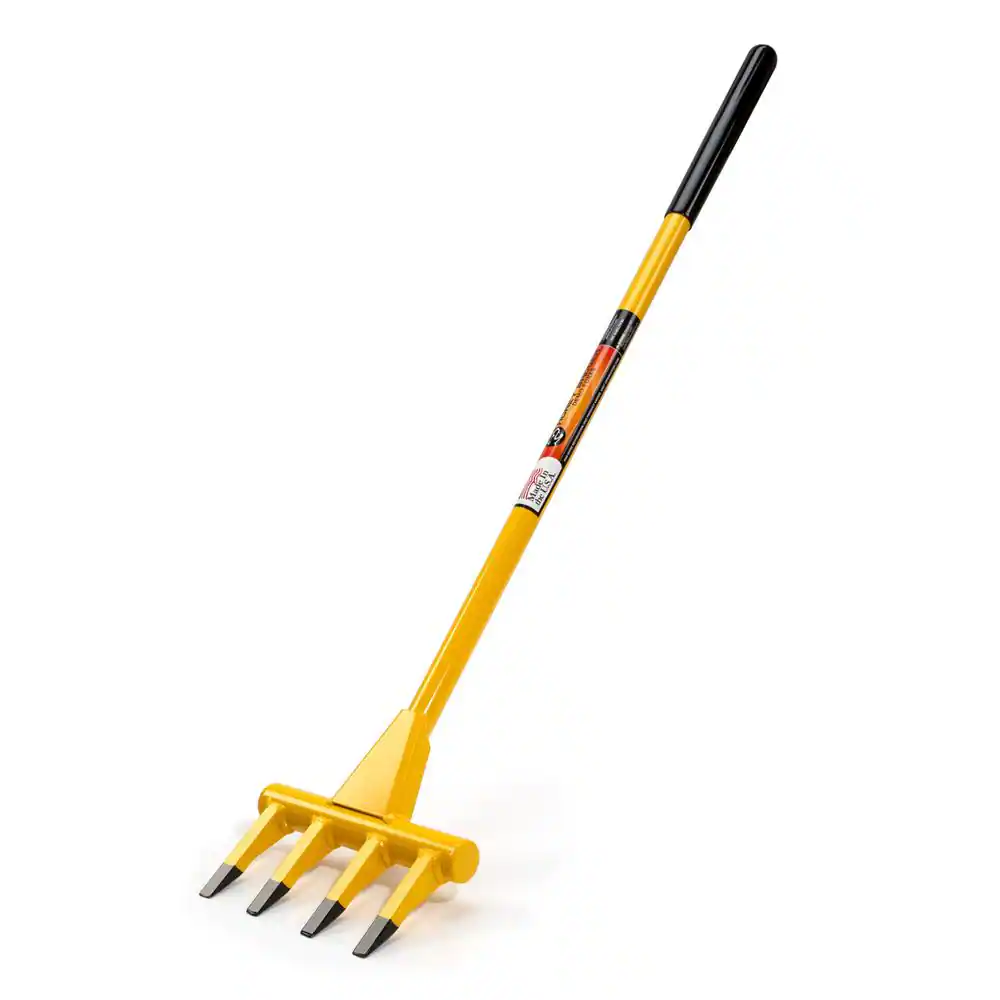
The demolition fork looks similar to a floor scraper, but their uses are completely different. A demolition fork allows you to easily pry up tiles that are adhering tightly to the floor.
Compared to other tile removal tools, the demolition fork is more like a professional demolition tool. You need to insert the fork part between the tile and the floor. The demolition fork will damage the grout during insertion.
Then, just apply upward force, and the tile will be dug out in one piece.
In fact, the working method of the demolition fork is similar to that of a pry bar. But it's more efficient and causes less damage to your hands.
However, it still requires a lot of effort.
5. Jack Hammer

A Jack hammer is a better alternative to an air hammer. It is more efficient, capable of quickly removing large areas of tiles, and also saves more effort.
Note: Due to the powerful destructive force of the Jack hammer, please consider carefully when choosing to use it. If not careful, you may damage the subfloor beneath the tile underlayment. I suggest trying it after thoroughly learning how to use it.
6. Electric Grout Scraper

If you find the efficiency of a manual grout scraper too low, there is also an electric version available.
This is an electric grout scraper that can remove grout without damaging the tiles. Moreover, its precision is much higher than that of a manual grout scraper.
4 Personal Protective Equipment You will Need
Removing tiles is not just about the tiles themselves, but also about your personal safety. Safety in construction is always the most important topic. Even when removing tiles at home, please be sure to take protective measures to avoid injury.
1. Work Gloves

I understand that many people are reluctant to wear work gloves because they interfere with handling tools.
But trust me, they can effectively protect your hands, especially when using tools that require a lot of strength, like a pry bar.
Moreover, gloves can increase friction between your hands and the tools, providing better grip, which can help you control the tile removal tools effectively.
If you don't want your hands to get blistered or cut by tile fragments, be sure to prepare a pair of work gloves.
2. Safety Goggles

If wearing work gloves is to protect your hands' skin, then safety goggles are to protect your life.
When removing tiles, a lot of fragments will splash. If these fragments enter your eyes, they can cause very serious consequences.
3. Wrist Brace
Wrist guards are an optional choice. They are part of safety in construction, but in general home tasks, not wearing wrist guards won't have much impact.
Wrist guards mainly protect the muscles in your hands, especially during long hours of work, and they can also make you feel less fatigued.
4. Knee Pads
When using a hammer and chisel, you might kneel on the ground to remove tiles.
Over time, it will severely damage your knee health. Intense pain will make you want to rest, which also affects your overall work efficiency.
4 Cleaning Equipment After Removing Tiles
1. Bucket
In many renovation plans, the bucket is the most easily overlooked item. When you are frustrated with the mess of broken tiles or grout, a bucket is definitely your best helper. It's extremely affordable, and every household usually has some buckets.
2. Wheelbarrow
A wheelbarrow is mainly used in conjunction with buckets. When the bucket is filled with tile fragments, the wheelbarrow can efficiently clear away this waste.
Considering not every household has a wheelbarrow, you can choose to use it based on your situation.
3. Shovel
Nothing is more effective than using a shovel to clear floor debris. The shovel can help you quickly collect most of the tile fragments into the bucket.
4. Vacuum
A vacuum cleaner is suitable for small-scale tile removal projects, such as removing tiles from a backsplash. It can quickly suck up various dust, tile fragments, and broken grout from the surface.
Its only drawback might be the price, which is relatively expensive. If you are on a budget, using a rag is also a good choice.
Understand the Key to Improving Efficiency
Now, I believe you already know how to choose the right tile removal tool. Remember to make choices based on your purpose and the scale of the removal, and stay within your budget. Removing tiles is not an especially difficult task, even if you only have a hammer and a chisel.
If you have more tools you want to learn about, feel free to contact us.
FAQ ABOUT Tile Removal Tool
What is the best tool for removing tile?
The best tool for removing tile can depend on the size of the project and the type of tile. For smaller projects, a chisel and a hammer, such as a mallet hammer or a claw hammer, can be effective.
For larger projects or for more efficient tile removal, power tools are often recommended. An electric jackhammer is highly recommended by professionals for its ability to effortlessly break up and remove tiles.
How do you remove tile with a chisel?
To remove tile with a chisel, follow these steps:
- Safety First: Wear safety glasses and gloves to protect yourself from sharp tile shards.
- Identify a Starting Point: If there's no loose tile, create a starting point by breaking the grout with a hammer and chisel.
- Break the Tile: For a difficult tile, strike the center with a center punch. The tile will start to break up. Place a cold chisel on the diagonal near the center and strike it with a hammer. Repeat this along both diagonals until you can remove all tile pieces.
- Pry Up the Tile: After breaking the tile, use the chisel to pry up the pieces. If the tile is stubborn, score it diagonally, creating an "X." Continue to score until it's about a 1/16th of an inch deep. Then, place a chisel along the score and hit it with a hammer. This should help break up the tile.
- Remove the Remaining Tiles: Once you've removed enough tiles, you can switch to a long-handled floor scraper or air hammer with a chisel set to remove the rest of the tile.
Remember, the process can vary depending on the type of tile and the underlayment. Always proceed with caution to avoid damaging the subfloor.


