How to Use Tile Leveling System on Walls

  • Home
  • >
  • Blog
  • >
  • How to Use Tile Leveling System on Walls
Published Time: December 2, 2024

Last updated on December 2, 2024

Installing ceramic tiles on walls can be a cumbersome task. Tile leveling systems help tiles to be aligned and evenly spaced. This article will guide you through using a tile leveling system.
Understanding Tile Leveling Systems

Understanding Tile Leveling Systems

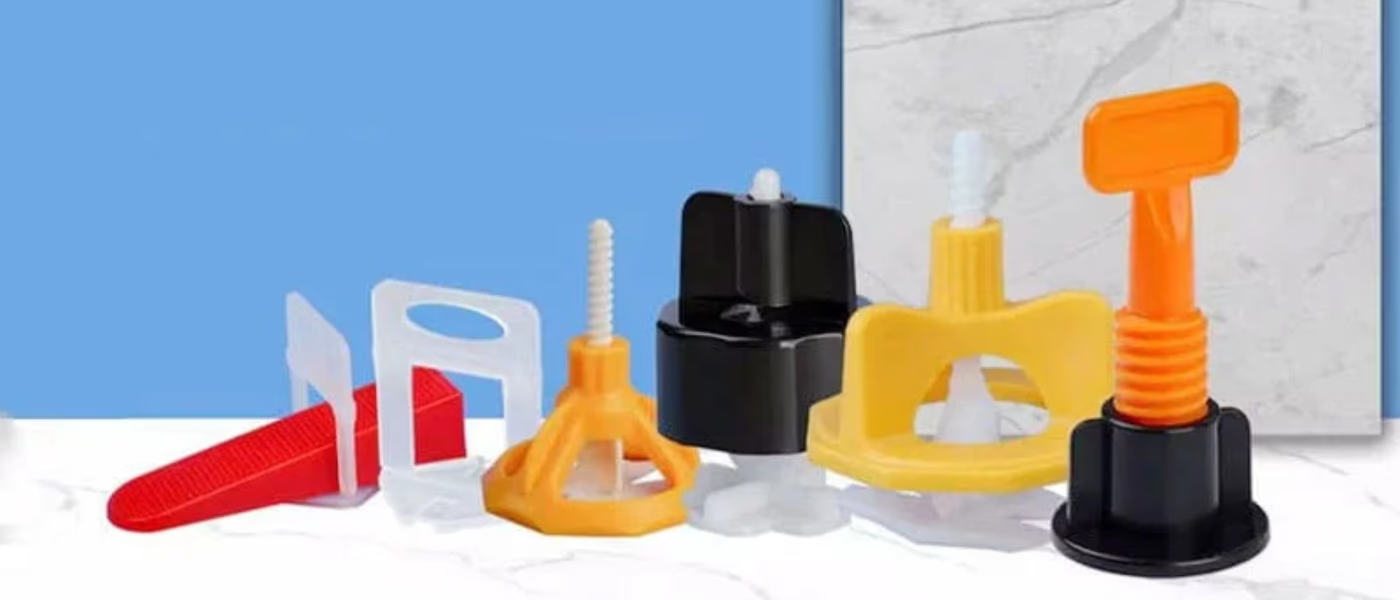
A tile leveling system is a tool designed to ensure consistent height differences between adjacent tiles. These systems usually consist of three main components: leveling clamps, wedges, and sometimes pliers.

Benefits of Using a Tile Leveling System
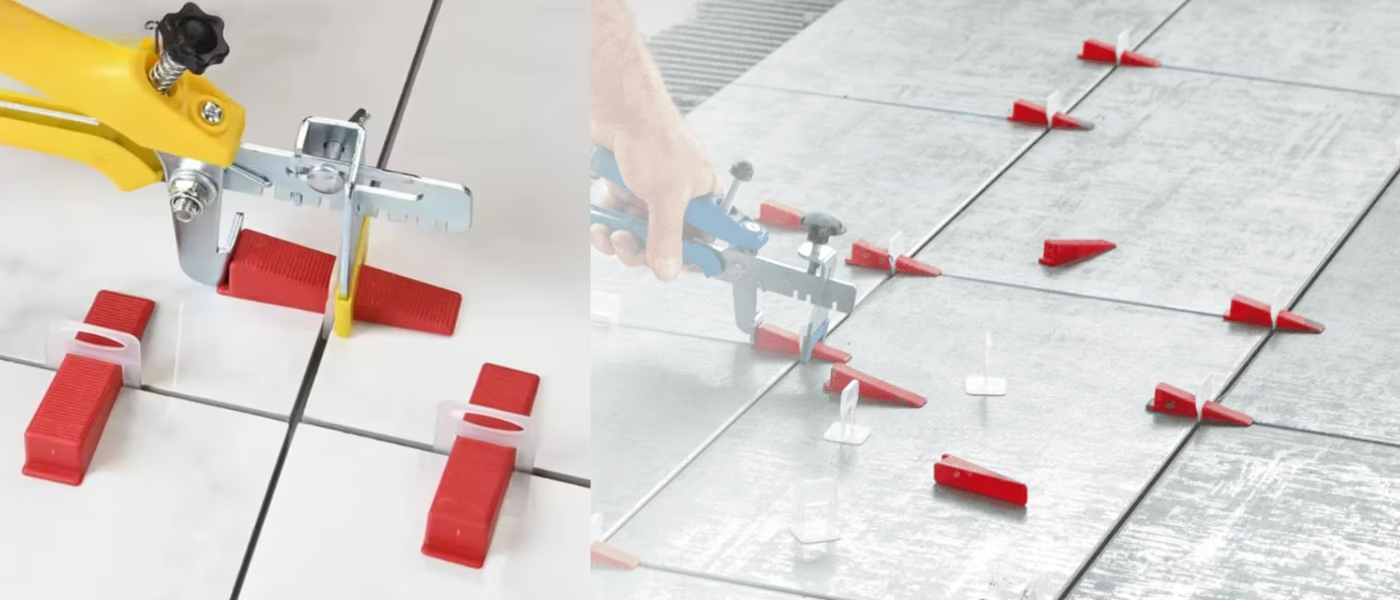
  • Prevention of Lippage: The tile leveling system can effectively eliminate the tilt that occurs when adjacent tiles are not flush. Because adjacent large-sized tiles may form height differences during the installation process, resulting in uneven surfaces.
  • Time Efficiency: These systems reduce the time required for adjustments during installation. With clear markings displayed by clamps and wedges, installers can quickly correct uneven tiles without the need for extensive inspections.
Benefits of Using a Tile Leveling System
  • Consistent Grout Lines: A leveling system maintains even grout lines between tiles. This gives the overall look a neat and clean look.
  • Versatility: These systems can be used on various tile types and sizes, including porcelain, ceramic, and stone. They accommodate different thicknesses and formats, making them suitable for a wide range of projects.
  • Prevention of Tile Movement: During the curing process of the adhesive, the tiles may move if not properly supported. Tile leveling systems hold tiles in place and prevent them from collapsing.

Step-by-Step Guide to Installation

  • 1. Prepare the Surface: Make sure the walls are clean, dry, and smooth. Remove any old plaster, adhesive or debris that may affect adhesion.
1. Prepare the Surface
  • 2. Gather Your Materials: Gather all the necessary materials: tiles, thin mortar, leveling clamps, wedges, shims, and tools such as a serrated trowel and leveling pliers.
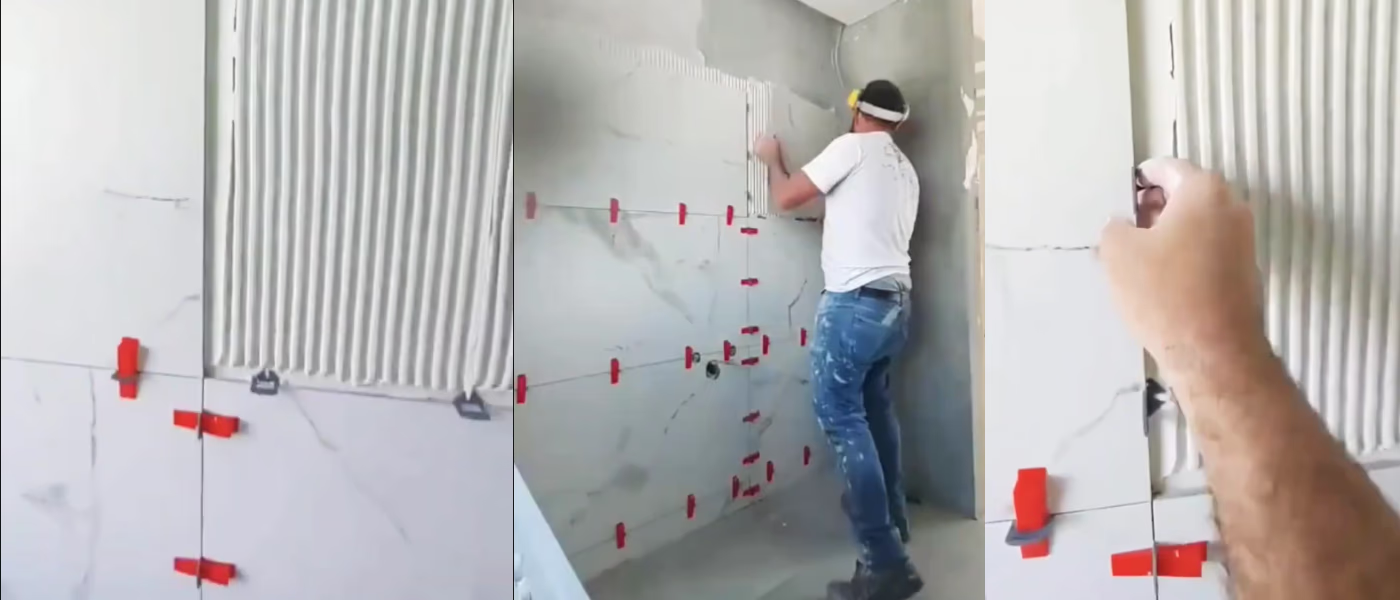
  • 3. Apply Mortar: Mix thin mortar according to instructions. Apply an even layer of mortar to the wall. Work in sections, covering an area that allows you to lay 2-3 tiles at a time.
  • 4. Set the First Tile: Place the first tile onto the mortar, aligning it with your reference lines. Press down firmly to ensure good contact with the adhesive.
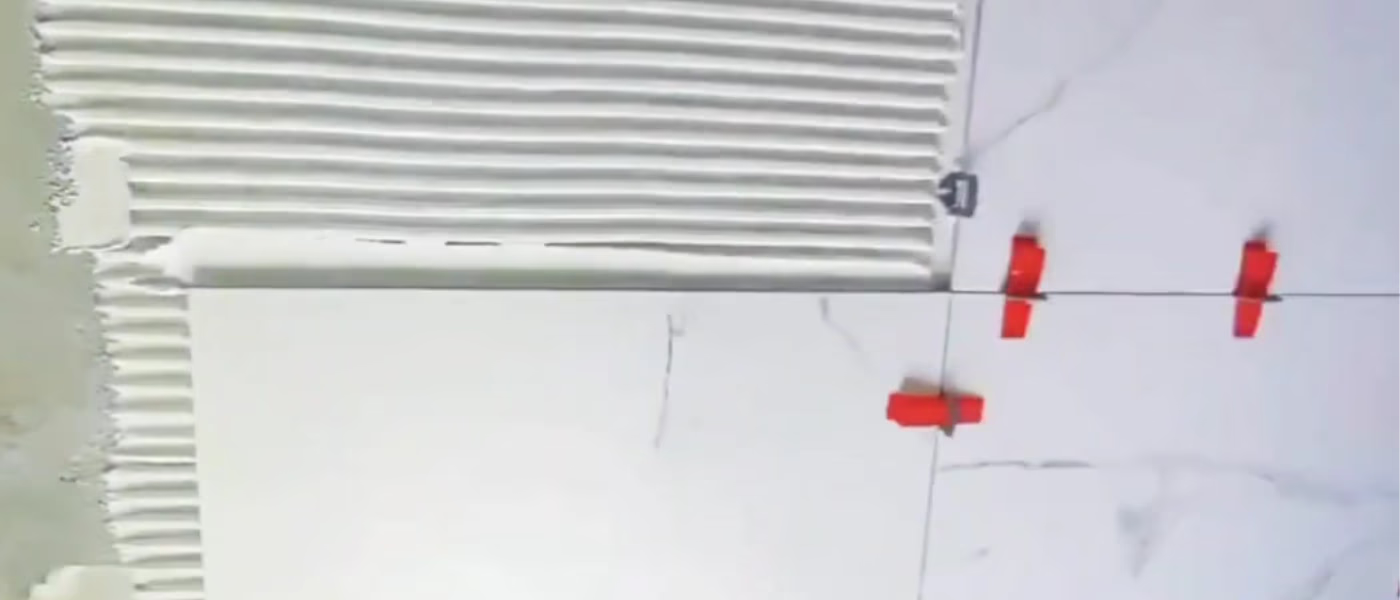
  • 5. Insert Leveling Clips: Insert two or more leveling clips under one edge of the tile. Position them about 2-3 inches from each corner for stability. Ensure that the clips are flush with the tile surface.
Apply Mortar,Set the First Tile,Insert Leveling Clips
  • 6. Place Adjacent Tiles: Install the next tile next to the first tile, making sure it is snug against the clamps.
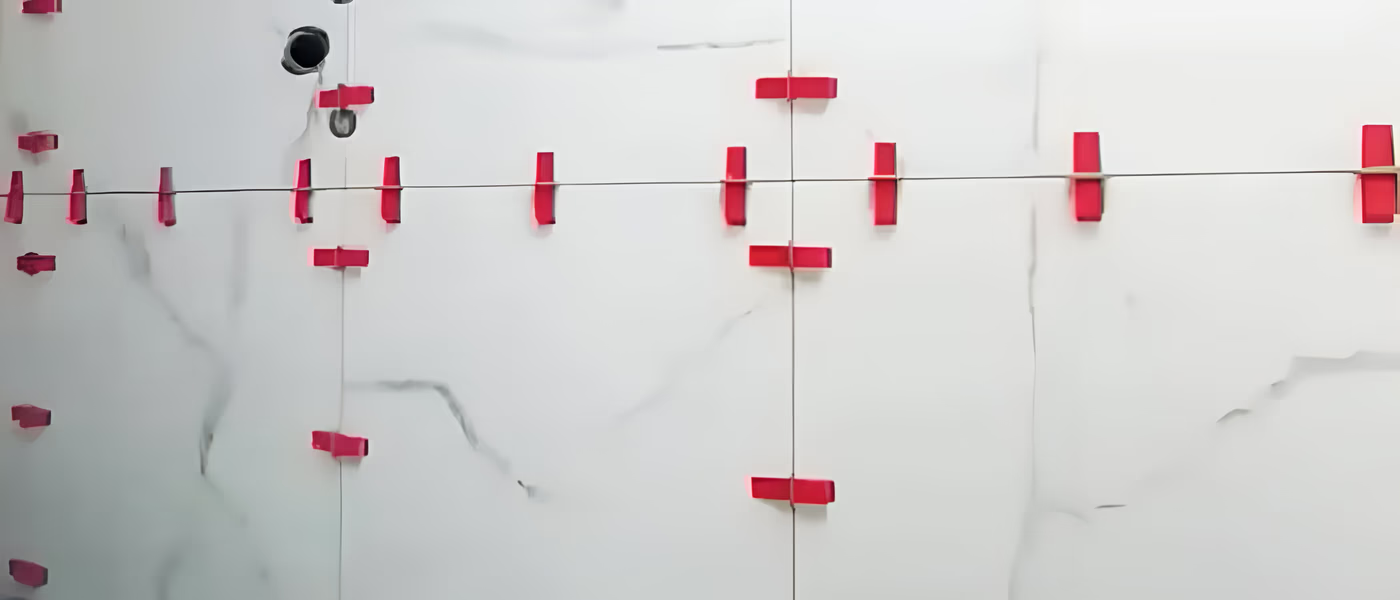
  • 7. Insert Wedges: Take a leveling wedge and insert it into each clip until it clicks into place. Use leveling pliers to tighten the wedge gently, bringing the tiles into alignment. Be careful not to over-tighten, as this can damage the clips.
  • 8. Continue Laying Tiles: Repeat steps 4 through 7 for each subsequent tile, maintaining consistent spacing with clips and wedges throughout your installation.
  • 9. Check for Levelness: Regularly check that tiles are level as you work by using a spirit level. Adjust as needed by loosening or tightening wedges.
  • 10. Allow Adhesive to Set: After laying all tiles, allow the adhesive to cure according to manufacturer instructions, typically 24-48 hours.
Allow Adhesive to Set
  • 11. Remove Clips and Wedges: After the adhesive sets, tap the leveling clips along the grout line with a rubber mallet or carefully unscrew the leveling clips by hand. Wedges are reused.
  • 12. Grouting: After removing the clips and wedges, mix and apply grout according to instructions. Use a rubber float to press grout into the joints and wipe away excess with a damp sponge.

FAQs about Using Tile Leveling System on Walls

What is a tile leveling system and how does it work?

A tile leveling system consists of clips and wedges that help keep tiles flat and aligned during installation. The clips are placed under the tiles, while wedges fit into the clips to adjust the height, preventing lippage and ensuring a smooth surface.

What are the main benefits of using a tile leveling system for wall installations?

The primary benefits include preventing lippage, ensuring consistent grout lines, saving time during installation, and making the process easier for both DIYers and professionals. This system enhances the overall appearance of the tiled surface.

Can I use a tile leveling system with any type of tile?

Yes, tile leveling systems can be used with various types of tiles, including ceramic, porcelain, and stone. They are versatile and can accommodate different tile sizes and thicknesses.

How do I properly install tiles using a leveling system?

Start by preparing the wall surface and applying thinset mortar. Place your first tile with clips underneath, insert wedges to level it, and continue laying tiles while maintaining consistent spacing. Follow the step-by-step guide in the article for detailed instructions.

What should I do after installing tiles with a leveling system?

After installation, allow the adhesive to cure before removing clips and wedges. Clean any excess mortar, apply grout to fill joints, and let it cure as well. Optionally, seal the grout for added protection against stains and moisture.

Unlock Your Project's Potential with Foshan Awisdom Metal

At Foshan Awisdom Metal, we pride ourselves on our years of expertise in supplying the Philippine market with premium building material accessories products. Our commitment extends beyond just offering high-quality items. We specialize in customization to meet your specific project needs. 

With the convenience of DDP (Delivered Duty Paid) services, we ensure a seamless delivery right to your doorstep. We invite dealers and engineers to discover the difference that comes with choosing Foshan Awisdom Metal. Start transforming your spaces today by requesting a quote.

Get In Touch

Do not hesitate to reach out. Just fill in the contact form here and we’ll be sure to reply as fast as possible.

State your needs

Please let us know your needs and questions, we have professional staff to provide services for you

Tell your grievances

Whether it is because of our product quality problems or service problems, you can contact us at any time and we will solve your dissatisfaction in a timely manner.

Visit us

Office Address: 9F, Jinhai Plaza, No. 21, Jihua 5th Road, Foshan, Guangdong, China

Factory Address: No. 26, Mashe Guihe Road, Mashe Section, Lishui Town, Nanhai District, Foshan, Guangdong, China

Name *
Phone/Whatsapp
Email Address *
Messages *
0 of 350