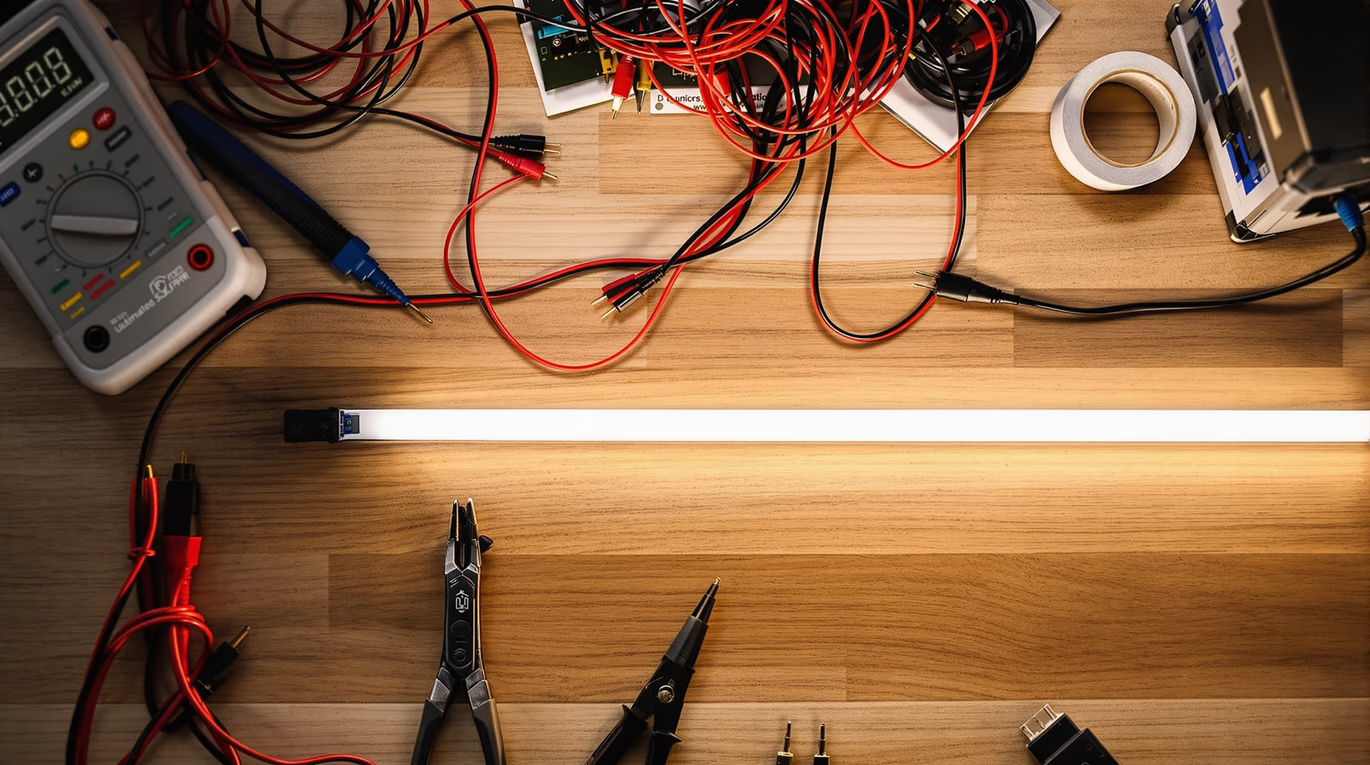
A shocking statistic reveals that 60% of DIY LED installations fail within their first year. The lights themselves rarely cause these failures. Poor wiring choices lead to most problems.
Beautiful LED installations catch everyone's attention on social media and in modern homes. These setups look spectacular when installed correctly. The wiring process might seem daunting to beginners. Selecting power supplies and understanding voltage needs can overwhelm new installers.
The reality is much simpler than it appears. LED wiring becomes straightforward once you grasp the fundamentals. Your installations can look professional and last years with proper knowledge of LED systems.
Want to master LED wiring techniques? This piece covers everything from core components to sophisticated wiring setups. Your journey to successful LED installation starts here!
Essential Components of LED Systems
The LED lighting system's wiring process requires understanding its components first. This knowledge helps you avoid installation mistakes and ensures reliable operation of your LED setup.
Power Supplies and Drivers
The power supply and driver combination acts as your LED system's foundation. LED drivers play a vital role because they convert your home's AC power to the low-voltage DC that LEDs need. They work like translators between your wall outlet and LED lights.
LED drivers come in two main types:
Controllers and Dimmers
LED lighting systems need controllers that give you complete command. A quality LED controller functions as your central hub and manages:
Your controller must be compatible with your specific LED type. RGB LED strips need controllers that can manage multiple color channels.
Connectors and Cables
A reliable LED installation depends on proper connections and wiring. Here's what matters:
Wire gage selection depends on:
18-22 AWG wire works well for most residential LED installations running at 12V or 24V. Longer runs or higher current applications might need thicker gage wire to prevent voltage drop.
These connector types are common:
Outdoor installations need waterproof connectors rated at least IP65 to protect against moisture and dust.
Power Supply Requirements
The success of your LED installation depends significantly on choosing the right power supply. Let's explore the essential requirements that will keep your LED system running reliably and safely.
Voltage Considerations
LEDs need specific low-voltage DC power to work properly, typically between 12-24V DC. Most homes supply 120-277V AC power. You'll need a power supply that can optimize the conversion of your home's AC power to the correct DC voltage for your LEDs because of this difference.
Your LED installation needs to account for these voltage factors:
Current Calculations
The total current draw of your LED system determines your power supply needs. Here's the quickest way to calculate it:
- Calculate total wattage (LED quantity × watts per LED)
- Add 20% buffer for safety margin
- Divide total watts by voltage to determine current
- Factor in power supply efficiency (target 80% or higher)
The math works like this: LED strips that draw 3.5 watts per foot over 22 feet need 77 watts of power. With the 20% buffer, you'll need 92.4 watts.
Choosing the Right Power Supply
Technical requirements and practical considerations should guide your power supply selection. LED drivers come in two main types: constant-current and constant-voltage designs. Constant-current drivers provide precise current control, making them more reliable for LED applications.
Key Selection Criteria:
LED drivers need good ventilation to avoid overheating. Poor airflow can cause components to fail and reduce lifespan. Outdoor installations need power supplies with appropriate IP ratings that protect against moisture and dust.
Connection Methods and Techniques
LED light connections need the right method to ensure reliable installations that won't fail. Let's look at your options to create lasting connections that work.
Soldering vs Connectors
Your specific needs usually determine the choice between soldering and connectors. Soldering creates permanent connections that resist wear and tear, making them perfect for outdoor installations or high-power setups. Solderless connectors are a great way to get quick installation and easy modifications, which works best for indoor projects that might need future changes.
Pros of Soldering:
Pros of Solderless Connectors:
Wire Gage Selection
Wire gage choice affects your LED system's performance and safety directly. 18-22 AWG wire works well for most residential LED installations running at 12V or 24V. Longer runs need thicker gage wire to prevent voltage drop.
These guidelines help with wire gage selection:
- Calculate total current draw
- Measure wire run length
- Think about environmental factors
- Add 20% safety margin
Outdoor installations might need increased wire gage requirements because of voltage drop over distance. A 14 AWG wire works for runs up to 50 feet, while 12 AWG becomes necessary for longer distances.
Making Secure Connections
Reliable connections start with proper preparation. Clean connections ensure long-term reliability whether you use solder or connectors. Heat shrink tubing protects soldered connections against moisture and prevents short circuits.
Important Safety Tips:
Solderless connectors must match your wire gage and current requirements. Connection failures usually happen because of mismatched connector sizes or low-quality components. LED strip lights need connectors designed for your specific strip type to ensure proper contact and secure fit.
Parallel connections distribute voltage evenly across multiple LEDs, while series connections split the voltage between components. Your power supply configuration and desired lighting effect should guide your connection method choice.
Advanced Wiring Configurations
LED installation can go from simple to brilliant with advanced wiring configurations. Let's dive into sophisticated wiring techniques that create more complex and efficient lighting setups.
Parallel vs Series Wiring
Larger LED installations require a choice between parallel and series configurations - or sometimes both. Series circuits receive the same current through each LED, which gives consistent brightness across your installation. Parallel circuits share voltage across components while dividing the current.
Key differences between configurations:
Multiple Power Supplies
Longer LED runs might need multiple power supplies. This approach helps curb voltage drop and gives consistent brightness across your entire installation. Multiple power supplies require you to:
- Calculate voltage drop across your installation
- Position power supplies strategically
- Connect grounds properly to prevent interference
- Maintain consistent voltage levels
Note that connecting the grounds of your power supplies creates a common reference point. This prevents unwanted voltage differences that could cause flickering or irregular behavior.
Zoning and Sectioning
Your LED installation becomes easier to control and maintain by breaking it into zones. Proper zoning lets you:
Physical layout and functional requirements should guide your zoning decisions. You might want separate zones for task lighting versus ambient lighting, or split a large space into manageable sections for better control.
Pro Tip:
Complex zoning setups work best with a centrally networked control system. This enables sophisticated automation while you retain control.
Wire gage selection plays a crucial role in advanced configurations. For 12V systems running 1 amp, 18 AWG wire works well for runs up to 20 feet. Longer distances or higher current draws need thicker gage wire.
Voltage drop increases with distance, so keep a close eye on power distribution across zones. Larger installations benefit from 24V systems instead of 12V - they handle voltage drop better over longer distances and allow more LEDs in series configurations.
Troubleshooting and Maintenance
LED installations can develop problems over time, even with perfect planning. You can keep your lighting system performing at its best by learning to spot and fix common issues.
Diagnosing Common Issues
A systematic approach helps identify the root cause when LED lights malfunction. A digital multimeter proves invaluable to test LED lights and provides clear readings of light strength.
These common symptoms help with quick diagnosis:
Testing and Repair
Your testing process should begin with these steps:
- Check power supply output voltage using a multimeter
- Inspect all connections for loose or corroded wires
- Test LED strips section by section to isolate problems
- Verify dimmer compatibility if using one
Dark sections in the middle of your LED strip typically point to a poor connection or damaged wire causing an open circuit. You can quickly fix this by cutting out the damaged section and rejoining the segments with solderless connectors.
A simple coin cell battery holder with leads works well to test individual LEDs. This method identifies non-functioning LEDs without complex equipment.
Preventive Maintenance
A regular maintenance routine prevents future problems. These practices help maintain your LED system's performance:
LED-specific dimmers prevent flickering and early failure. Standard dimmers often cause LED system problems.
Outdoor installations need regular checks of waterproof connections and seals. Water can quickly destroy LED components or cause gradual deterioration.
Poor maintenance causes most LED failures rather than product defects. Your LED lighting system will last longer if you address issues quickly and follow these maintenance guidelines.
Conclusion
LED wiring looks complex initially, but you can handle it easily by breaking it down into simple steps. Success depends on quality components, understanding power requirements, and making proper connections.
Quality components are vital to your LED installation's longevity. LED profiles from reliable manufacturers protect your strips and provide clean, finished looks. These channels help with heat dissipation and proper light diffusion - key elements for any serious LED installation.
Your LED system runs smoothly for years with proper maintenance. Check connections, power supplies, and overall system performance regularly to prevent common issues.
Start with simple installations and gradually tackle more complex configurations as your confidence grows. The right components and knowledge will help you create beautiful, reliable LED lighting installations that last.
FAQs
Q1. What are the essential components needed for wiring LED lights?
The key components for an LED lighting system include power supplies and drivers to convert AC to DC power, controllers for managing lighting functions, and appropriate connectors and cables for secure connections.
Q2. How do I choose the right power supply for my LED installation?
Select a power supply based on your LED voltage requirements, total current draw, and environmental factors. Add a 20% buffer to your calculated power needs and ensure the supply has proper safety certifications.
Q3. What's the difference between soldering and using connectors for LED wiring?
Soldering creates permanent, durable connections ideal for outdoor use, while connectors offer quick installation and easy modifications. Choose based on your project needs and skill level.
Q4. How can I troubleshoot common LED lighting issues?
Start by checking power supply output, inspecting connections, and testing LED strips section by section. Use a multimeter to diagnose voltage issues and look for signs of damage or wear on components.
Q5. What maintenance practices can extend the life of my LED lighting system?
Regular maintenance includes cleaning fixtures, monitoring temperatures, ensuring voltage stability, and periodically checking connections. For outdoor installations, regularly inspect waterproof seals to prevent moisture damage.


