The raw, cut edge of a wall panel or a piece of siding presents a universal challenge in construction. Left exposed, it looks unfinished and is vulnerable to damage. Professionals solve this with a simple but highly effective component: the J Channel, also known as J Trim. So, what is a J Channel? It is a precisely engineered profile designed to receive, cover, and protect that unfinished edge, creating a crisp, deliberate line where a panel terminates. This guide details the 5 essential uses for J Trim that separate a rough cut from a truly professional finish.
What a J Channel Actually Is
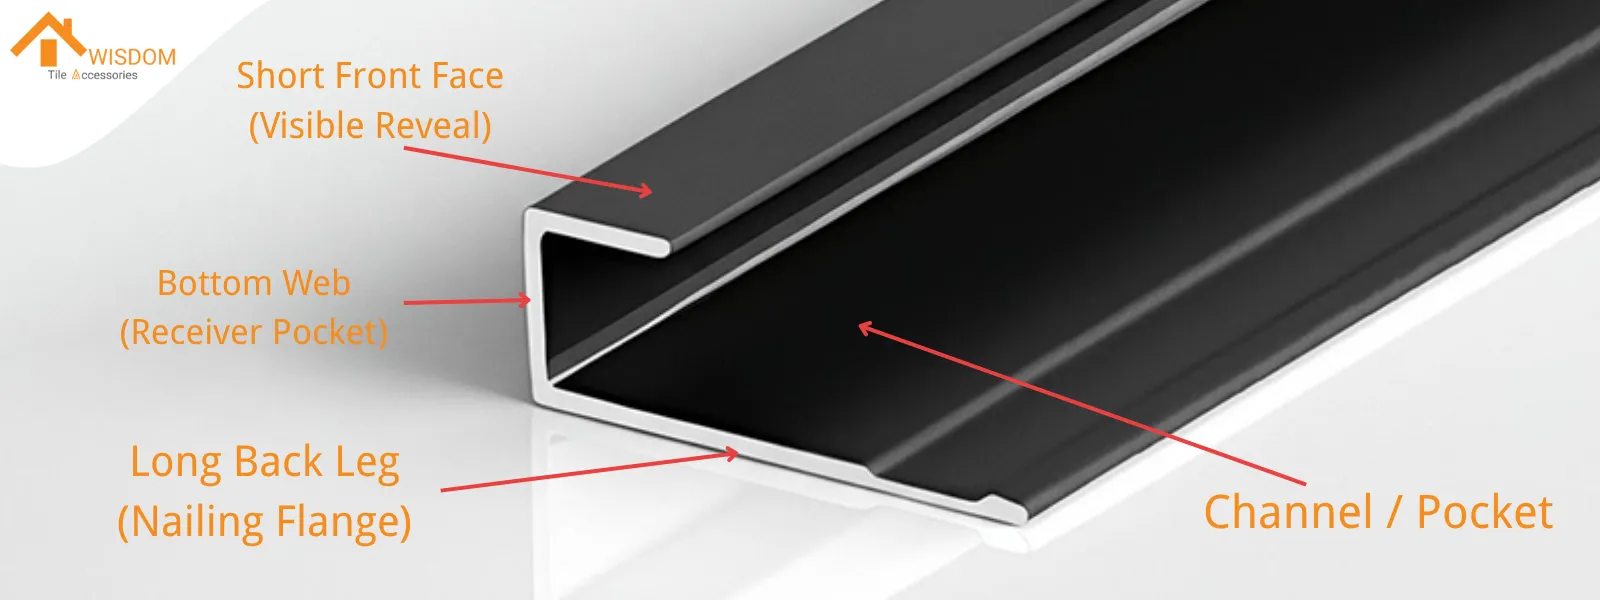
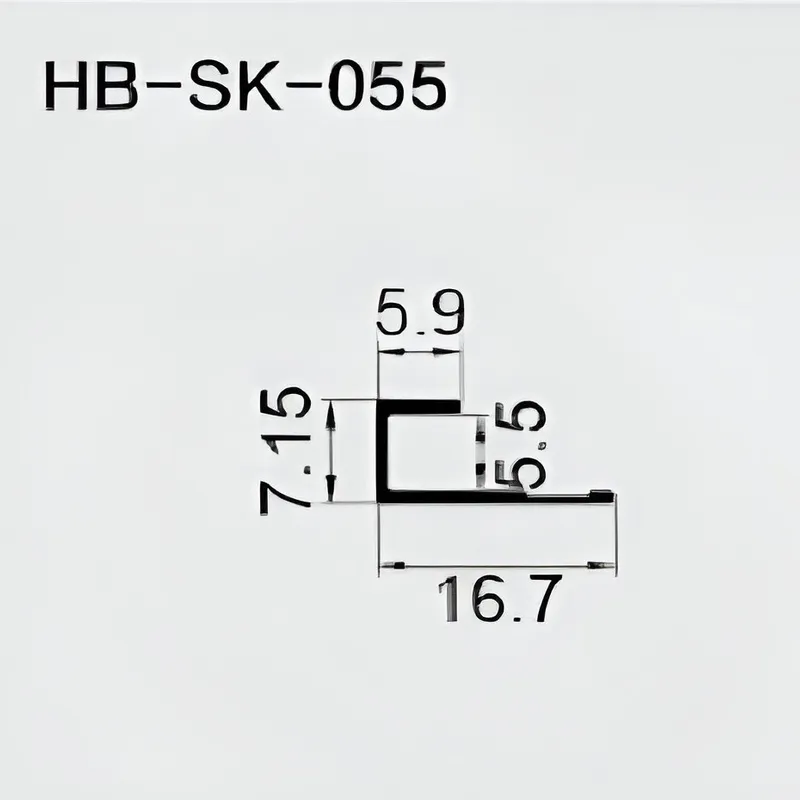
A J Channel is a linear trim piece named for its cross-section, which looks like the letter "J". This design is purely functional, with each part serving a distinct purpose.
The "J" Shape Explained
A J Channel is built in three parts. The long back leg, or nailing flange, is what fastens to the wall. The bottom web creates the pocket where a panel's edge sits. The shorter front face then neatly caps that edge, providing the clean, visible finish.
A Look at Materials from Vinyl to Aluminum
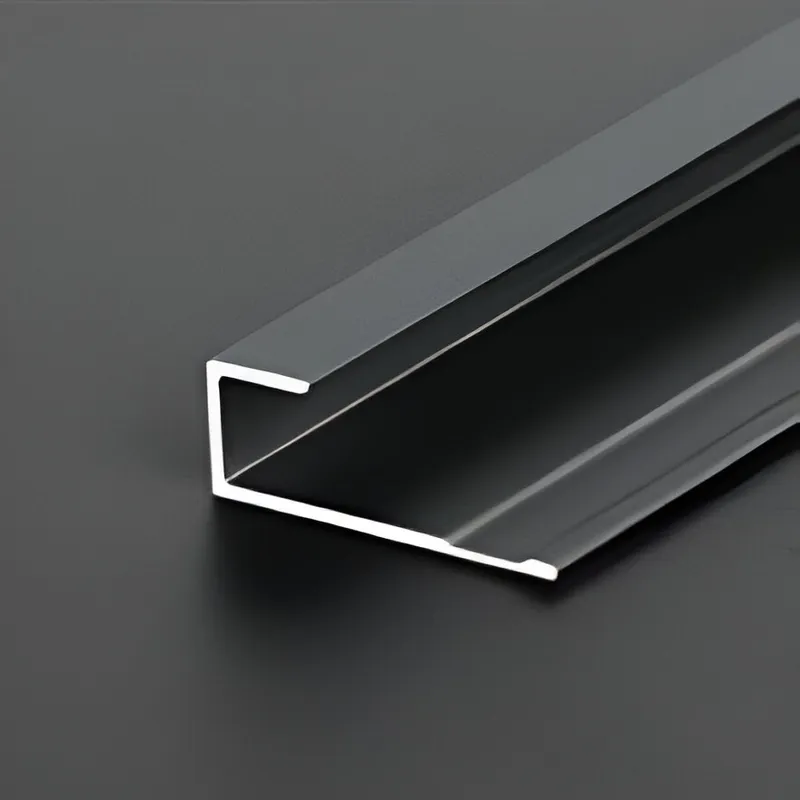
The material chosen for a J Channel is dictated by the application, the desired look, and the required durability. While vinyl is common for residential siding, metal offers superior performance for a wider range of uses.
For a sharper finish and greater strength, professionals specify aluminum or stainless steel. These are the standard for finishing a wide variety of decorative panels, from architectural metal and fiber cement to interior wood veneer boards. In large-scale exterior cladding, matching the thermal properties of the trim to the metal panels is an important engineering detail. For most premium indoor and commercial projects, however, aluminum's rigidity and clean appearance make it the ideal, universal trim.
Other Names You Might Hear
The name for this profile often changes depending on the trade you are in. A siding contractor will call it a J-Channel. A commercial glazier framing a hotel mirror might refer to it as a J-Cap. An interior finisher terminating drywall against an exposed brick wall will ask for a J-Bead. The name changes with the job, but the core function of finishing an edge remains the same.
What are J Channels Used For?
While its applications are diverse, a J Channel is almost always used to solve one fundamental problem: how to professionally terminate the edge of a flat panel. Here are the five most common uses you will encounter, ranging from high-end architectural finishes to standard exterior cladding.
1. Finishing Architectural and Wall Panels
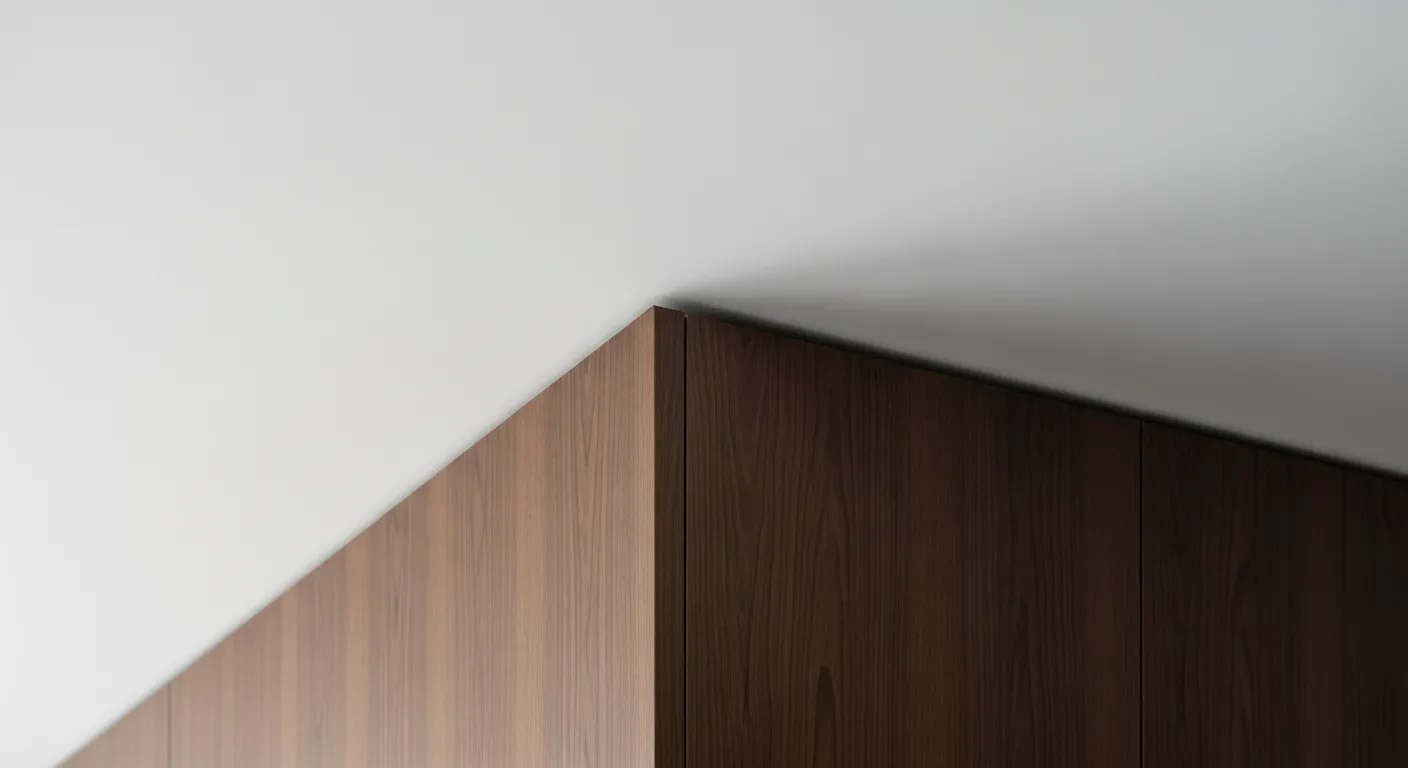
This is a primary application for premium aluminum and stainless steel J Channels. In modern interior design, large panels of materials like wood veneer, acoustic felt, metal laminates, or phenolic resin are used to create feature walls. A J Channel provides an elegant and robust solution for finishing the exposed edges of these panels. It creates a crisp, metallic border that not only protects the panel edge from damage but also adds a deliberate, high-end architectural detail.
2. Framing Commercial Mirrors and Glass
In commercial settings like hotels, gymnasiums, and retail stores, large, unframed mirrors are often mounted directly to the wall. An aluminum J-Cap is the industry-standard method for this application. A deeper channel is installed along the bottom to support the weight of the glass, while shallower channels on the sides and top secure it in place and provide a clean, finished frame. The metal trim protects the fragile mirror edges and offers a durable, easy-to-clean solution that can withstand heavy use in public spaces.

Specifier's Note: Sizing for Glass
When specifying a J-Cap for glass or mirrors, it is critical to select a channel with a pocket slightly larger than the glass thickness to allow for a bead of glazing silicone or setting blocks. For example, for a 1/4" (6mm) thick mirror, a channel with an opening of 5/16" (8mm) is often used to provide the necessary tolerance for a secure and professional installation.
3. Creating Minimalist Window and Door Trim
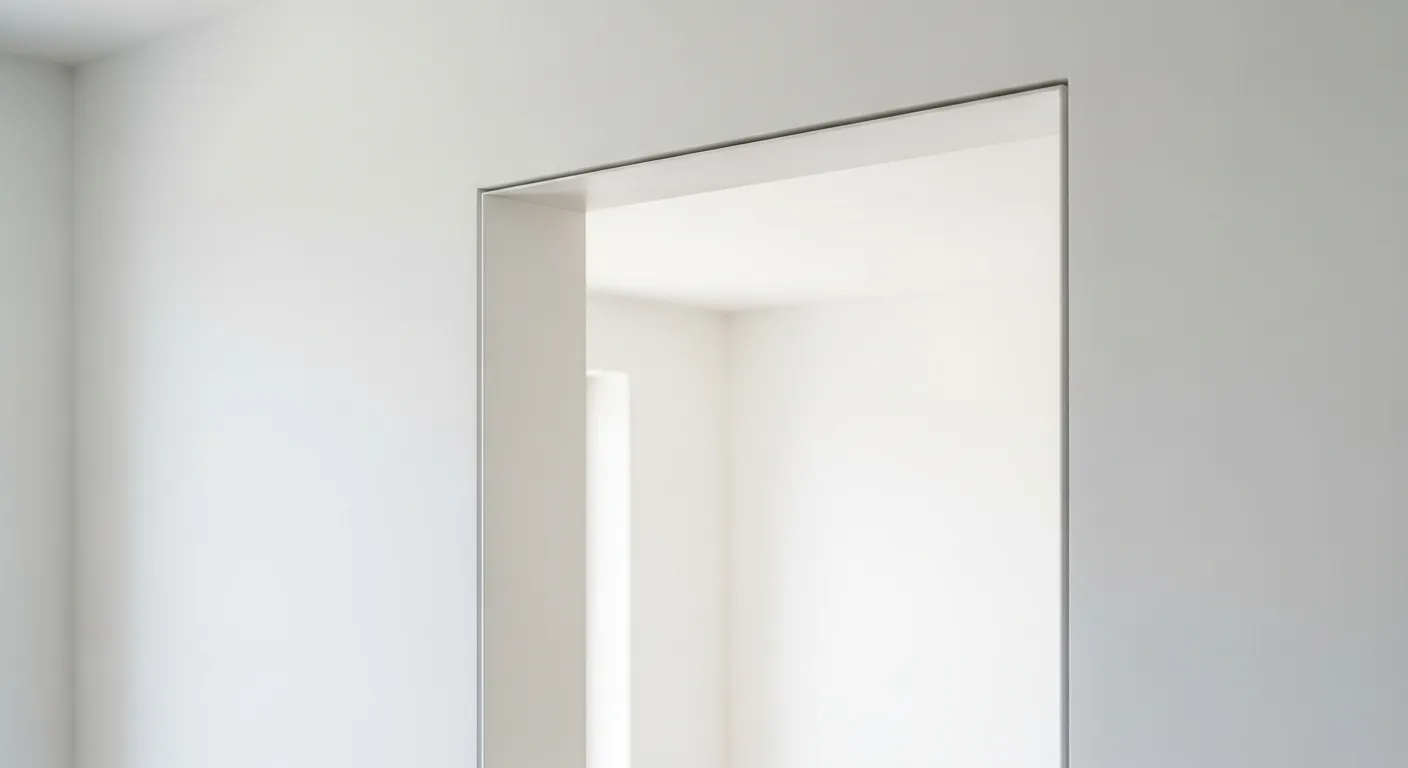
In contemporary and minimalist architecture, traditional bulky wood casings around windows and doors are often eliminated. A J-Channel, specifically a drywall J-Bead, offers a clean, ultra-modern alternative. It is installed on the edge of the drywall where it meets the window or door frame, creating a perfect, sharp return back to the frame. This technique, often called a "reveal" or "cased opening," results in a trimless appearance, where the wall surface appears to float cleanly around the opening with no visible casing.
4. Installing Exterior Siding and Soffit
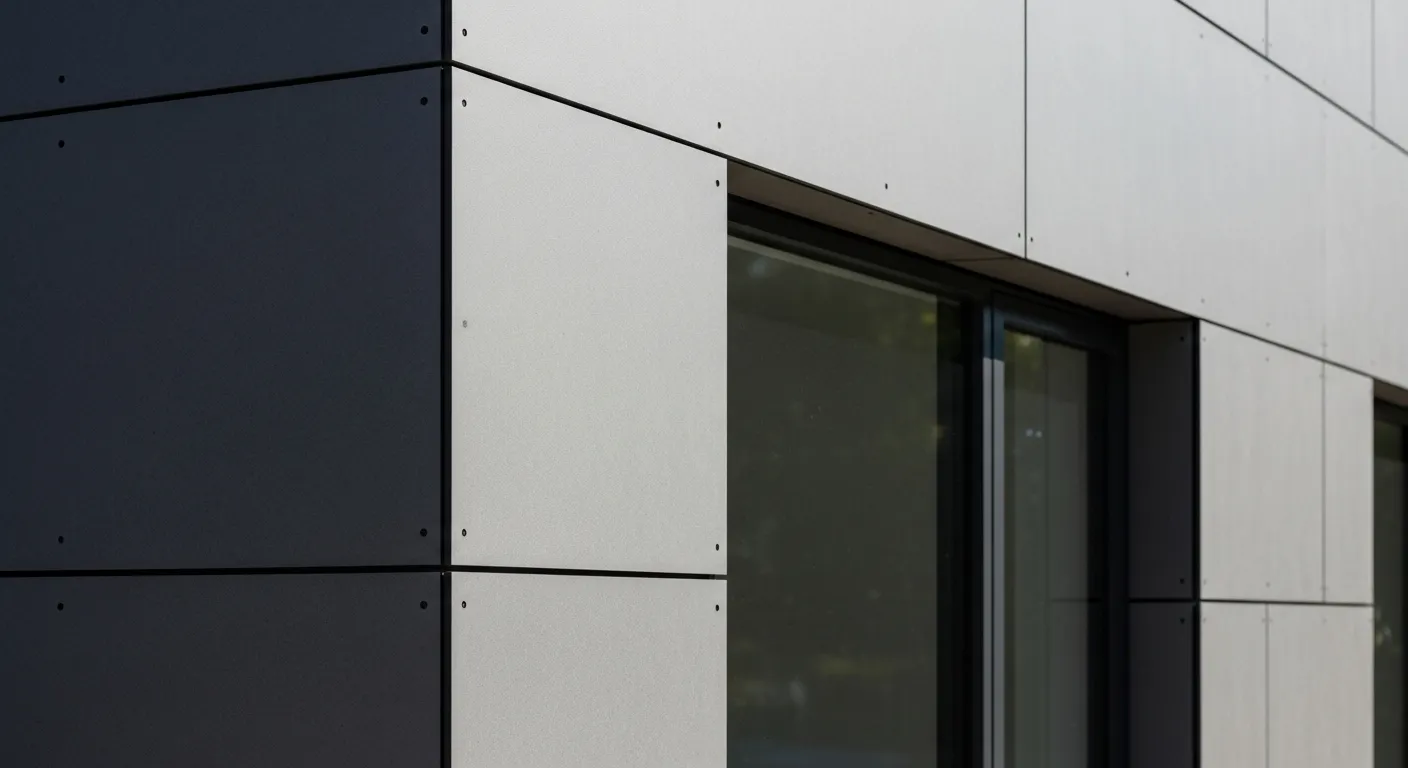
This is the most widely known use for vinyl J-Channels. They are installed around every window, door, and inside corner before the siding panels go on. The J-Channel serves three functions here: it provides a pocket to hide the cut ends of the vinyl siding, it acts as a guide for installation, and it helps to channel rainwater away from the building envelope. A similar channel is also used to support the edges of soffit panels at the eaves.
5. Building Custom Signage and Displays
Manufacturers of signage, trade show exhibits, and retail displays use J-Channels to frame and protect the edges of various panel materials, such as acrylic, PVC, or aluminum composites. The channel provides a durable and finished edge for raw materials and can also be used to create simple, effective sliding tracks for interchangeable graphic panels or menu boards.
A Quick Guide to Installing J Channel
Proper installation ensures both a clean look and long-term performance. The techniques differ slightly between purely decorative interior applications and functional exterior installations where water management is critical.
Step 1: Measure and Plan
Always measure the length of the edge to be trimmed. For exterior openings like windows, plan the installation sequence: install the bottom piece first, then the two sides, and finally the top piece to ensure proper overlaps for water shedding.
Step 2: Cut to Length
Use a miter saw with a fine-tooth blade for clean, straight cuts. For purely decorative interior frames (like a mirror), you can create a seamless look with precise 45-degree miter cuts at the corners.
However, for exterior window and door trim, never use a simple miter cut. This will create a seam that is guaranteed to leak. The professional method involves creating overlaps, as detailed in the Pro Tip below.
Step 3: Fasten Securely
Fasten the J Channel's long nailing flange to the substrate using appropriate corrosion-resistant fasteners. Place fasteners in the center of the pre-punched slots.
Step 4: Insert the Panel
Slide the panel into the channel pocket, leaving a 1/4" gap for thermal expansion, especially on exterior siding.
Pro Tip: Professional Water Management for Exteriors is Non-Negotiable
This is the single most important skill for a durable exterior installation.
- Create "Rain Tabs" at Top Corners: The top J Channel piece must be cut 1-2 inches longer on each side. At each end, notch out the nailing flange and cut a small tab from the bottom of the channel. Bend this tab down. When you install the side channels, this tab will sit inside the side channel, creating a physical dam that forces all water from the top channel to drain safely into the side channel.
- Drill "Weep Holes" in Bottom Channels: If a J Channel is installed horizontally at the bottom of a wall, it will trap water. Prevent this by drilling 3/16" holes in the bottom web every 12-24 inches to allow trapped water to escape.
How to Pick the Right J Channel Size
Selecting the correct J Channel size is not about the overall dimensions, but about matching the channel's pocket to the thickness of your panel. A fit that is too tight can damage the panel, while a fit that is too loose will look sloppy and offer poor support.
Simply measure the thickness of your panel, then choose a J Channel with an "opening" or "pocket size" that corresponds to that measurement.
If Your Panel Thickness Is... | Choose a J Channel with a Pocket Size of... | Common Applications |
|---|---|---|
1/8" (3mm) | 1/8" | Signage, Display Panels |
1/4" (6mm) | 1/4" or 5/16" (for glass) | Mirrors, Glass, Acrylic |
1/2" (12.7mm) | 1/2" | Drywall, Plywood Panels |
5/8" (15.9mm) | 5/8" | Fire-Rated Drywall |
3/4" (19mm) | 3/4" | Wood Veneer Panels, Millwork |
J Channel and F Channel Differences
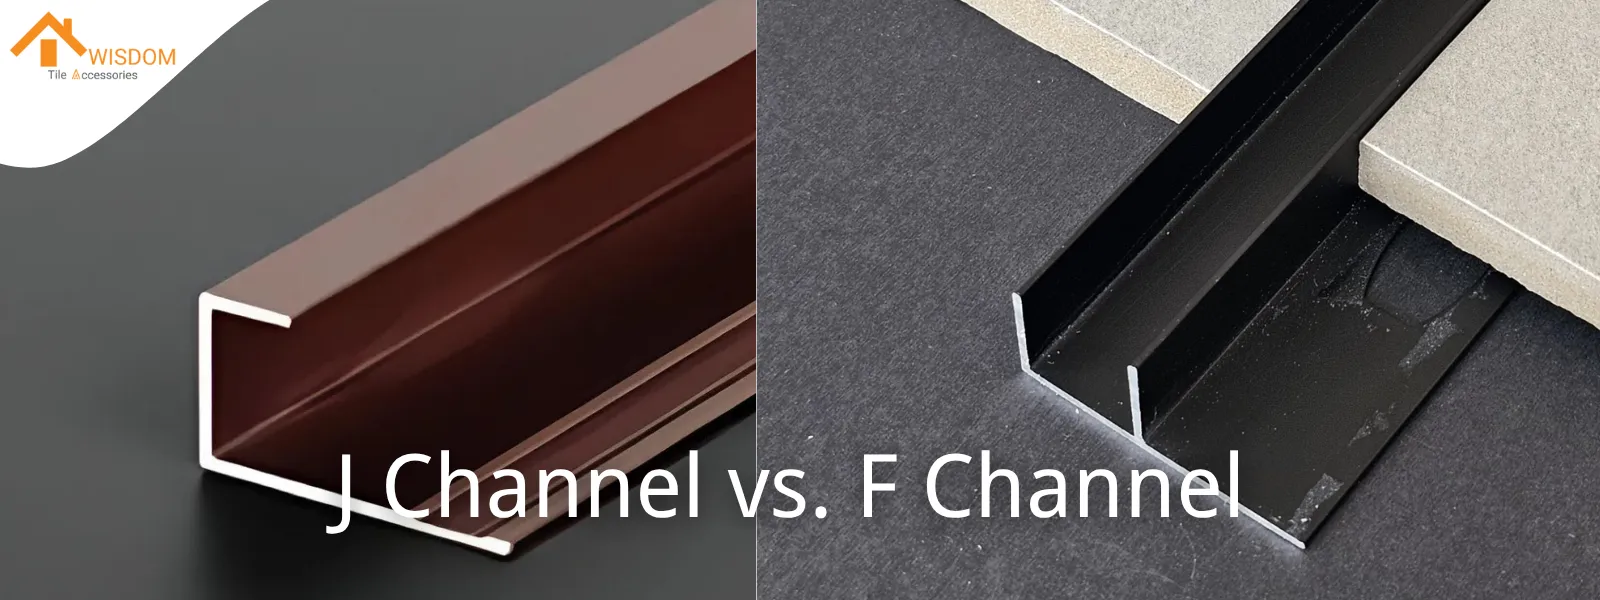
While both are used in siding and soffit applications, J Channels and F Channels are not interchangeable. Their profiles are designed for different jobs.
J Channel | F Channel |
|---|---|
Has a simple "J" shape. It is a multi-purpose trim used to terminate panels against a flat surface, like a wall or around a window. | Has an extra flange that creates a second, lower track, resembling the letter "F". It is a specialized piece designed specifically to receive the edge of a soffit panel while the longer top leg fastens to the wall and the lower leg provides a receiving channel for the fascia. |
The Small Trim that Makes a Big Difference
In any construction project, the final perception of quality often comes down to the details. The J Channel is precisely one of those details. It transforms a raw, vulnerable panel edge into a clean, deliberate, and durable termination. It is a small component that elevates the entire finish from amateur to professional. Choosing the right profile and installing it correctly is a mark of true craftsmanship.
Take your project's finish to the next level. Explore our complete range of professional-grade Aluminum Channels and Wall Panel Edge Trims. For specific project requirements or to discuss a custom solution, our team of material specialists is ready to assist.
Frequently Asked Questions
1. What is the best way to fasten a J Channel?
For most applications, use corrosion-resistant roofing nails or pan-head screws. Their wide heads provide a secure hold without pulling through the nailing slots. Place one fastener every 8 to 12 inches, making sure to position it in the center of the slot to allow for thermal movement.
2. Does the J Channel itself stop water leaks?
This is a common misconception. The J Channel is a water management component, not a waterproof seal. It is designed to catch and redirect water. The actual prevention of leaks depends on the correctly installed water-resistive barrier (house wrap) and flashing tape behind and beneath the J Channel.
3. Is aluminum J Channel more expensive than vinyl?
Yes, aluminum J Channel typically has a higher upfront material cost than vinyl. However, this cost is justified by its superior durability, impact resistance, and the sharp, high-end finish it provides, especially for premium interior and architectural projects. Its longevity often makes it a better long-term value.


