It seems logical: for an 8mm tile, you buy an 8mm brass trim. This is the first and most common mistake. That simple error guarantees an uneven finish and leaves your tile edge vulnerable to chipping. A professional installation demands that the trim account for the tile and the adhesive bed underneath. This guide is built on that single, essential principle. We will provide the correct brass tile trim size for any application, ensuring your project has the clean lines and durable edge protection it requires.
What is Brass Tile Trim
Be careful when you see a trim labeled "brass." They are not all the same.
Many are simply aluminum profiles with a thin, brass-colored coating. This is a cosmetic fix. The problem is that this coating is easily scratched during installation or can peel over time, exposing the silver-colored metal underneath. It looks cheap because it is.
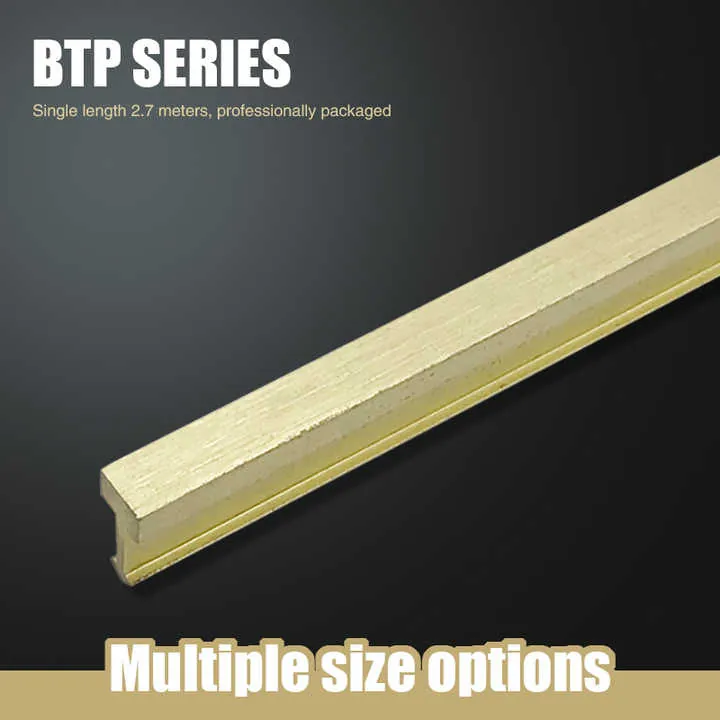
Solid brass trim is a different class of material. It is a heavy, durable profile forged from a genuine brass alloy, typically copper and zinc. Its warm, golden color is integral to the metal itself. You can cut it, scratch it, and it is still brass all the way through. This is the difference between a temporary finish and a permanent architectural component.


Is Solid Brass Trim the Right Choice for You
Choosing your material is about picking the right tool for the job. Brass, aluminum, and stainless steel all have a place, and using the wrong one is a costly mistake.
Here is the simple breakdown:
- Use Aluminum for Walls, and Only If Budget is Tight. It is soft, dents easily, and is not strong enough for floors. Its main advantage is its low cost and ease of cutting for DIY projects. If you use it in a wet area, ensure it has a high-quality protective coating, otherwise it can corrode from contact with cement-based grout.
- Use Solid Brass for a High-End Look and Strong Performance. It is significantly tougher than aluminum and is perfectly suitable for residential floors and most commercial spaces. It costs more, but you are paying for real metal that offers both durability and a distinct, classic aesthetic. Its installation requires more care than aluminum.
- Use Stainless Steel for a Commercial Kitchen or a Public Entrance. It is the strongest and most durable option, built for extreme high-traffic and high-impact areas. It offers a modern, hygienic look but is the most difficult to cut and typically the most expensive. It is overkill for most residential bathrooms.
The Correct Brass Tile Trim Size for Your Tile
Getting this wrong makes the entire project look amateur. The logic is simple, but it goes against the obvious assumption.
How to measure your tile thickness
First, get an accurate measurement of your tile. Do not just trust the number on the box. Use a caliper if you have one. Measure the tile body itself, not any backing mesh. This number is your baseline.
The golden rule size up for adhesive
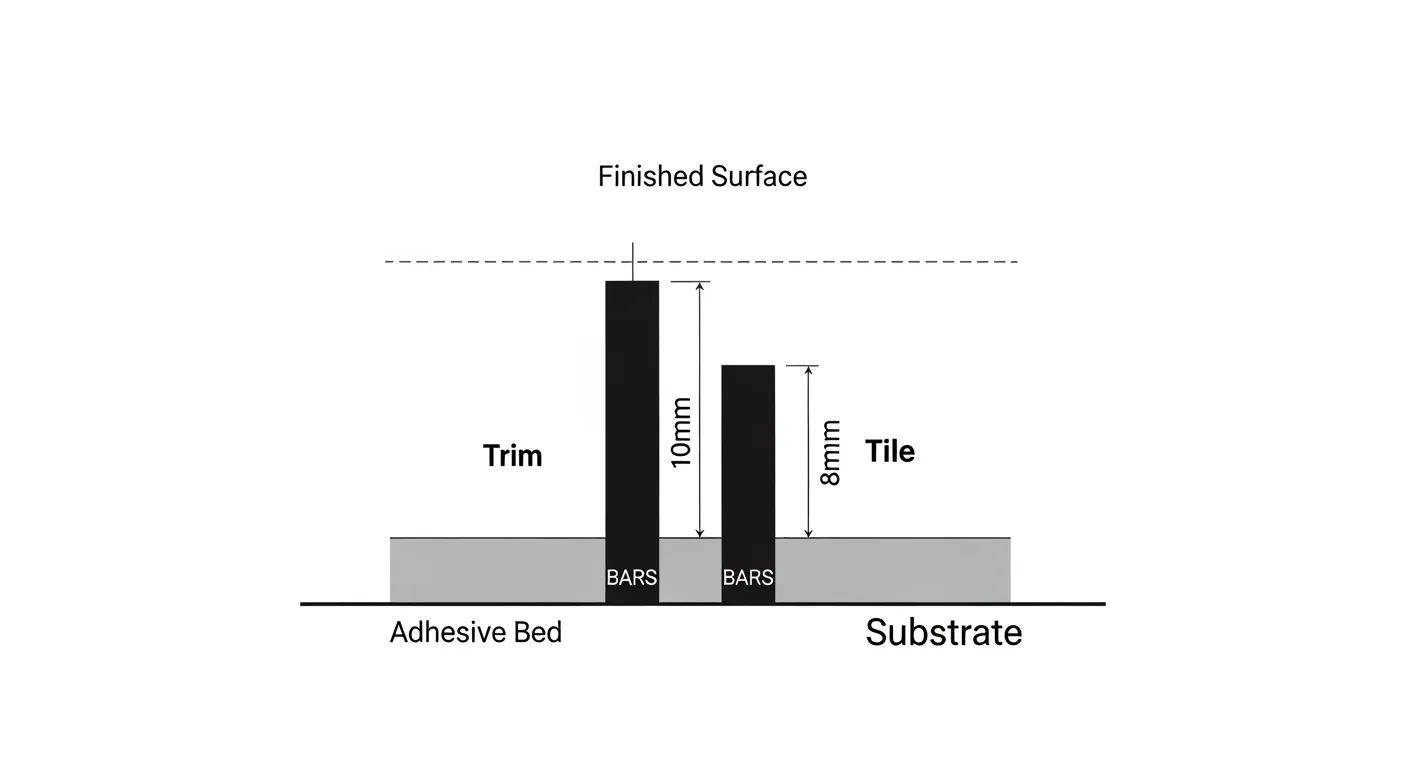
This is the most important rule: your trim must be deeper than your tile.
A tile does not sit directly on the wall or floor. It sits on a bed of thin-set mortar. The trim's anchoring leg must also sit in that same mortar bed. If you use an 8mm trim for an 8mm tile, the tile will always end up sitting higher than the trim. This creates a sharp, exposed tile edge called "lippage," which looks terrible and can chip easily.
Wall vs floor installation differences
The amount you "size up" depends on where the tile is going.
- Walls: The mortar bed is thinner. Choose a trim 1mm to 1.5mm deeper than your tile.
- Floors: The mortar bed is thicker to provide more support. Choose a trim 1.5mm to 2mm deeper than your tile.
If you are ever in doubt, choose the slightly larger size. A trim that is a fraction of a millimeter too high can be easily smoothed over with grout. A trim that is too low is a permanent mistake.
Tile Thickness | Application | Recommended Brass Trim Size (Depth) |
|---|---|---|
6mm | Wall (Mosaics) | 8mm |
8mm | Wall | 10mm |
10mm | Wall | 12mm or 12.5mm |
10mm | Floor | 12.5mm |
12mm | Floor (Natural Stone) | 14mm or 15mm |
12.5mm | Floor | 15mm |
Popular Brass Tile Trim Sizes and Uses
Here is where solid brass differs fundamentally from aluminum. You will not find a solid brass trim for every single millimeter thickness. Aluminum is a commodity product, manufactured to cover every possible scenario. Brass is a premium architectural material. Manufacturers focus on producing the most necessary and sought-after sizes that align with high-quality tiling projects.
Understanding this curated availability is key. It stops you from searching for a product that does not exist and helps you appreciate why certain sizes are industry standards.
For thin mosaics use 6mm brass tile trim
This is generally the smallest size you will find in solid brass. While aluminum trims are available down to 2mm for the thinnest glass sheets, brass manufacturing focuses on higher-end applications. A 6mm brass tile trim is therefore intended for quality ceramic mosaics or decorative borders, providing a delicate yet robust frame.
For standard walls use 10mm brass tile trim
This is the industry's sweet spot. A 10mm brass tile trim is the definitive choice for the ubiquitous 8mm wall tile. Alongside the 8mm and 12.5mm profiles, these three sizes form the core of any brass trim catalog because they perfectly match the most common tiles used in high-value residential and commercial work.
For floors and stone use 12mm brass tile trim
When you move to floors or thick natural stone, a 12mm brass tile trim (or more commonly, the 12.5mm industry standard) becomes necessary. It is specifically produced to provide the required depth and strength for thicker mortar beds and heavier tiles, an application where the durability of solid brass over aluminum is a significant advantage.
For heavy duty projects use 15mm or 20mm trim
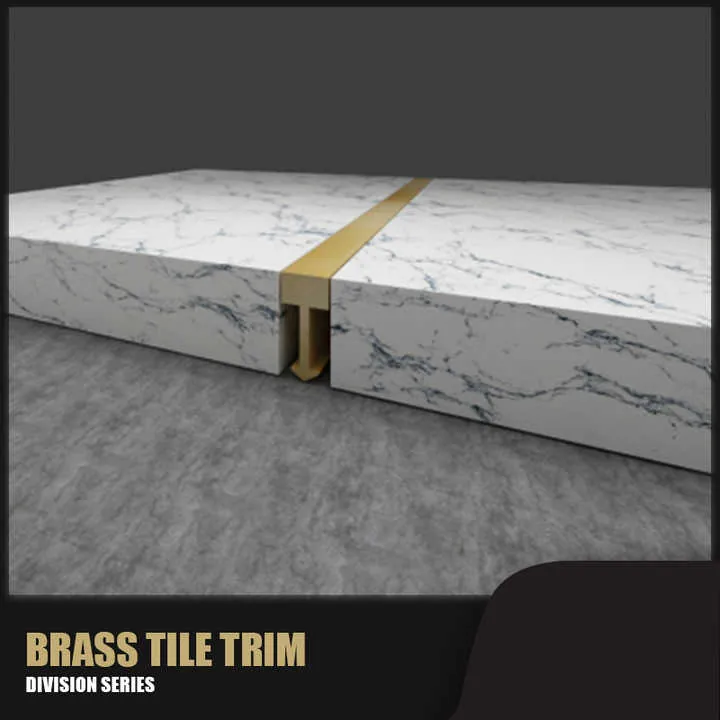
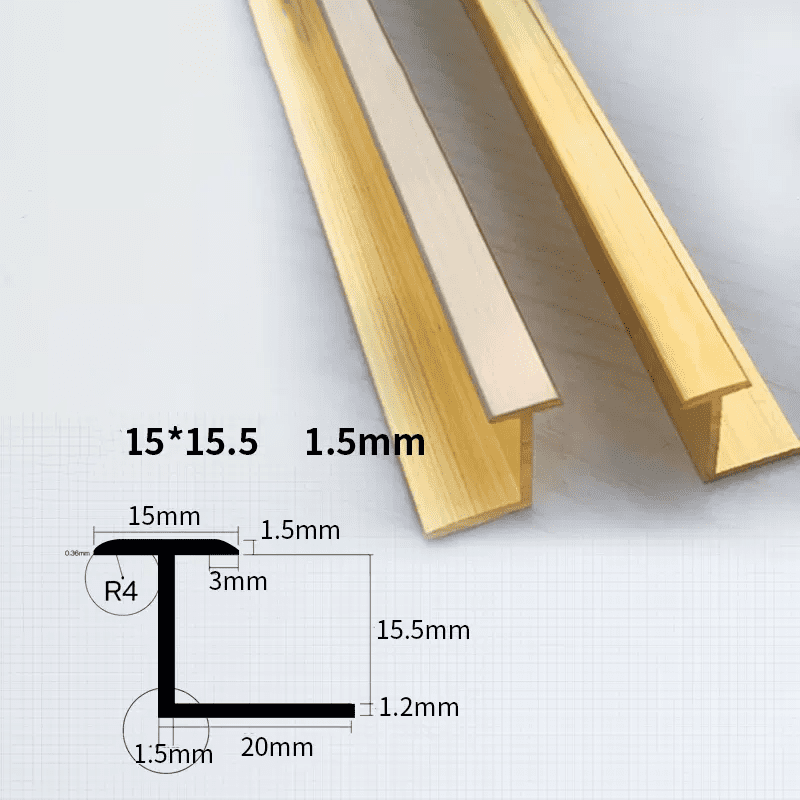
You select a 15mm or 20mm brass tile trim for specific, demanding jobs. Think thick-bed stone floor installations, exterior pavers, or creating substantial stair nosings. These are not for typical wall tiling; they are for projects requiring significant edge protection and a bold visual statement. The specialization of brass also extends to shape, as it is the preferred material for decorative T-shaped profiles used for floor inlays—a role aluminum rarely plays with such grace.
Choosing Your Brass Trim Finish and Profile
Once the size is determined, the final selection comes down to its look and shape. This choice affects both the aesthetic style and the functional nature of the tiled edge.

Brushed vs antique vs polished brass
The surface finish of the brass dictates its character.
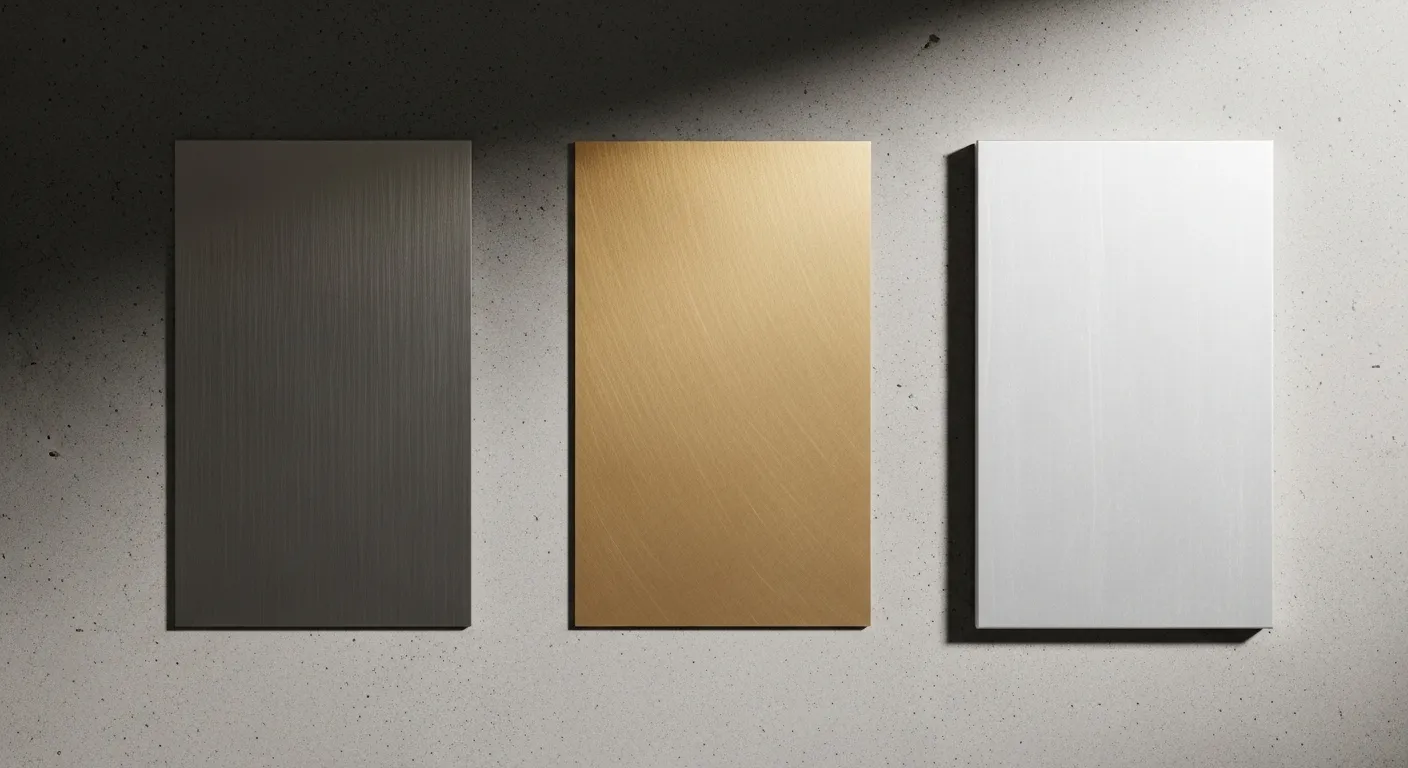
- Polished Brass: This is the classic, mirror-like finish. It is highly reflective and delivers a bold, luxurious statement. Its downside is that it shows fingerprints and water spots easily, requiring more frequent cleaning to maintain its shine.
- Brushed Brass: This is a more contemporary option. The surface has fine, parallel lines that give it a soft, satin-like texture. This finish is excellent at hiding fingerprints and minor scratches, making it a practical choice for high-touch areas.
- Antique Brass: This finish is chemically treated to accelerate the natural aging process. It results in a darker, more muted color that mimics the look of aged brass. It is the perfect choice for traditional, industrial, or rustic designs where a brand-new, shiny finish would look out of place.
>> See In-Depth Guide: What is an Antique Brass Tile Trim
A Note on the "Living Finish" of Solid Brass
Solid brass has a unique quality that sets it apart from coated aluminum or inert stainless steel: it is a "living finish."
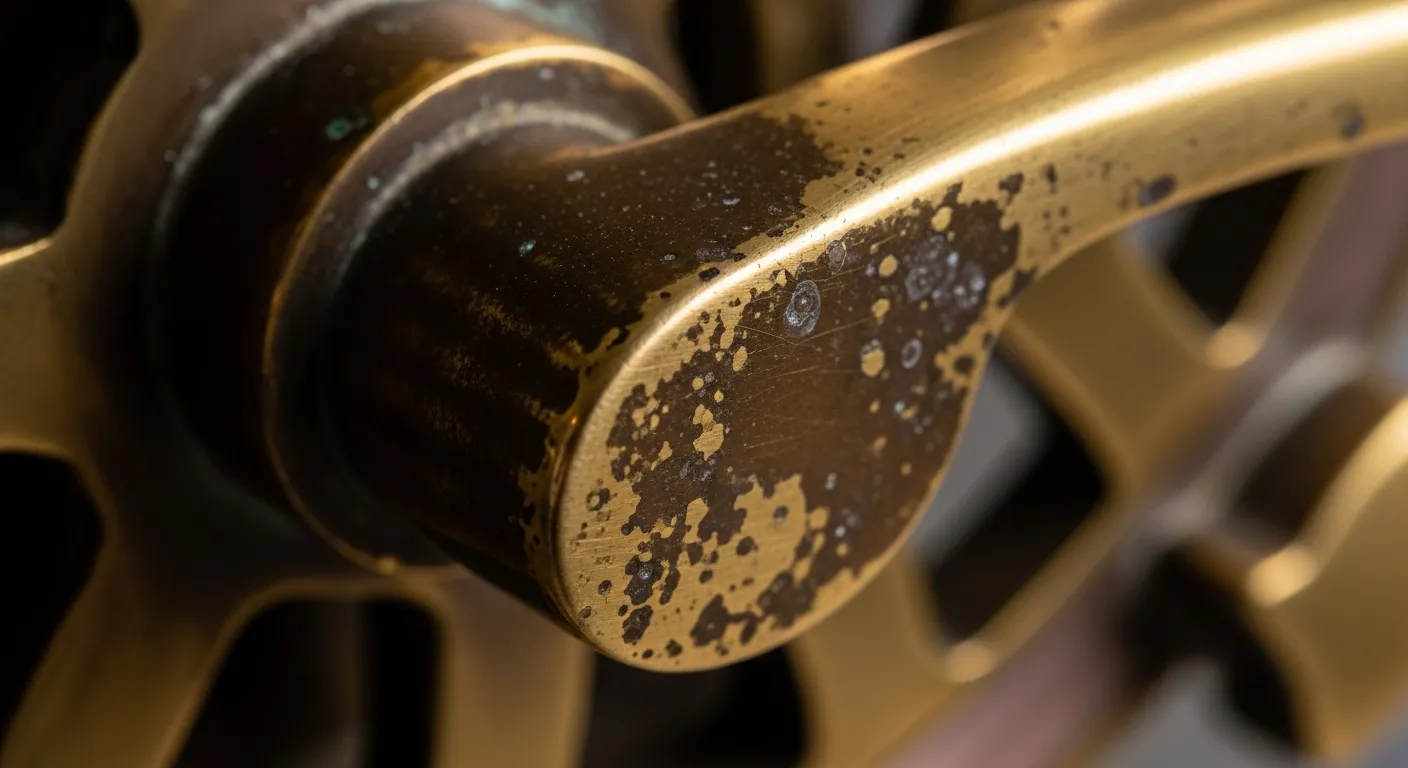
When exposed to air and moisture, solid brass will naturally oxidize. This process creates a surface layer called a patina, which causes the metal to darken and mature over time. This is not a defect. In high-end architecture and design, this natural aging is a desirable trait, a sign of an authentic, high-quality material that adds character and a sense of timelessness.
While you can restore the original shine with a brass polish, the patina will gradually return. When you choose solid brass, you are choosing a material that evolves with your space.
Common profiles like L-shape and square edge
The profile, or cross-sectional shape, determines how the trim functions.
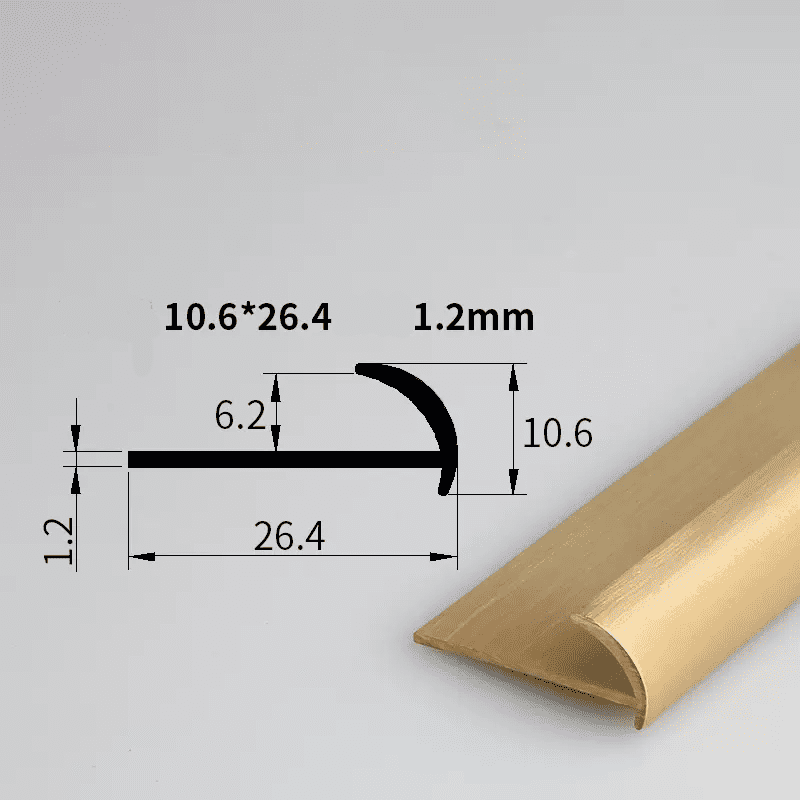
- L-Shape (Straight Edge): This is the most common and versatile profile. It provides a clean, straight line to protect a tile edge. It is a workhorse profile used for everything from wall corners to floor transitions.
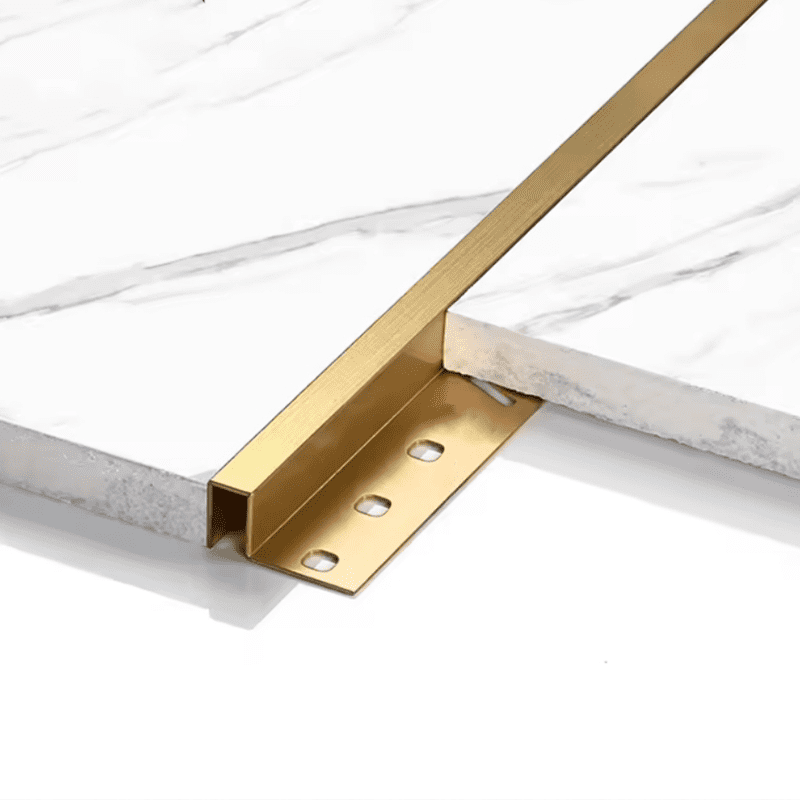
- Square Edge (Box Shape): This profile offers a more substantial, modern look. The visible face is a clean, 90-degree square edge, which provides a bold, defined border for tile installations. It is a popular choice in contemporary design.
- Round Edge (Quadrant): This profile provides a softer, rounded-over edge. It is often used where a less sharp corner is desired for safety or aesthetic reasons, such as on countertops or bench seats.
How to Cut and Install Brass Tile Trim
Proper installation is what separates a professional finish from a DIY disaster. Brass is harder than aluminum, so a little extra care is required.
Getting a clean cut on brass trim
Do not attempt to cut brass trim freehand with a standard hacksaw. The cut will be rough and likely off-angle.
For a precise, clean cut, you must use a mitre box with a fine-toothed hacksaw blade designed for metal. This setup holds the trim securely and guides the blade to ensure a perfect 45-degree or 90-degree cut. For multiple cuts, an electric mitre saw with a specialized metal-cutting blade (not a wood or abrasive blade) is the most efficient tool. After cutting, always use a small metal file to smooth any burrs from the edge for a perfect seam.
How to handle external corners
The sharp, visible corners of a wall or a shower niche are where quality shows. While a perfect mitre cut is the traditional method, it can be challenging. For a foolproof result, especially for DIY installers, look for pre-formed corner pieces. These are cast metal components that match the trim profile and finish. They eliminate the need for cutting angles altogether and create a perfect, durable corner every time.
Securing the trim during installation
A wobbly trim is impossible to tile against. The trim's perforated anchoring leg must be fully embedded in the same bed of fresh thin-set mortar as the tiles. The mortar locks the trim and tile together.
A practical field trick for one-person jobs is to temporarily fix the trim in its exact position before applying mortar. You can use a few dabs of hot glue or small, strategically placed pin nails to hold the trim perfectly straight along your layout line. This frees up your hands to apply the mortar and set the tiles, ensuring the trim does not shift. The temporary fasteners are then buried in the mortar bed.
Conclusion
Ultimately, a professional result with brass trim hinges on two decisions.
First, selecting the correct size—always 1-2mm deeper than the tile—to account for the adhesive bed. This single step prevents the amateur mistake of lippage and ensures a protected, flush edge.
Second, understanding the material you have chosen. Solid brass is not a static, coated product; it is a living finish that will mature and patina over time.
Get these two points right, and you have built the foundation for a finish that is both technically sound and aesthetically authentic.
Frequently Asked Questions
What if my tile is 11mm thick, but I only find 10mm or 12.5mm brass trims?
Always choose the larger size. Select the 12.5mm trim. A trim that is too small (10mm) will leave the tile edge exposed after setting. The slightly larger trim ensures enough space for the adhesive bed, and any minor height difference is easily blended with grout for a clean, professional finish.
Do I need a special diamond blade to cut brass tile trim?
No, a diamond blade is not necessary as brass is highly machinable. A clean cut is best achieved with a hacksaw using a fine-toothed metal blade, guided by a mitre box. For power saws, a specific non-ferrous metal cutting blade is recommended, not a standard wood or abrasive blade.
Will solid brass trim rust in a shower?
No, solid brass does not rust. Rust is iron oxide, which forms on iron-based metals. Brass is a copper-zinc alloy and will instead develop a natural patina when exposed to moisture. This darkening is a characteristic of the material and does not compromise its structural integrity.
Does the 'size up' rule also apply to aluminum or stainless steel trims?
Yes, absolutely. The rule of selecting a trim 1-2mm deeper than the tile is a universal principle based on the physical requirement to accommodate the adhesive bed. It applies to all tile trim materials, regardless of whether they are brass, aluminum, or stainless steel.


