The problem you're experiencing, where the first light in LED strip lights up then fades, is common among users of LED strip lights. When powered on, you may notice that the first LED briefly illuminates before dimming or shutting off, while the rest of the strip functions normally.
Whether you're using 12V or 24V strips, RGB or single-color LEDs, or strips from different manufacturers, the issue can arise for several reasons. Rest assured, however, that it is solvable. By understanding the potential causes and following the troubleshooting steps outlined in this article, you can diagnose and remedy the issue, ensuring that your entire LED strip lights consistently and reliably.
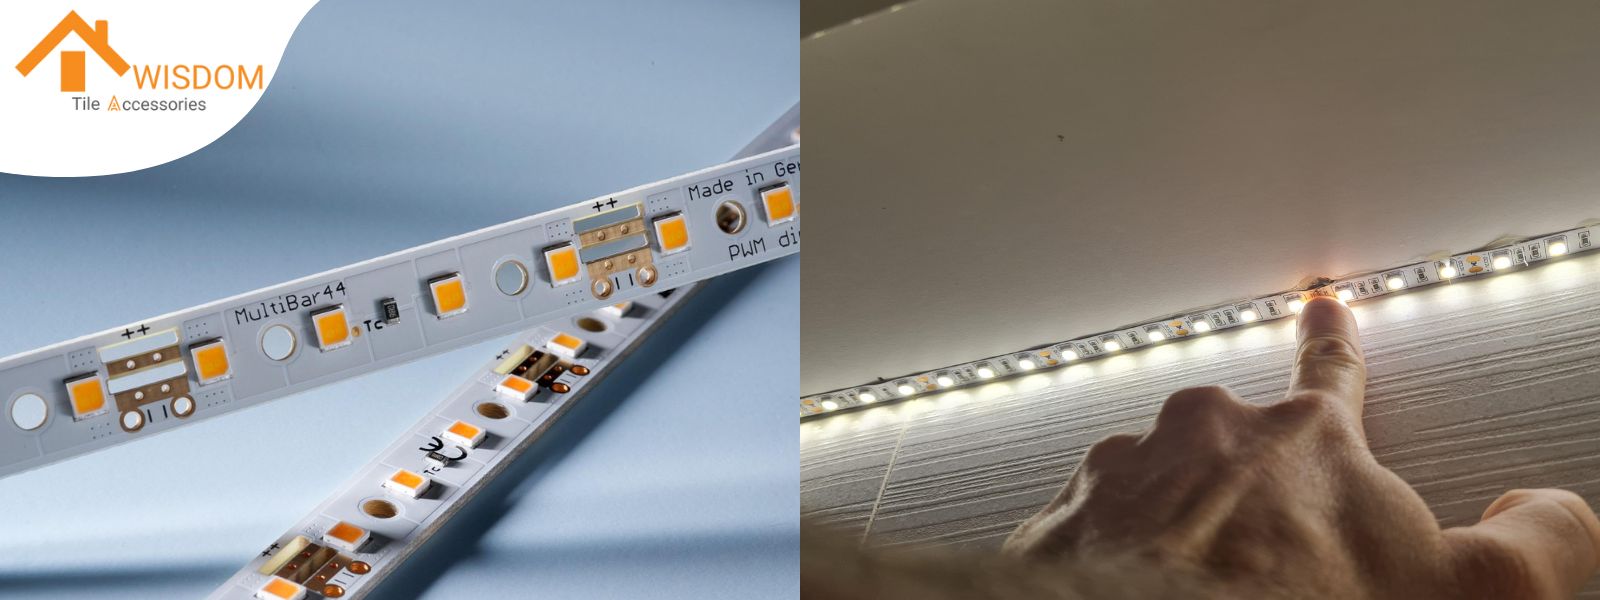
Reasons Why the First Light in LED Strip Lights Up then Fades
There are a few potential reasons why the first LED in an LED strip might light up initially and then fade:
1. Power Supply Issues
One of the most common causes is insufficient power supply:
- The power supply may not be providing enough voltage or current to properly drive the full LED strip. As more LEDs try to light up, there isn't enough power to sustain them all.
- There could be a loose or faulty connection between the power supply and the LED strip. This can cause intermittent power delivery.
- The power supply itself may be failing or defective, unable to maintain consistent output.
2. Voltage Drop
Voltage drop along the length of the LED strip can cause dimming:
- As electricity flows through the strip, resistance in the conductors causes voltage to decrease further down the strip.
- The first LED gets full power, but subsequent LEDs receive progressively less voltage, causing them to dim or not light at all.
- This is more pronounced with longer LED strips or lower quality strips with thinner conductors.
3. LED Degradation
The LEDs themselves may be degrading over time:
- Lower quality LED strips can experience premature LED failure, causing dimming or complete failure of sections.
- Excessive heat, voltage fluctuations, or manufacturing defects can accelerate LED degradation.
- Blue LEDs in particular tend to degrade faster than other colors.
4. Controller/Driver Issues
Problems with the LED controller or driver can cause erratic behavior:
- A faulty controller may not be able to maintain consistent power output to the strip.
- Incorrect settings or programming could cause unintended dimming effects.
- Electrical noise or interference could disrupt proper controller function.
Troubleshooting Steps
1. Check All Connections Are Secure
- Inspect the connection between the power supply and the LED strip.
- Ensure all solder joints are intact and not cold or loose.
- Check for any visible damage to the strip or connectors.
- Verify that clip-on connectors (if used) are properly attached.
2. Test with a New Power Supply
- Use a known working power supply with the correct voltage and sufficient amperage.
- Compare the behavior of the LED strip with the new power supply.
- If the issue persists, the problem likely lies with the strip itself.
3. Bypass the First LED to Check Strip Integrity
- Cut off the first LED in the strip (following proper safety procedures).
- Reconnect the power to the next section of the strip.
- If the problem moves to the new "first" LED, there may be a systemic issue with the strip or controller.
4. Check for Proper Polarity Throughout the Strip
- Verify that the positive and negative connections are correct at the power supply.
- Inspect the strip for any reversed connections or manufacturing defects.
- Use a multimeter to test continuity and polarity along the length of the strip.
Additional Steps
Measure Voltage Along the Strip
- Use a multimeter to check voltage at various points along the strip.
- A significant voltage drop may indicate a need for additional power injection points.
Inspect Individual LEDs
- Examine each LED closely for signs of physical damage or discoloration.
- Test individual LEDs if possible to identify any faulty components.
Test the Controller
- If applicable, bypass the LED controller and connect the strip directly to the power supply.
- This can help determine if the controller is causing the issue.
Consider Environmental Factors
- Check if the strip is exposed to excessive heat or humidity, which can cause premature failure.
- Ensure proper ventilation and consider adding heat sinks if necessary.
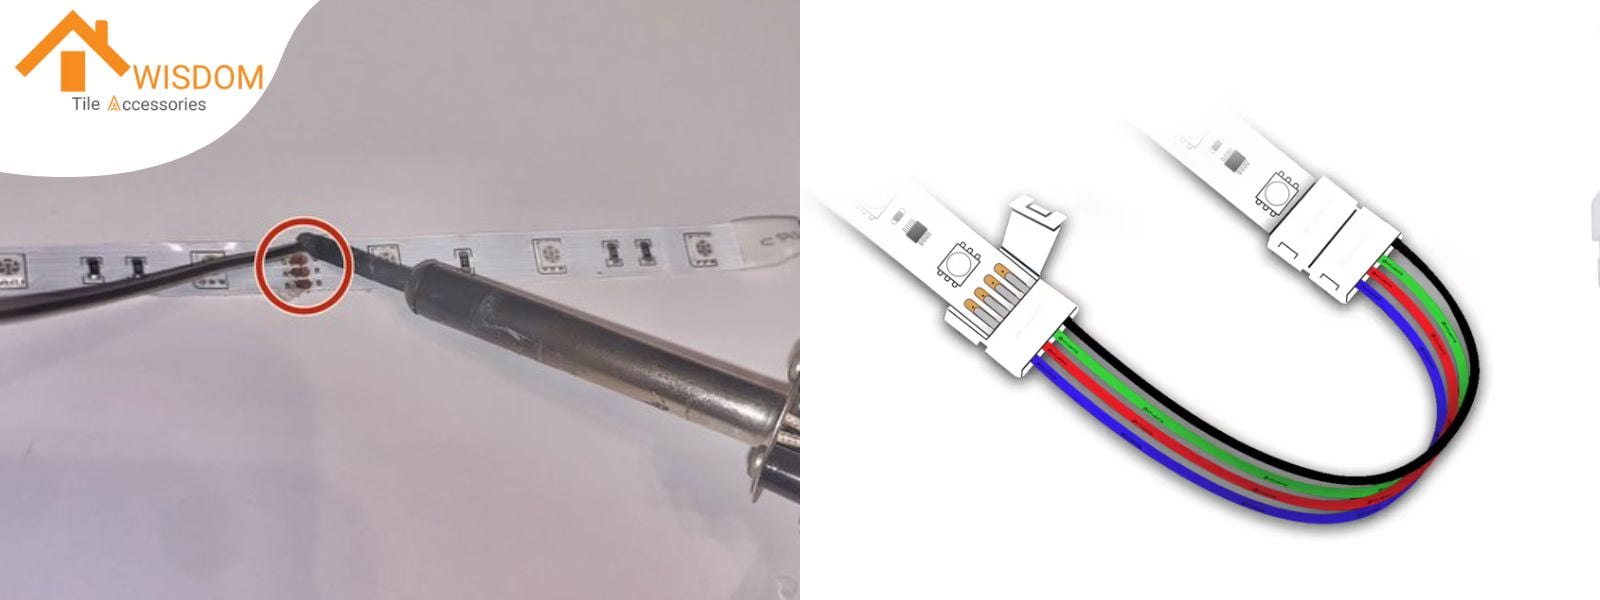
How to Fix a Fading First LED
Tighten or Redo the Connections
- Inspect all connections between the power supply and the LED strip.
- Use a screwdriver to tighten any loose screws in terminal blocks or connectors.
- If using soldered connections, reflow the solder joints with a soldering iron to ensure good contact.
- Clean any corroded or oxidized contacts with isopropyl alcohol and a soft brush.
Solder to Bypass the Faulty First LED
- Carefully cut out the first LED using wire cutters or a sharp knife.
- Strip a small section of the copper traces on either side of the cut.
- Solder a short piece of wire to bridge the gap, connecting the input to the second LED.
- Ensure the polarity is maintained when bypassing the faulty LED.
Ensure Appropriate Voltage Power Supply is Used
- Check the specifications of your LED strip to determine the correct operating voltage (usually 12V or 24V).
- Measure the output voltage of your power supply using a multimeter to confirm it matches the strip's requirements.
- If the voltage is incorrect, replace the power supply with one that provides the proper voltage.
- Ensure the power supply can deliver sufficient current for the entire length of your LED strip.
Double-check Polarity of Strip Matches Power Supply
- Verify that the positive (+) and negative (-) terminals of the power supply are connected to the corresponding inputs on the LED strip.
- Look for markings on the strip indicating polarity, usually labeled as "+" and "-" or color-coded (red for positive, black for negative).
- If using a controller, ensure it's not reversing the polarity inadvertently.
- Use a multimeter to confirm the correct polarity at various points along the strip.
Preventing LED Fade Out Issues
Invest in High-Quality LED Strip Lights
- Choose reputable brands known for their quality and reliability.
- Look for LED strips with thicker PCB boards (at least 2oz copper) for better heat dissipation and current flow.
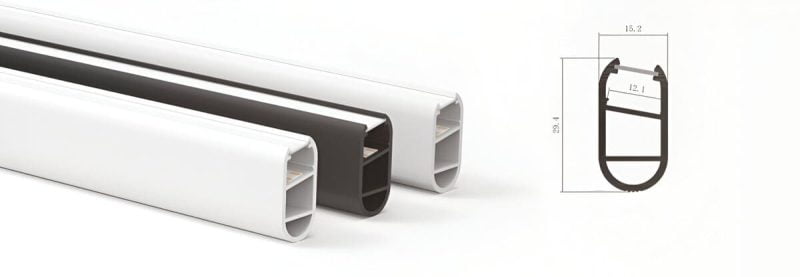
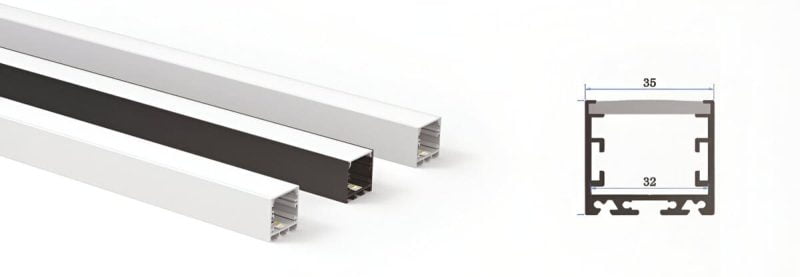
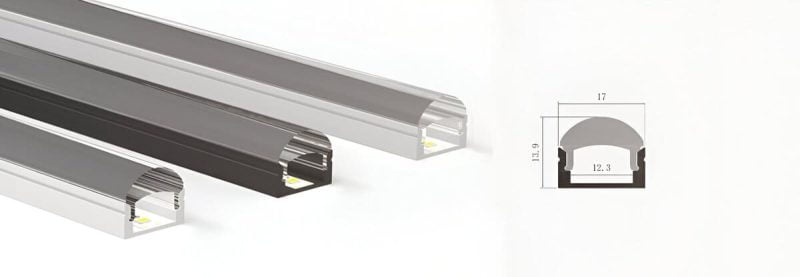
- Opt for higher-quality aluminum LED profiles with strips, such as those from well-known manufacturers like Awisdom Tile Accessories.
- Consider strips with built-in current-limiting resistors for each LED to ensure consistent brightness.
Perform a Test Run of Strips Before Installing
- Unroll the entire LED strip and connect it to the power supply before permanent installation.
- Run the strip for several hours to identify any potential weak points or manufacturing defects.
- Check for consistent brightness and color across the entire length of the strip.
- Test all functions and color changes if using an RGB or addressable strip.
Use an Adequate Power Supply and Avoid Overloading
- Calculate the total power requirement of your LED strip installation (watts per meter × total length).
- Choose a power supply that can provide at least 20% more than the calculated requirement to allow for headroom.
- For longer runs, use multiple power supplies or inject power at regular intervals (typically every 5 meters).
- Consider using a regulated power supply to maintain stable voltage output under varying loads.
Ensure Secure Connections and Proper Polarity
- Use appropriate connectors or solder joints for all connections.
- Double-check polarity at every connection point, including power supply, controllers, and strip segments.
- Apply strain relief to prevent mechanical stress on solder joints or connectors.
- Use heat shrink tubing or silicone sealant to protect connections from moisture and oxidation.
Additional Prevention Measures
Proper Heat Management
- Ensure adequate ventilation around the LED strip, especially in enclosed spaces.
- Consider using aluminum channels or heat sinks for better heat dissipation.
- Avoid installing strips in areas exposed to direct sunlight or high temperatures.
Voltage Drop Compensation
- For longer runs, use thicker gauge wires for power distribution.
- Implement voltage drop calculations and add power injection points as needed.
Protection Circuits
- Install fuses or circuit breakers to protect against short circuits and overloads.
- Use surge protectors to guard against voltage spikes that can damage LEDs.
Regular Maintenance
- Periodically inspect the LED strip for signs of wear, discoloration, or loose connections.
- Clean the strip and surrounding area to prevent dust accumulation, which can affect heat dissipation.
Proper Installation Techniques
- Follow manufacturer guidelines for bending radius and mounting methods.
- Use appropriate adhesives or mounting clips designed for LED strips.
FAQs about LED Strip Lights
Why do my LED lights come on then go off?
If your LED lights turn on and then abruptly switch off, it is probable that your power supply is overloaded. When a power supply is overloaded, it might initially power the lights, recognizing the overload, and then promptly shut off to prevent damage. To resolve this, ensure your power supply's wattage is appropriate for the number of LED lights you are using. You may need to upgrade to a higher capacity or reduce the load by using fewer lights.
What does it mean if my LED lights glow for a second and then shut off?
When LED lights briefly glow and then shut off, it's often due to a phenomenon called "afterglow." This occurs when the luminescent materials within the LED continue to emit light briefly even after the power is cut. This afterglow is a normal characteristic of many LEDs and poses no safety risks. It's more noticeable in the dark or when lights are first turned off.
Why do my LED lights go dim then bright?
Fluctuations in your LED lights, such as dimming and then brightening, are commonly caused by unstable electrical connections. Loose or faulty wiring can intermittently disrupt the steady flow of electricity, affecting the voltage that reaches your lights. Ensuring that all connections are secure and in good condition can help stabilize the lighting. Consider consulting an electrician to inspect and repair any faulty connections.
What is LED ghosting?
Ghosting occurs when LEDs emit a faint glow even when the switch is off. This phenomenon typically results from a small amount of electrical current leaking through the switch or circuit. It is more common with older or incompatible light switches. Switching to LED-compatible switches, which are specifically designed to prevent such leakage, can effectively eliminate ghosting with your LED fixtures.


