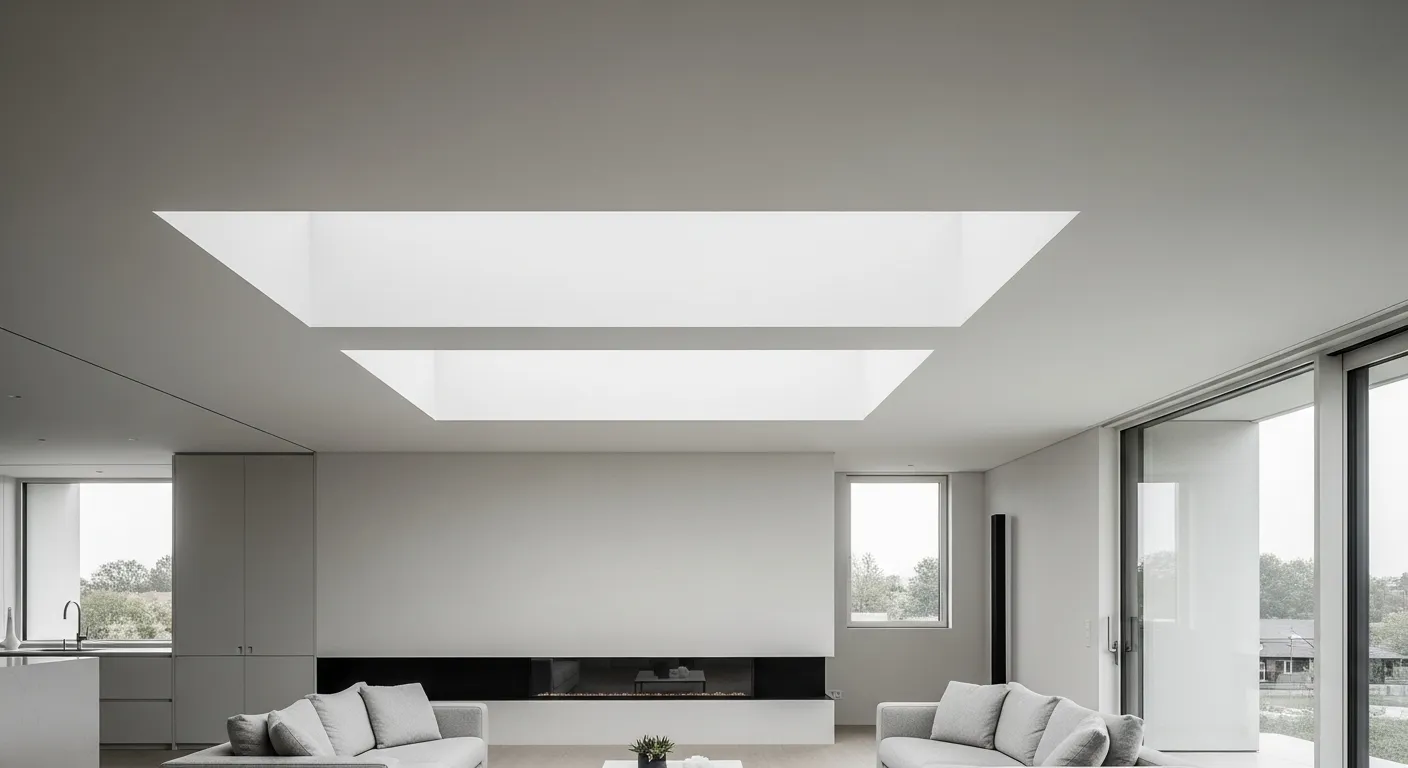
A recessed channel tracing the perimeter of a room, where the ceiling appears to detach and float, is a detail that defines modern architecture. This is the shadow gap ceiling. It replaces traditional crown molding not with another ornament, but with a statement of precision. While the visual effect is one of lightness, achieving it demands an exacting construction process. This guide provides a complete professional framework, detailing every step from structural assessment to the final, flawless finish, ensuring this sophisticated feature is executed to its highest potential.
What Is a Shadow Gap Ceiling?
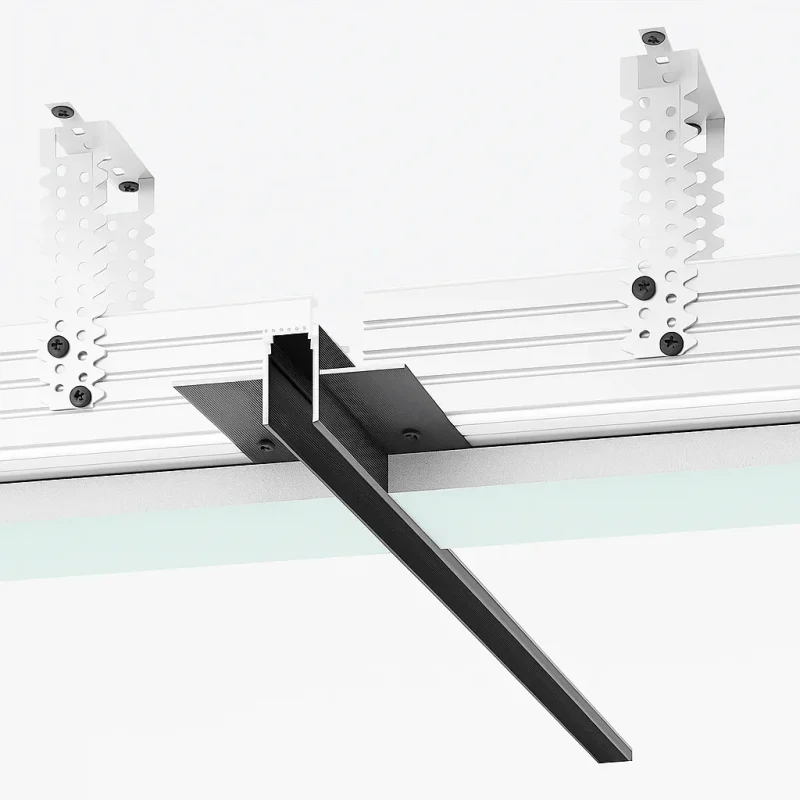
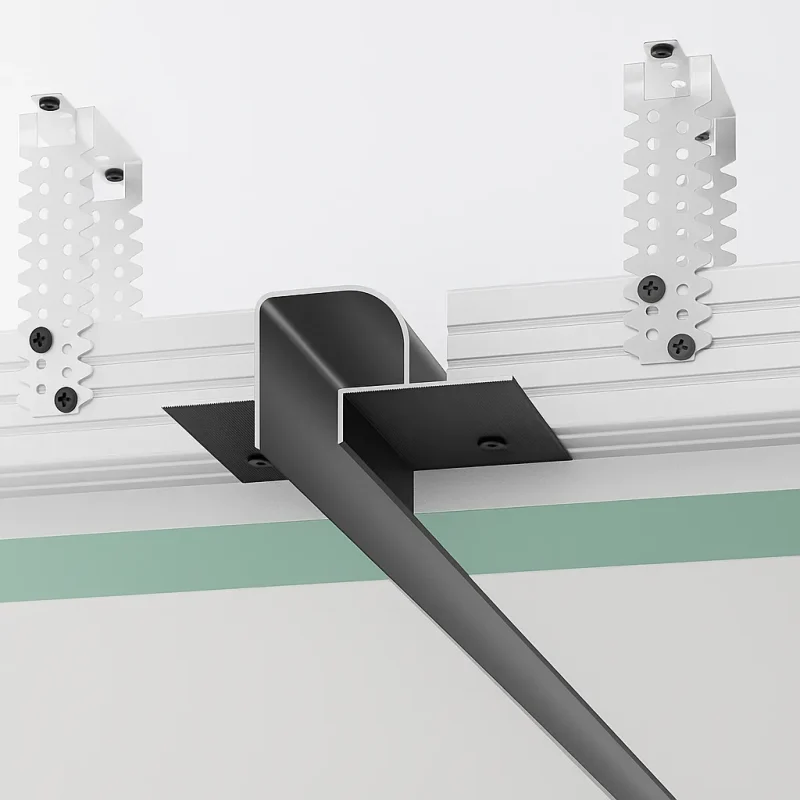
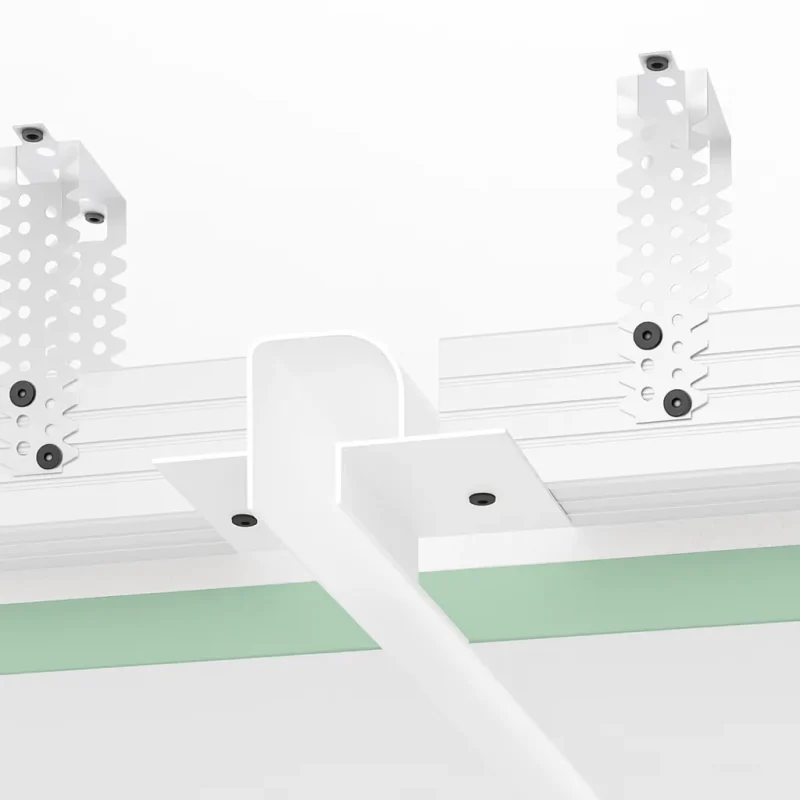
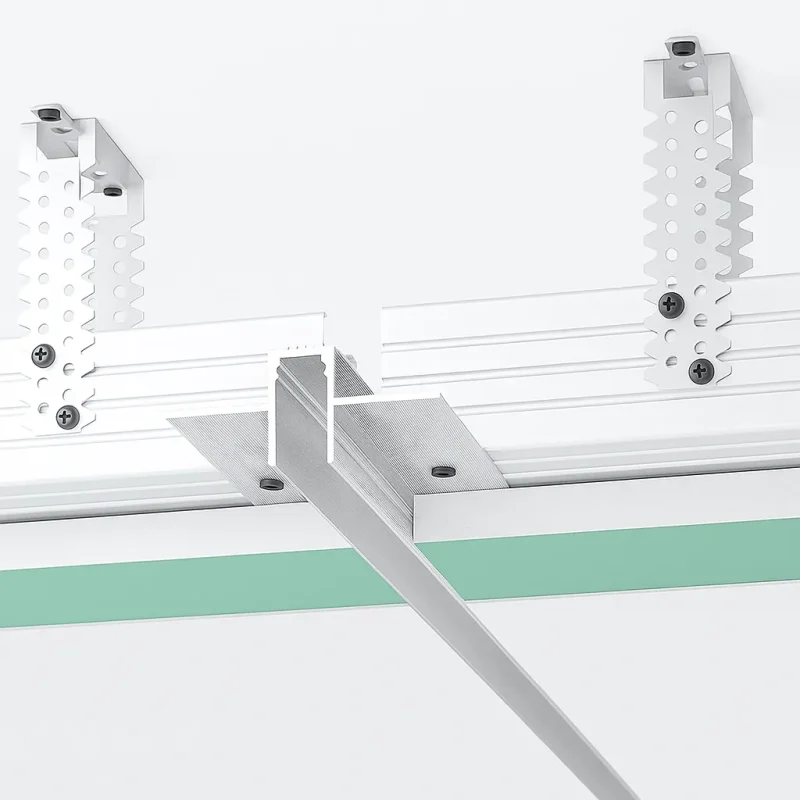
A shadow gap ceiling is an architectural detail where a clean, recessed channel is created at the junction between the wall and the ceiling. This is not merely a gap left between materials. It is a precisely engineered void formed by installing a dedicated profile, typically made of metal or vinyl. The core purpose of this profile is to create a crisp, uniform boundary.
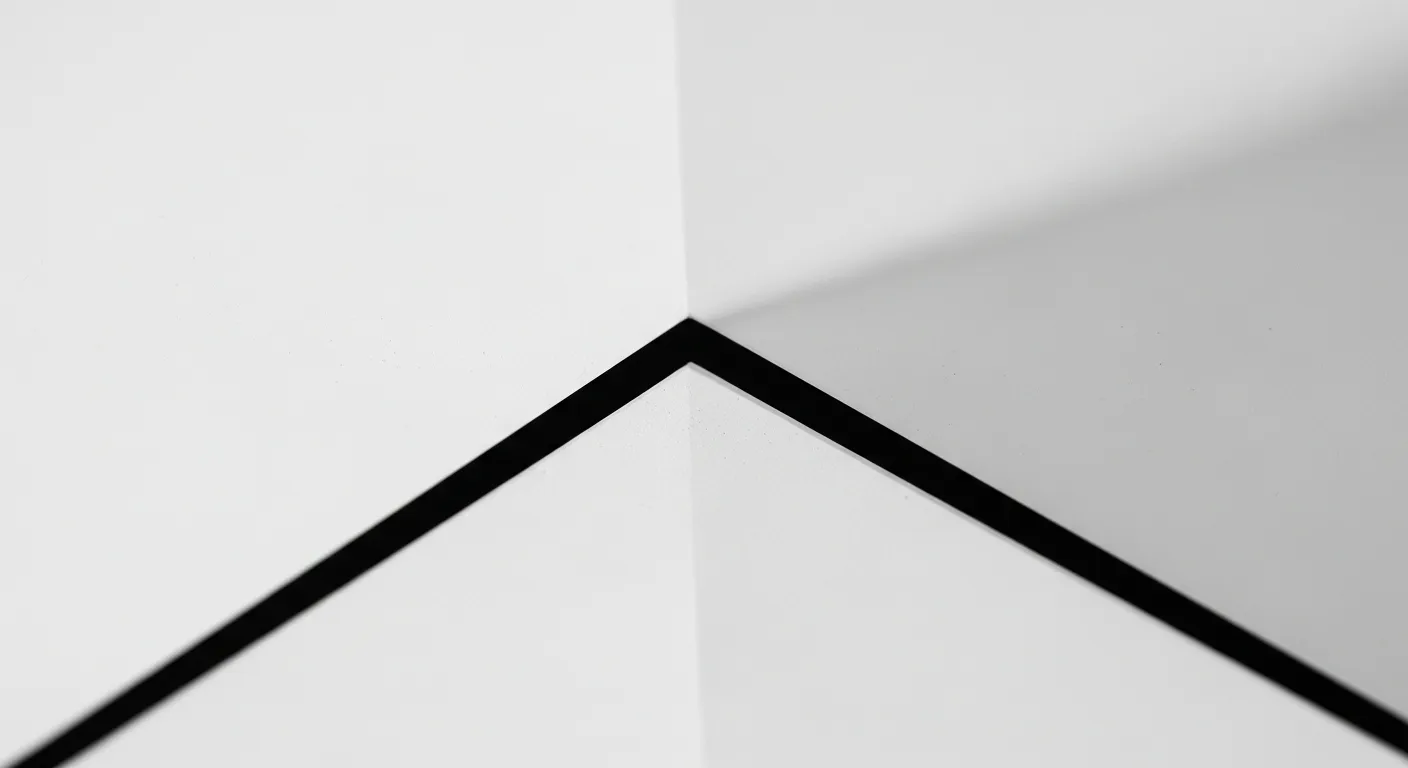
The aesthetic result is a visual separation of the two planes. The dark line of the shadow creates an illusion of depth, making the ceiling appear disconnected from the walls. This effect is often described as a "floating ceiling," which can make a space feel taller and more open.
Why Choose a Shadow Gap Detail?
Opting for a shadow gap is a decision rooted in a specific design philosophy. It is a commitment to minimalism and structural honesty, moving beyond simple decoration to influence the architectural character of a room.
The Modern Architectural Statement
The shadow gap has its origins in the Modernist movement, which sought to strip away superfluous ornamentation in favor of pure form and function. Traditional moldings were seen as elements that covered and decorated a joint. The shadow gap, in contrast, articulates the joint honestly. It does not hide the transition between wall and ceiling; it defines it with a clean, geometric line. This approach expresses a high level of design intent, where every detail is deliberate and contributes to a refined, uncluttered environment.
Shadow Gap Versus Crown Molding
The choice between a shadow gap and crown molding represents a fundamental difference in construction methodology. Crown molding is an additive process; it is applied over the wall-ceiling joint to conceal imperfections in the drywall finish. It is a forgiving detail.
A shadow gap is a subtractive process. It exposes the quality of the construction rather than hiding it. The straightness and consistency of the gap are entirely dependent on the precision of the underlying structure and the skill of the installer. Any unevenness in the framing or sloppiness in the finishing will be immediately apparent. This makes the installation more demanding and often increases labor costs, as it requires a higher standard of craftsmanship from the very start of the project.
Feature | Shadow Gap | Crown Molding |
|---|---|---|
Aesthetics | Minimalist, modern, clean lines. Creates a "floating" effect. | Traditional, classic, or ornate. Adds a decorative element. |
Installation Complexity & Cost | High. Requires a perfectly level structure and advanced finishing skills. Labor costs are typically higher. | Moderate. Forgiving of minor imperfections in the wall-ceiling joint. Lower labor costs. |
Maintenance | The recessed channel can accumulate dust and requires cleaning with a vacuum attachment. | A solid surface that is generally easy to wipe clean. |
Imperfection Tolerance | Low. Exposes any unevenness in the framing or poor finishing work. | High. Its primary function is to cover gaps and imperfections. |
Planning Your Shadow Gap Ceiling Project
The outcome of a shadow gap ceiling is determined almost entirely by the quality of the planning. A perfect result is 90% preparation and 10% execution. Attempting to correct foundational errors during the finishing stage is a common and costly mistake.
Assess Your Structure First
The absolute prerequisite for a successful shadow gap is a straight and level framing structure. The rigid profiles used to form the gap will not bend or conform to a sagging ceiling or a bowed wall. Any such imperfection will be directly translated into a shadow line that visibly widens and narrows, destroying the intended effect.
Before beginning, conduct a thorough assessment of the room's framing using a laser level. Project a level line around the entire perimeter to identify any dips in the ceiling joists or irregularities in the walls. Any structural issues must be rectified before the profiles are installed. This may involve sistering joists to strengthen them or planing down high spots on studs. An imperfect frame guarantees a flawed result.
Choose the Right Gap Dimensions
The width of the shadow gap is a design decision that affects both the final look and the difficulty of installation.
A narrow gap of 10mm (approximately 3/8 inch) produces a subtle and highly refined line. This is often desired in high-end minimalist designs. However, it is extremely unforgiving; any minor variation in the installation will be magnified.
A wider gap, in the range of 20mm to 30mm (approximately 3/4 to 1 1/8 inches), creates a more pronounced shadow and a more dramatic floating effect. This larger dimension is also more tolerant of small imperfections, making it a safer choice for many projects. A critical professional warning is that a gap made too small can appear to be a construction error or a crack, rather than a deliberate design feature.
Select the Best Profile Material
The profile is the backbone of the shadow gap, and its material directly influences the project's quality and durability. While PVC profiles are inexpensive, they are less rigid and may not produce the perfectly sharp line required for a high-end finish.
For this reason, extruded aluminum profiles are the professional standard. Their rigidity ensures a perfectly straight line, even when mitigating minor substrate imperfections. They are manufactured to tight tolerances, creating the sharpest possible edge for the plaster to finish against. This strength also provides a durable corner that resists impact damage.
- Aluminum: The preferred choice for projects demanding the highest level of precision, the sharpest lines, and maximum durability. Its rigidity is essential for achieving a flawless result.
- Galvanized Steel: A strong and reliable option that balances performance with cost. It provides good rigidity and durability for general construction.
- PVC/Vinyl: Best suited for budget-conscious or DIY projects where some compromise on sharpness and long-term durability is acceptable. It is easier to cut but lacks the rigidity of metal.
How to Install a Shadow Gap Ceiling Step by Step
The installation is a precise sequence of events. Each step must be completed accurately, as it provides the foundation for the next.
Step 1: Prepare and Install the Profile
This step establishes the reference for the entire ceiling. Using a laser level, project a perfectly level line around the room where the profile will sit. Cut the profiles to length using a power miter saw. For aluminum, a blade designed for non-ferrous metals is required to ensure a clean, burr-free cut. All corners must be cut at a precise 45-degree angle to meet perfectly.
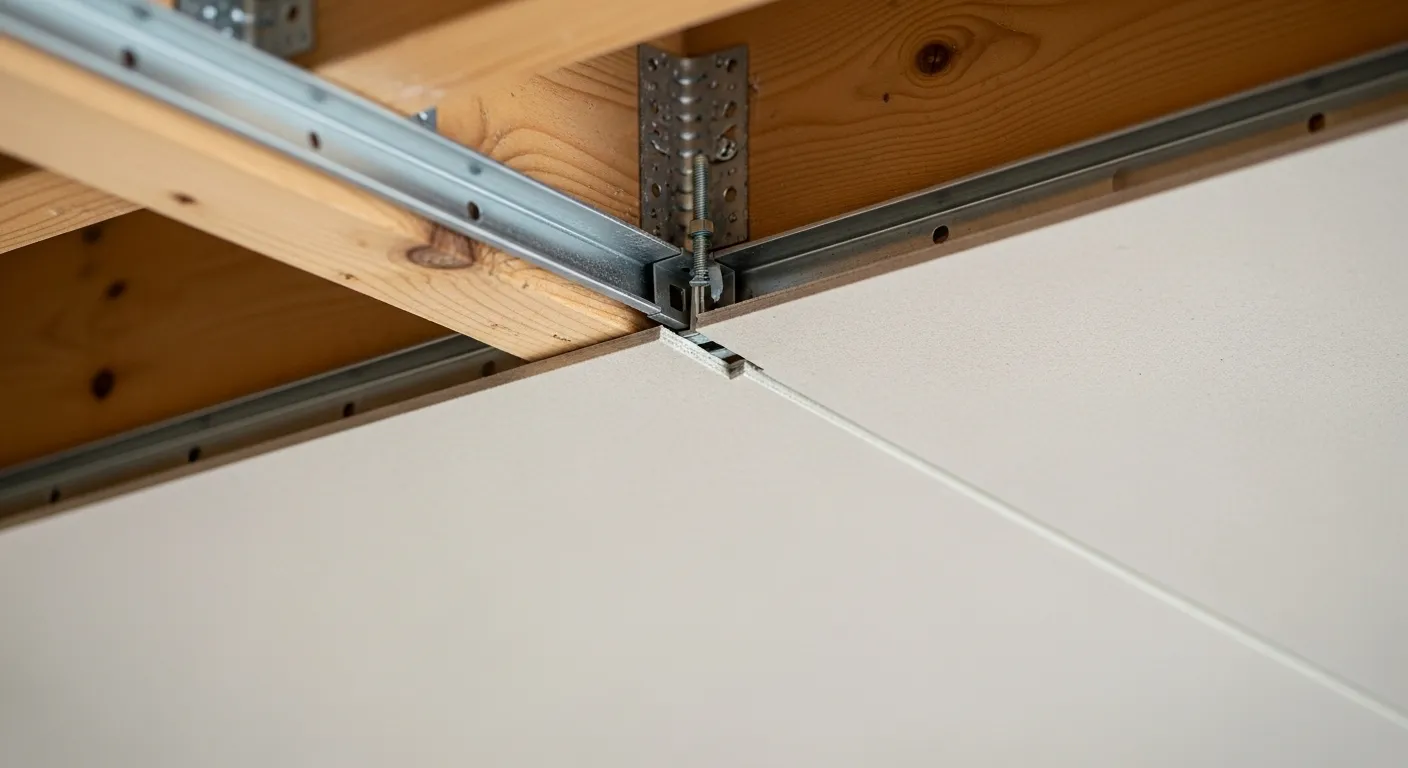
Fasten the profiles securely to the framing (ceiling joists or wall studs) with screws. Do not attach them only to the drywall. Continuously check with a level as you fasten each piece to ensure it remains perfectly straight.
Step 2: Hang the Drywall
With the profiles installed, the drywall sheets are hung. The critical action is to ensure the edge of the drywall butts up firmly against the "return leg" of the shadow gap profile. This tight contact is what creates the clean, sharp edge of the gap. The drywall is fastened to the framing as usual, held back from the adjacent wall by the profile itself.
Step 3: Finish for a Seamless Appearance
This is the most skill-intensive phase. The goal is to blend the profile's "mud leg" into the ceiling so it becomes completely invisible. Before applying any joint compound, place a piece of foam or scrap material inside the channel to catch drips and simplify cleanup.
Apply a thin coat of joint compound over the perforated mud leg and embed paper drywall tape. Follow this with at least two more coats, using progressively wider taping knives to feather the compound out onto the ceiling plane. After the final coat is dry, sand the surface until it is perfectly smooth. To check for imperfections, hold a bright light at a low angle to the surface. This will cast long shadows from any ridges or low spots, revealing areas that need further attention.
Step 4: Prime and Paint for Effect
Once the surface is sanded and cleaned of all dust, apply a quality drywall primer. This seals the joint compound and ensures the final paint coat is uniform. After priming, apply two coats of ceiling paint.
The treatment of the gap itself is a final design choice. For maximum contrast and to enhance the floating effect, carefully paint the inside of the channel matte black. For a more subtle, monolithic appearance, the gap can be painted the same color as the ceiling.
How to Avoid Common Shadow Gap Mistakes
Executing this detail successfully means anticipating and solving problems before they become permanent flaws in the finish.
Fixing Problems on Uneven Ceilings
The most common failure is an inconsistent gap caused by an uneven ceiling. The wrong approach is to try and force the rigid profile to follow the curve. The professional solution is to correct the substrate. This can be done by "floating" the entire ceiling with joint compound to create a new, level plane.
Alternatively, a high-quality, rigid aluminum profile can be installed perfectly level, establishing a new straight reference line. The finisher then uses their skill to feather the joint compound far out onto the ceiling, creating a gradual transition that hides the substrate's unevenness.
Achieving Perfect Corners
Imprecise miter cuts lead to visible gaps at the corners, which are difficult to fill and often crack. There is no substitute for a quality power miter saw with the correct blade for the profile material. A precise 45-degree cut is the only way to achieve a seamless corner that reinforces the clean, geometric look of the detail.
Is This a Suitable DIY Project?
A shadow gap ceiling requires a high level of drywall finishing skill, equivalent to a Level 4 or Level 5 standard. This is far beyond the scope of a typical DIY project. The finishing process—creating a perfectly flat, seamless surface over the profile joints—is an art that takes years of practice.
DIY vs. Professional Decision Guide
A professional should be hired if you answer "no" to any of the following:
- Is the existing framing perfectly straight and level?
- Do you own a power miter saw with a blade suitable for cutting metal profiles?
- Do you have extensive experience in drywall finishing, capable of achieving a Level 4 or Level 5 finish?
Attempting this project without the right tools and experience often leads to a result that highlights imperfections rather than creating a high-end finish, making the professional route a more economical choice in the long run.
Advanced Shadow Gap Ceiling Designs
Mastering the basic installation opens the door to more complex and integrated applications that can elevate an entire space.
How to Integrate LED Lighting
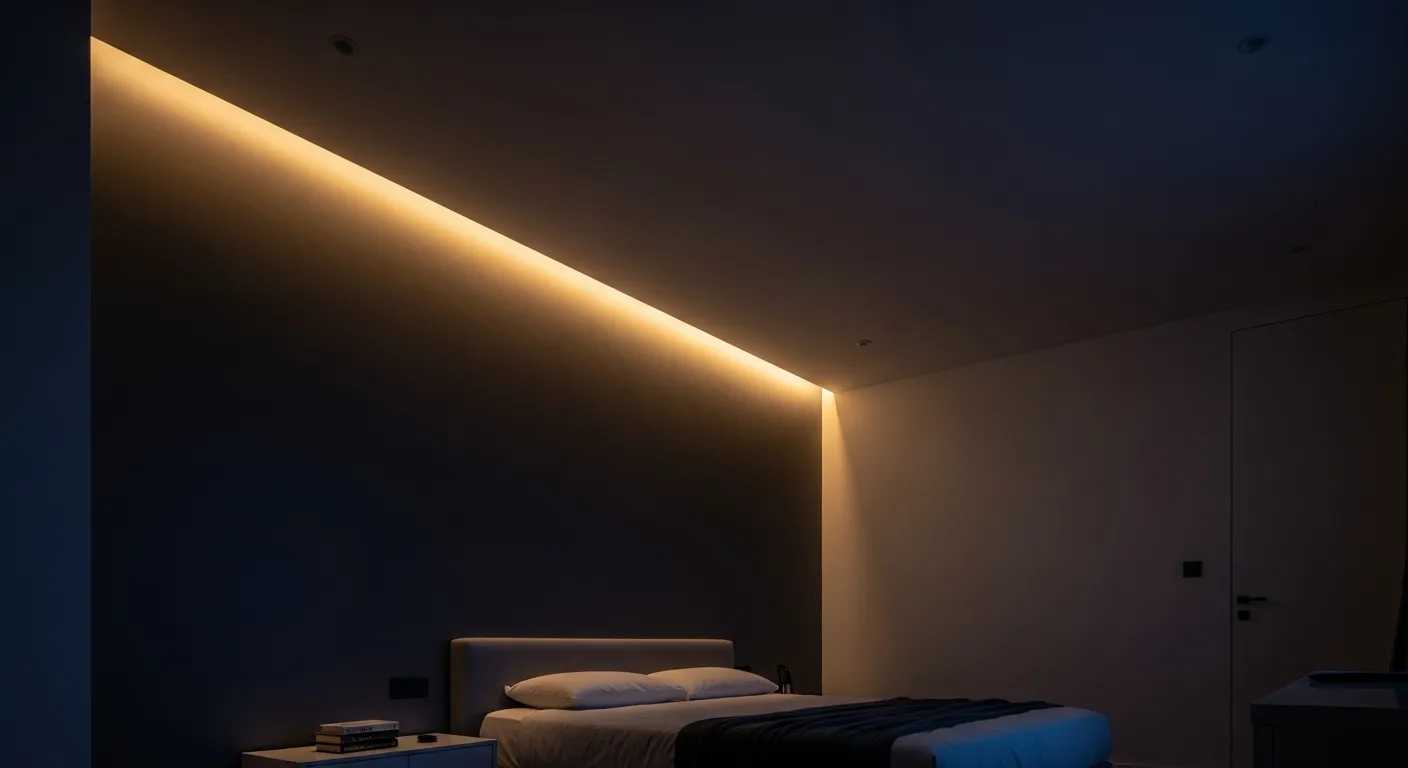
The shadow gap channel is an ideal location for concealed LED lighting, which enhances the floating effect with a soft, indirect glow. This requires specialized aluminum profiles designed to house LED strips, often paired with a frosted polycarbonate diffuser. The diffuser is essential for blending the light from individual LED chips into a continuous, dot-free line.
Electrical planning is critical. For runs around an entire room, 24V LED strips are necessary to avoid voltage drop, which causes light to dim at the end of the run. Furthermore, the LED driver (power supply) must be installed in an accessible location for maintenance and heat dissipation, not sealed within the ceiling cavity.
Applying the System Beyond Ceilings
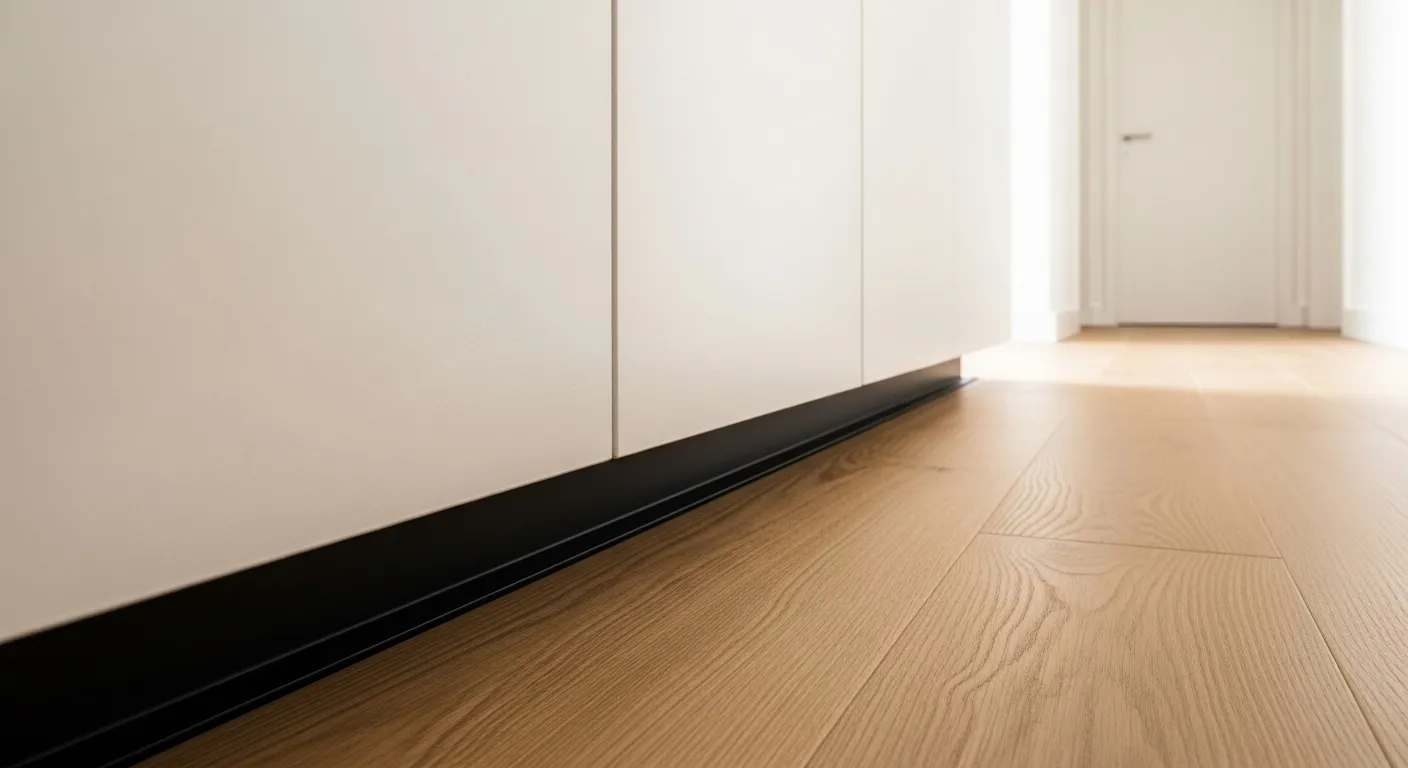
The shadow gap is a design language, not just a single detail. This same principle can be applied to other junctions to create a cohesive interior. A shadow gap at the floor creates a recessed skirting and a "floating wall" effect. Specialized profiles can be used around doorways to create trimless openings, where the door becomes a seamless part of the wall plane. This system-based approach is the hallmark of a thoroughly considered modern design.
Frequently Asked Questions
What is the best material for a shadow gap profile?
Aluminum is the best material for achieving a professional, high-end result. Its rigidity ensures a perfectly straight line, and its durability provides a robust edge that resists damage. For budget-conscious DIY projects, PVC is an alternative, though it may not produce as sharp a finish.
What is the ideal size for a ceiling shadow gap?
The ideal size depends on the desired effect. A 10mm (3/8") gap is subtle and refined but very unforgiving of installation errors. A 20-30mm (3/4" - 1 1/8") gap is more pronounced, enhances the floating effect, and is more tolerant of minor imperfections, making it a safer choice for many applications.
How do you clean a shadow gap ceiling?
The best method is to use a vacuum cleaner with a soft brush or crevice tool attachment. Gently run the attachment along the recessed channel to remove dust and cobwebs. This should be done as part of a regular cleaning routine to prevent buildup.
Can a shadow gap help hide cracks?
A shadow gap creates an intentional, clean break at the wall-ceiling junction. This can accommodate minor building movement better than a hard, 90-degree plaster corner, making it less likely to show stress cracks over time. However, it is not designed to hide large, existing structural cracks.
Does a shadow gap ceiling cost more than crown molding?
Yes, a shadow gap ceiling is generally more expensive than installing crown molding. The primary reason is the higher labor cost. It requires a more skilled installer and a more time-consuming process to achieve the necessary level of precision in both the framing and the drywall finishing.
Can you add a shadow gap to an existing ceiling?
Yes, but it is a complex renovation project. It involves cutting back the existing drywall at the ceiling perimeter, installing the shadow gap profile onto the framing, and then meticulously plastering and finishing to blend the new profile into the old ceiling surface. Any unevenness in the existing ceiling must also be addressed.


