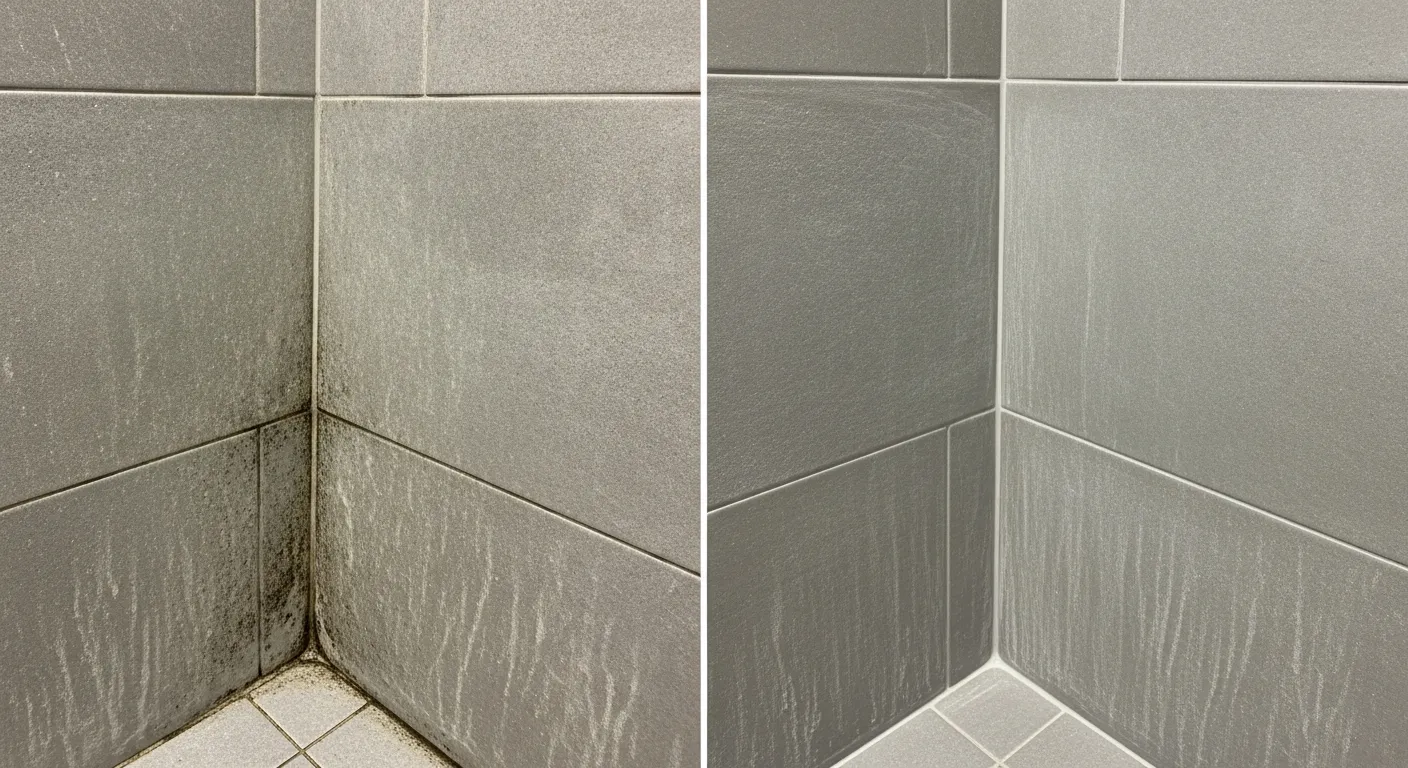
Black lines snaking through shower grout are a familiar sight. This recurring mold signals a deeper issue than simple surface stains, a problem that endless scrubbing cannot solve. Understanding how to remove mold from shower grout effectively begins with addressing its root cause. This guide provides a complete plan to not only clean the visible mold but to eliminate the conditions that allow it to grow, ensuring it does not return.
Why Mold Grows in Grout
Mold is a fungus, and for its spores to activate and grow, they require four specific conditions. In a shower, all four are consistently present.
- Moisture: This is the most critical element. Without water, mold cannot grow. Steam, condensation, and water from the shower provide a constant source.
- Food: Mold feeds on organic material. In a shower, this includes soap scum, body oils, and dead skin cells.
- Warmth: Most mold species thrive in the same temperature range that humans find comfortable, typically between 60°F and 80°F (15°C to 27°C).
- Oxygen: This is readily available in any home environment.
Of these four conditions, moisture is the only one a homeowner can effectively control. This fact is the foundation of all effective mold prevention.
The Problem with Grout
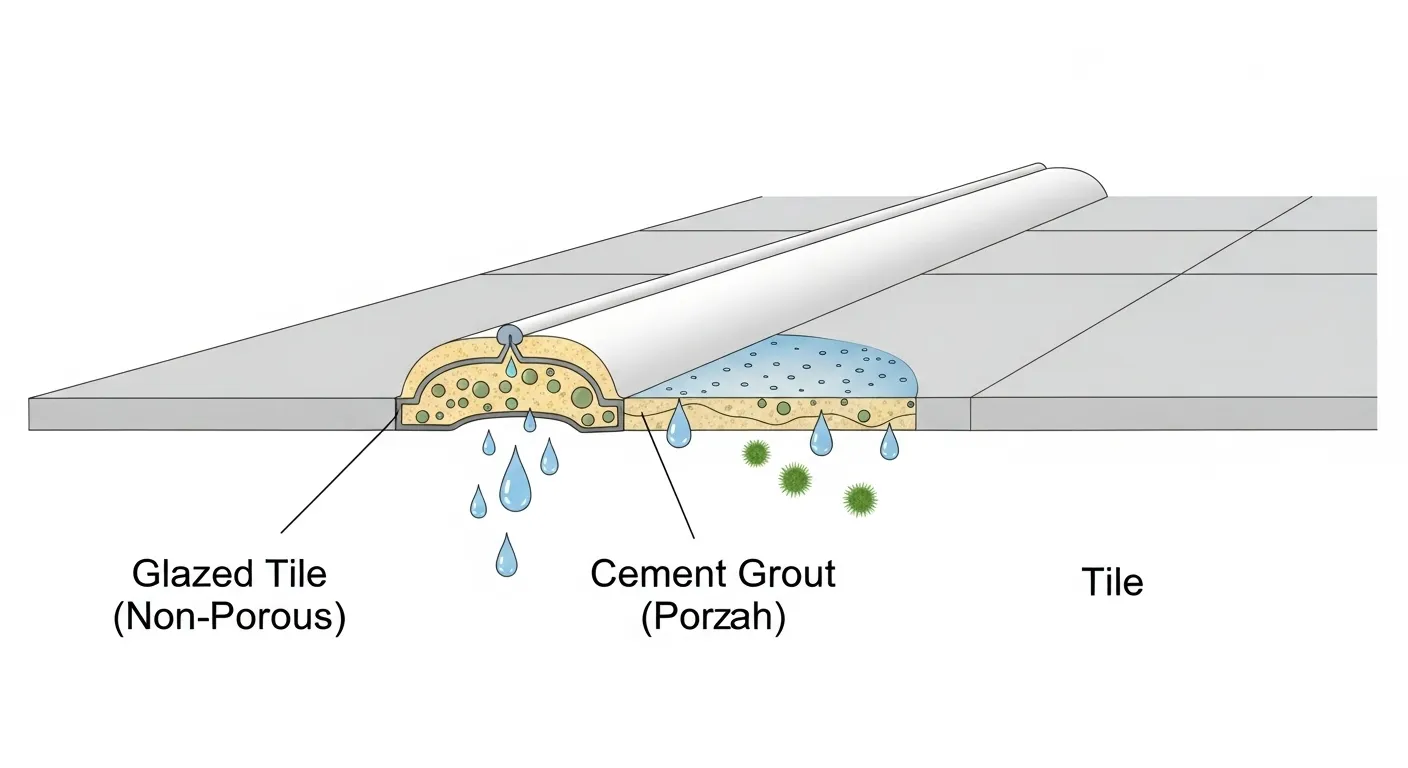
Traditional cement grout is the weak link in most showers. Its structure is porous, meaning it is filled with microscopic holes. When exposed to water, this grout acts like a sponge, absorbing and holding moisture long after the shower is turned off.
This trapped moisture creates the perfect environment for mold. Furthermore, the rough, porous texture of the grout traps the soap scum and other organic matter it needs for food. A material that provides both shelter and sustenance for mold is fundamentally flawed for a wet environment.
Hidden Mold Inside Your Walls
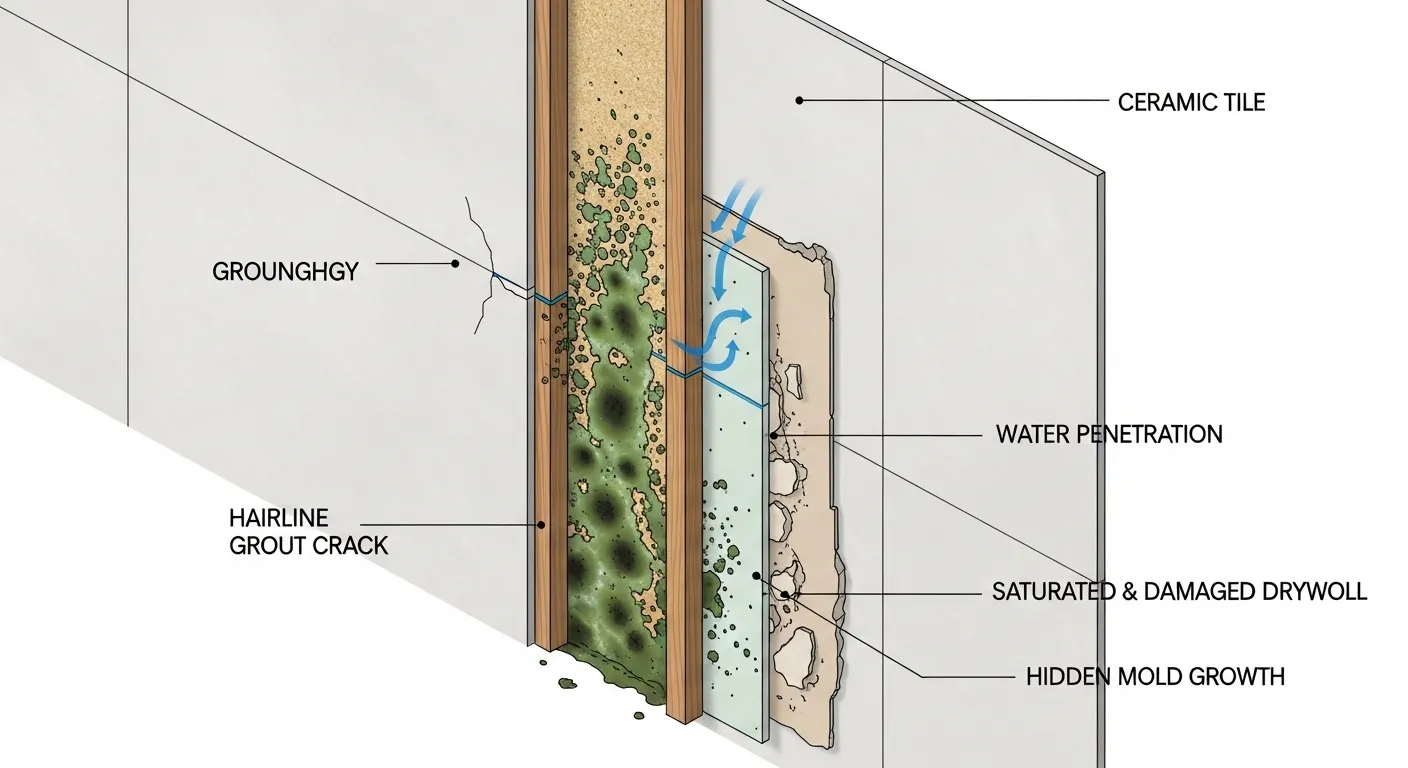
The visible mold on the grout surface is often just a symptom of a much larger problem. As water repeatedly soaks into the porous grout, it can eventually pass through cracks or failures in the grout line and enter the wall cavity behind the tile.
Once inside the wall, this moisture finds a dark, damp space with ample food sources like the paper on drywall or wood studs. A hidden mold colony can then flourish, protected from cleaning efforts. The mold you repeatedly scrub away from the surface is often just the visible part of this hidden growth, which explains why it seems to always return.
Common Types of Shower Discoloration
While many different molds can appear in a shower, you will typically encounter one of the following.
- Black or Green Mold: These are common colors for various mold species that thrive in damp conditions.
- Pink Residue: Often mistaken for "pink mold," this is a biofilm created by an airborne bacterium called Serratia marcescens. It indicates a constantly damp surface, which also supports true mold growth.
- Mildew: This is a specific type of mold that grows on the surface of materials and often has a powdery appearance.
Safety Equipment for Mold Cleanup
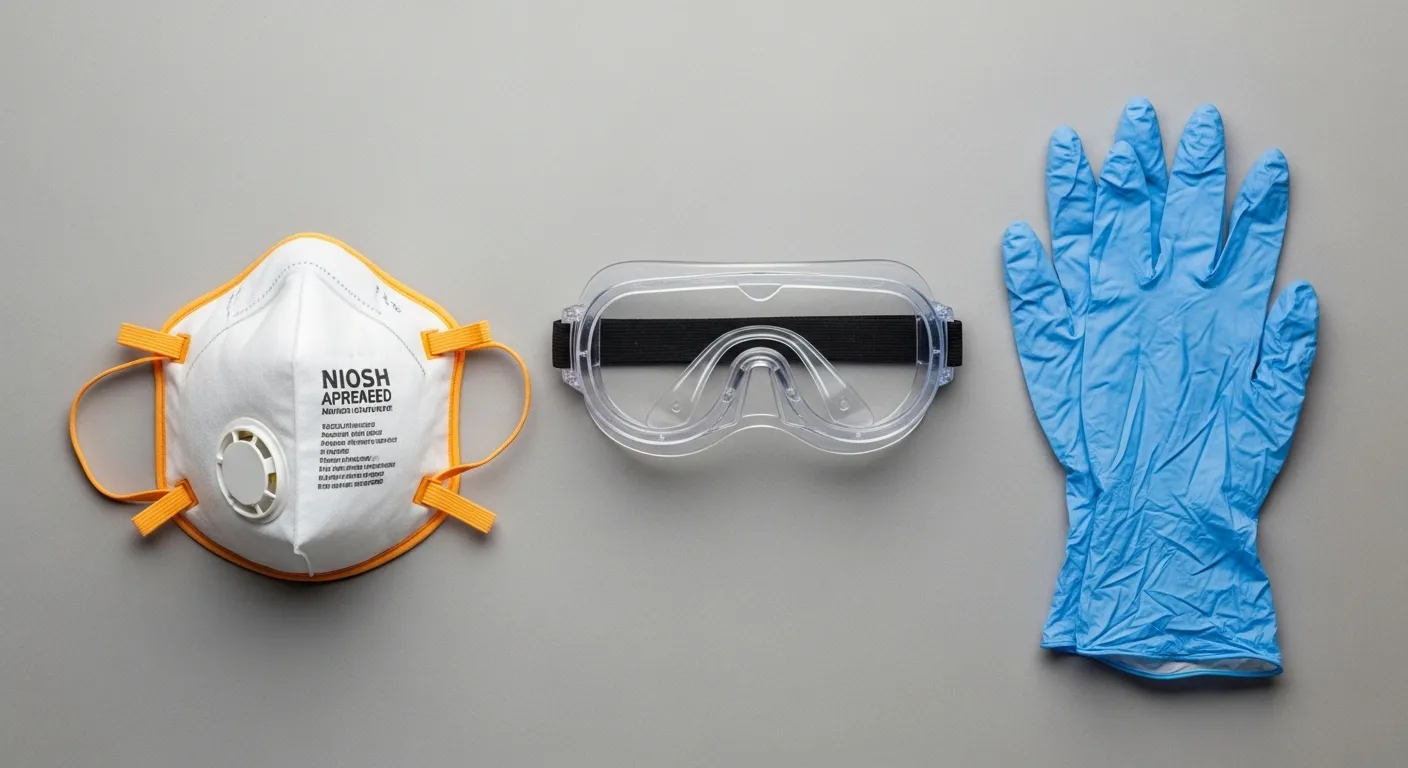
Before beginning any cleaning process, protecting yourself is the first step. The process will disturb mold spores and may involve chemical cleaners. Gather the following Personal Protective Equipment (PPE).
- An N95 respirator mask to prevent inhaling airborne spores.
- Safety goggles to protect your eyes from splashes.
- Non-porous gloves, such as rubber or nitrile, to prevent skin contact.
Proper Ventilation is Crucial
Before you open any cleaning products, ensure the area is well-ventilated. Open any windows in the bathroom and turn on the exhaust fan. If you do not have a fan, you can place a box fan in the doorway, pointing out of the room, to help pull air out. This airflow serves two functions: it disperses the chemical fumes from your cleaning solution, and it helps remove any mold spores that become airborne during the scrubbing process.
Critical Safety Warning: Never Mix Cleaning Chemicals
There is one rule that must never be broken: Never mix chlorine bleach with any product containing ammonia or any type of acid, such as vinegar.
- Mixing bleach and ammonia creates toxic chloramine gas.
- Mixing bleach and acid creates toxic chlorine gas.
Both of these gases can cause severe respiratory damage. If one cleaning solution does not work, rinse the surface thoroughly with plain water before trying a different product.
Cleaning Mold with Household Products
Many effective solutions for mold are common household items. These methods are often preferred for their low cost and lower chemical intensity.
Method 1: Distilled White Vinegar
Vinegar is a mild acid, which allows it to break down the structure of many common mold species. Its primary advantage is its ability to penetrate porous surfaces like grout to address the mold's root structure.
- Step 1: Pour undiluted white vinegar into a clean spray bottle.
- Step 2: Spray the vinegar directly onto the moldy grout lines until they are fully saturated.
- Step 3: Let the vinegar sit for at least one hour. This time allows the acid to work on the mold.
- Step 4: Use a stiff-bristled brush to scrub the grout lines.
- Step 5: Rinse the entire area thoroughly with warm water.
Vinegar is an effective and inexpensive natural cleaner, but its odor can be strong. The smell will dissipate as it dries.
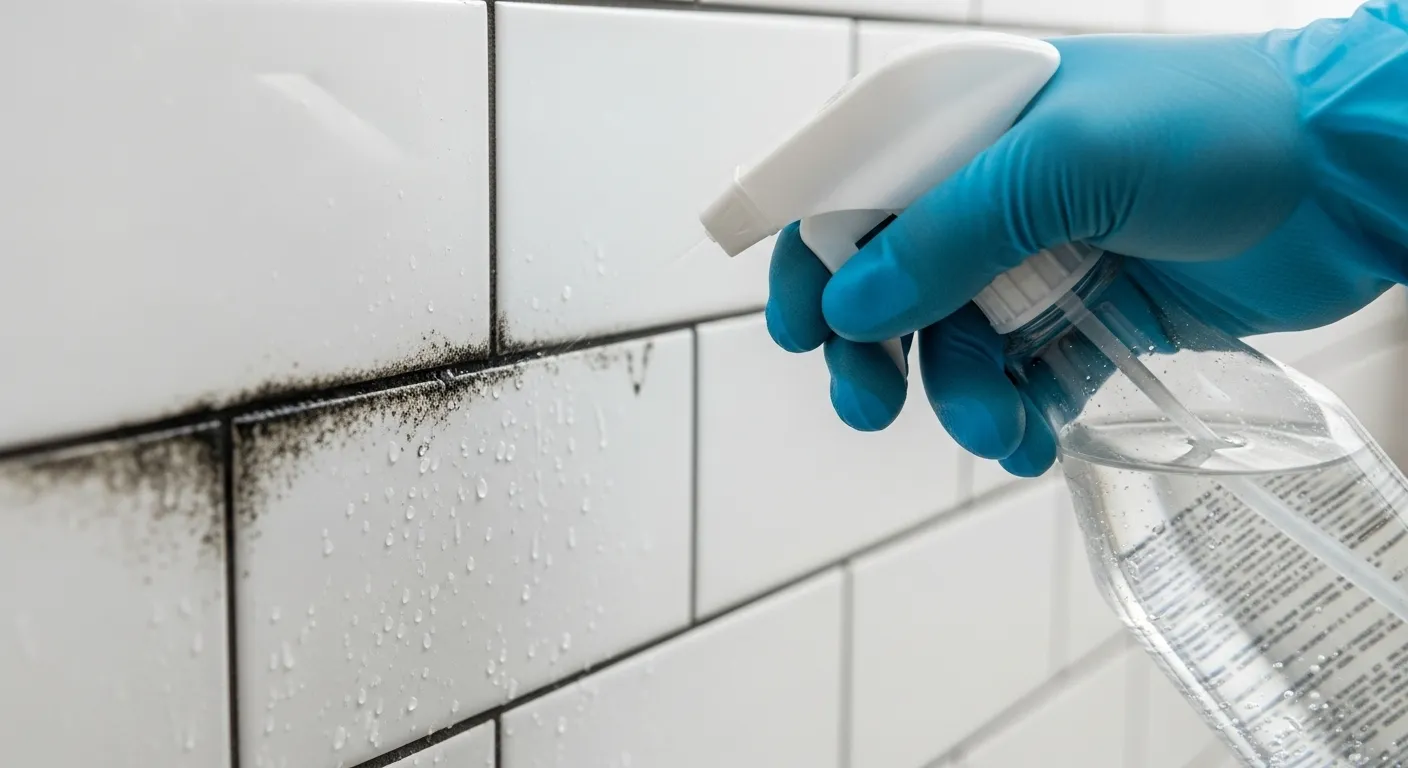
Method 2: Hydrogen Peroxide
Hydrogen peroxide (a 3% solution is standard) is an antiseptic that works as an oxidizing agent. It releases oxygen, which breaks down the cellular structure of the mold. It is effective on both porous and non-porous surfaces.
- Step 1: Pour 3% hydrogen peroxide into a spray bottle.
- Step 2: Spray the solution directly onto the moldy grout. You may see it start to fizz.
- Step 3: Let the solution sit for 10 to 15 minutes.
- Step 4: Scrub the area with a stiff-bristled brush.
- Step 5: Rinse the surface with water.
Hydrogen peroxide is a strong disinfectant and produces fewer fumes than bleach. Be aware that its mild bleaching effect can lighten colored grout, so it is best to test it on a small, inconspicuous area first.
Method 3: Baking Soda Paste
Baking soda, or sodium bicarbonate, is a gentle, natural abrasive. It is most effective when used to add physical scrubbing power to a cleaning regimen.
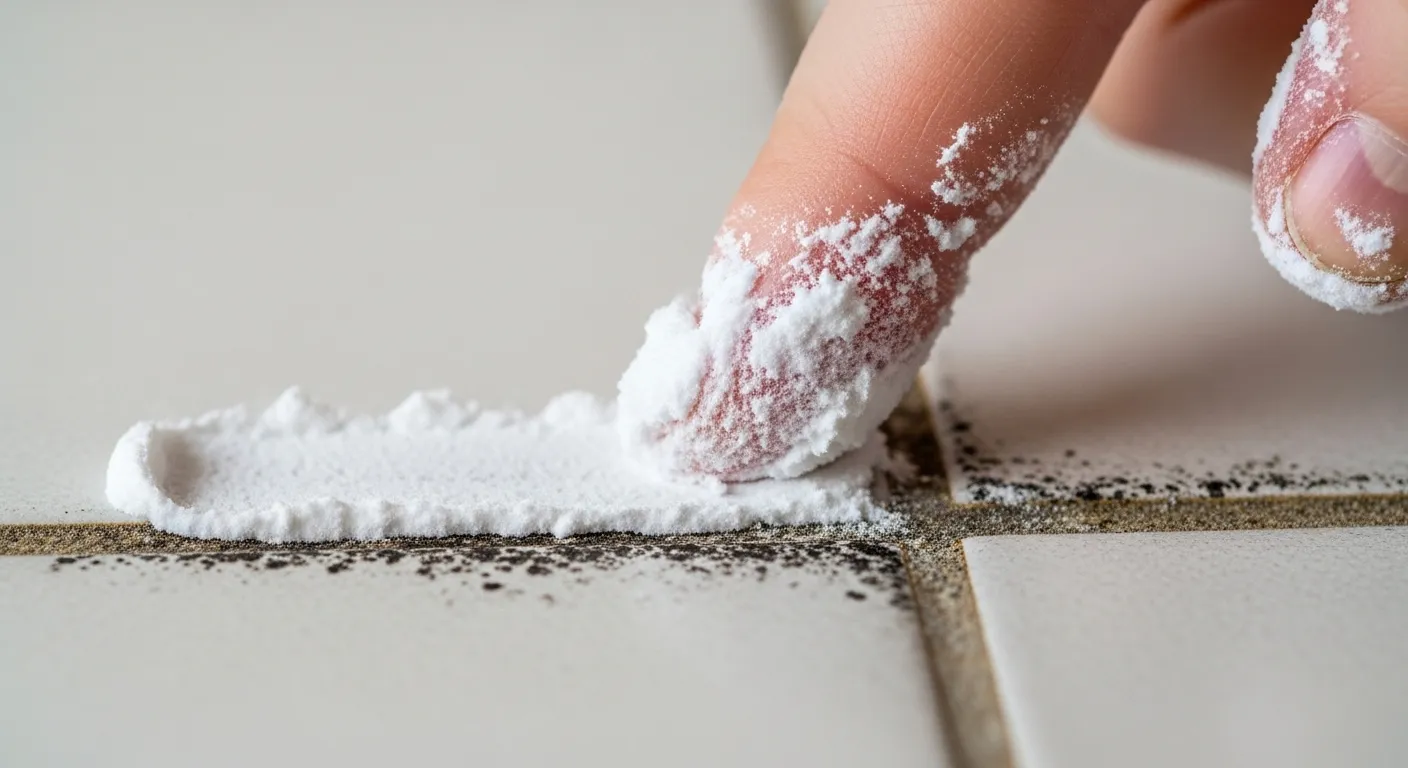
- Step 1: In a small bowl, mix a half-cup of baking soda with a few teaspoons of water to create a thick paste, similar in consistency to toothpaste.
- Step 2: Apply the paste directly to the grout lines using your finger or a small brush.
- Step 3: Let the paste sit for about 15 minutes.
- Step 4: Scrub vigorously with a stiff-bristled brush.
- Step 5: Rinse the area with water.
For added chemical action, you can spray vinegar onto the applied baking soda paste. The resulting bubbling reaction can help lift stains from the grout.
The Truth About Using Bleach
Chlorine bleach is a powerful disinfectant, but its effectiveness on shower grout is widely misunderstood.
Why Bleach Fails on Grout
The problem with using bleach on porous materials lies in its chemical structure. Chlorine, the active ingredient, kills surface mold effectively. However, the largest component of bleach is water.
When applied to grout, the chlorine cannot penetrate the porous structure. The water component, however, soaks deep into the grout. This provides moisture directly to the mold's underlying root structure. The bleach may remove the color from the surface mold, making it look clean, but it has simultaneously fed the organism deep inside, often leading to faster and more vigorous regrowth. For this reason, bleach is best reserved for hard, non-porous surfaces like glazed tile and fiberglass.
Method 4: Advanced Bleach Application
If you choose to use bleach to treat stubborn surface stains on caulk or in corners, the challenge is keeping the chemical in place long enough to work. This technique addresses that problem.
- Step 1: Soak cotton beauty coils or rolled-up paper towels in a thick bleach gel, such as a clinging toilet bowl cleaner.
- Step 2: Carefully press the saturated material firmly against the moldy caulk line or grout corner.
- Step 3: Leave the material in place for several hours or overnight. You can cover it with plastic wrap to prevent it from drying out.
- Step 4: Remove the material and rinse the area thoroughly with water.
Stronger Methods for Tough Mold
When household remedies do not provide the necessary results, a more aggressive approach is required. These methods offer increased power but also demand increased caution.
Method 5: Commercial Mold Removers
Many commercial mold and mildew removers are effective because their primary active ingredient is Sodium Hypochlorite, the chemical name for bleach. Their main advantage over household bleach is their formulation. Look for products that are a clinging gel or a foaming spray. These formulas adhere to vertical surfaces, increasing the chemical's contact time, or "dwell time," with the mold. This allows the agent to work more effectively on stubborn stains.
When using these products, you must read and follow the manufacturer's instructions precisely. Pay close attention to the required ventilation, as these products release strong fumes.
Method 6: Steam Cleaning
A steam cleaner equipped with a focused nozzle is a powerful, chemical-free tool. The high temperature of the steam, often exceeding 200°F (93°C), is sufficient to kill mold and its spores on contact. The pressurized steam also helps to dislodge grime from the porous surface of the grout. While steam is excellent for killing the organism, it may not be sufficient to remove the deep-set, dark stains that mold can leave behind.
The Benefit of a Drill Brush
For large areas or particularly stubborn buildup, a drill brush can significantly reduce the physical effort of scrubbing. This is a brush head that attaches to a standard power drill. The rotation of the drill provides consistent and powerful agitation, cleaning grout lines far more effectively and quickly than manual scrubbing. Always start on a low speed to avoid damaging the grout or tile.
When You Must Replace Caulk and Grout
There is a point where no amount of cleaning will solve the problem because the mold is no longer just on the surface. It is growing inside or underneath the material itself.
Signs of Deeply Embedded Mold
You must be able to recognize when cleaning is futile and replacement is the only viable path forward. The following signs indicate that the mold has penetrated too deeply to be cleaned from the surface.
When to Stop Cleaning and Start Replacing
You will know it is time to replace your caulk or grout when you observe these signs:
- The mold appears to be growing from underneath the clear or white silicone caulk bead.
- The grout lines are permanently stained, even after aggressive cleaning.
- The grout is soft, spongy, or crumbling when you press on it with a tool.
- The silicone caulk is peeling away from the wall or tub, creating gaps.
How to Replace Moldy Silicone Caulk
Replacing a moldy caulk bead is a common DIY task that provides a fresh start.
- Step 1: Use a utility knife or a specialized caulk removal tool to carefully cut along the top and bottom edges of the old caulk bead.
- Step 2: Pull the old caulk strip out of the joint.
- Step 3: Thoroughly clean the now-empty joint with vinegar or hydrogen peroxide and a brush to kill any remaining spores.
- Step 4: Ensure the joint is completely dry. This is critical; trapping moisture will cause mold to regrow immediately.
- Step 5: Apply a new, continuous bead of 100% silicone, mold-resistant kitchen and bath caulk.
An Overview of Re-grouting
If the grout itself is failing and stained throughout, re-grouting is the necessary solution. This involves using a carbide-tipped grout removal tool, either manual or oscillating, to scrape out the old grout to at least half its depth. After thorough cleaning and drying, new grout is mixed and applied to the joints.
A Permanent Solution to Shower Mold
The most effective way to deal with shower mold is to build a shower where it cannot easily grow. This involves choosing materials that manage water and resist mold from the start.
Build a Waterproof Foundation
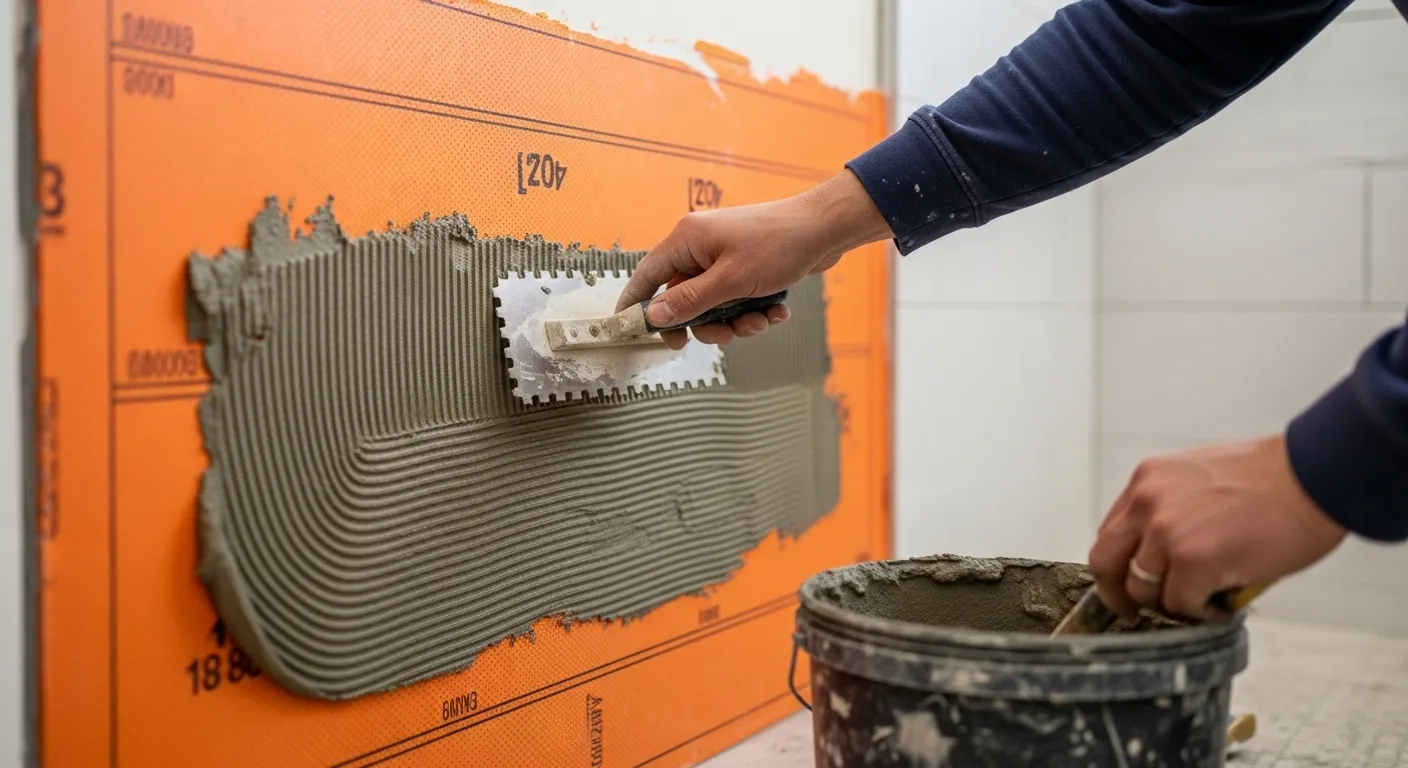
The problem of hidden mold begins when water gets behind the tile. Standard drywall or even water-resistant "green board" will absorb moisture and feed mold. The professional solution is to create a fully waterproof barrier directly behind the tile. This is achieved with modern materials like Uncoupling Membranes or waterproof Tile Backer Boards. These products form a continuous, sealed envelope that prevents any water or vapor from reaching the wall studs, eliminating the primary cause of deep, structural mold growth.
Choose a Non-Porous Grout
Since porous cement grout is a core part of the problem, choosing a different type of grout is a core part of the solution.
Grout Type | Water Resistance | Mold Resistance | Sealing Required |
|---|---|---|---|
Traditional Cement | Low (Porous) | Low | Annually |
Epoxy Grout | High (Waterproof) | High | Never |
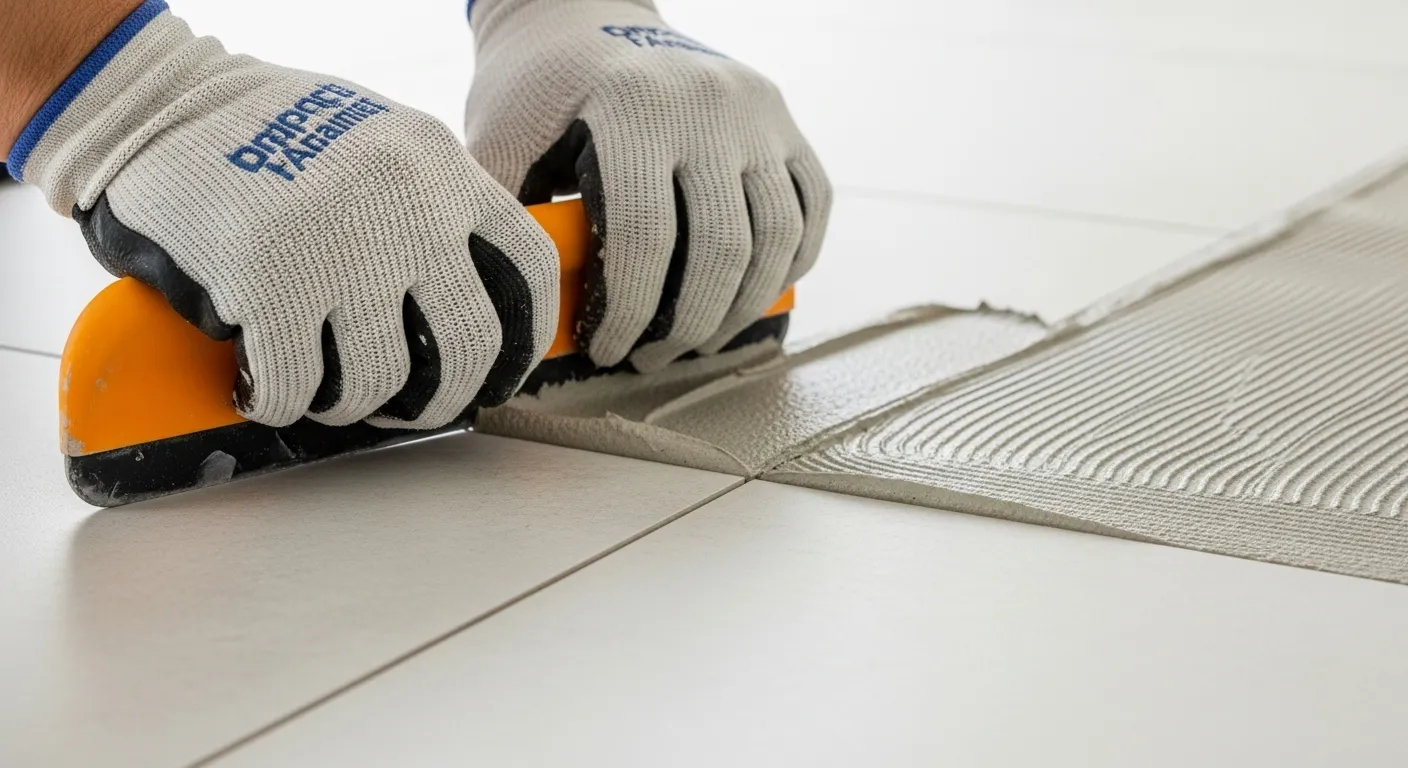
Epoxy Grout is the superior choice for any wet environment. Unlike cement, it is non-porous. It does not absorb water, does not trap dirt, and is highly resistant to stains and chemicals. While its initial cost is higher, epoxy grout does not require sealing, making it a low-maintenance, permanent solution that prevents mold growth on the surface.
Use Metal Trims to Eliminate Corners
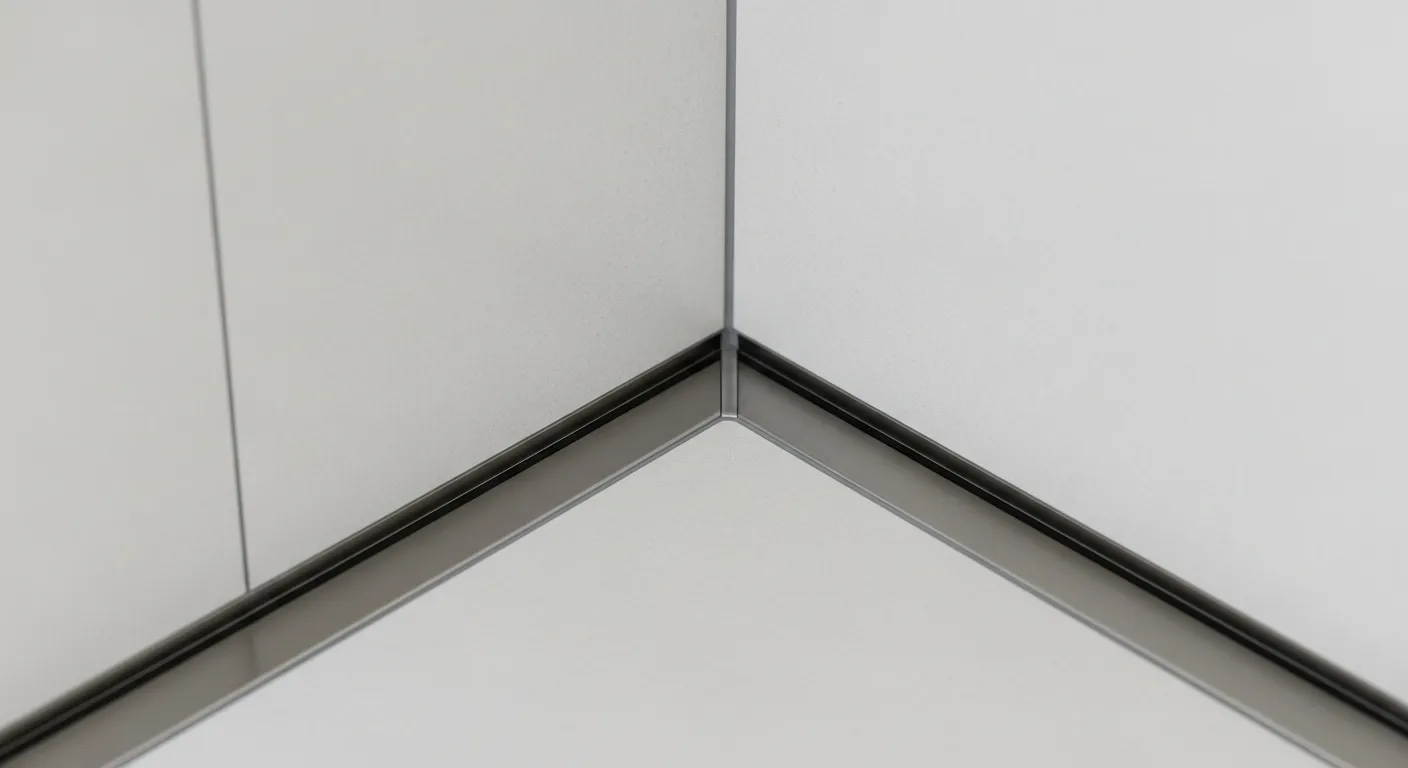
Sharp, 90-degree internal corners are difficult to clean and are a common failure point for caulk. A superior design choice is to use specialized profiles to eliminate these problem areas. Cove-shaped profiles create a rounded, seamless internal corner that is easy to wipe clean.
For transitions and external corners, using Aluminum and Stainless Steel Trims provides a durable, hygienic, and permanent alternative to a bead of caulk. These metal profiles do not degrade, will not harbor mold, and contribute to a clean, well-engineered shower system.
How to Prevent Mold from Coming Back
After the mold is gone, the final objective is to create an environment where it will not return. This is accomplished through a consistent maintenance routine focused on controlling moisture.
A Simple Maintenance Routine
These habits, when practiced consistently, remove the water and organic matter that mold needs to grow.
- Daily: After the last shower of the day, use a squeegee to wipe down the tile walls and glass doors. This action removes over 90% of the standing water. Leave the shower door or curtain open to promote air circulation and faster drying.
- Weekly: Clean the shower with a pH-neutral cleaner. This removes the soap scum and body oils that serve as a food source for mold. Wash bathmats and towels regularly and ensure they dry completely.
- Annual: For showers with traditional cement grout, inspect all grout lines for cracks and apply a quality grout sealer. This restores its water repellency. This step is not necessary for showers built with non-porous epoxy grout.
Advanced Prevention Tips
Beyond the basic routine, several other measures can significantly improve a bathroom's resistance to mold.
- Optimize Ventilation: Run the bathroom exhaust fan for at least 30 minutes after each shower to completely vent humid air outside. For a truly effective solution, replace the standard fan switch with a humidity-sensing switch, or humidistat. This device automatically activates the fan when it detects high humidity and runs it until the air is dry, providing perfect ventilation without any guesswork.
- Repair Leaks Promptly: A slow, persistent drip from a showerhead or valve is a constant source of moisture. Periodically check all plumbing fixtures for leaks and repair them immediately.
- Use Natural Light: If your bathroom has a window, allow natural light in when possible. The UV rays in sunlight can inhibit mold growth.
When to Hire a Professional
While most minor mold issues can be handled by a homeowner, some situations require the equipment and expertise of a professional mold remediation service.
Knowing Your Limits
According to the U.S. Environmental Protection Agency (EPA), DIY cleanup is generally suitable for areas smaller than 10 square feet. For larger infestations or specific circumstances, professional help is the responsible choice.
When to Call a Professional Remediation Service
Contact a certified professional if you encounter any of the following:
- The moldy area is larger than 10 square feet (a 3-foot by 3-foot patch).
- You detect a strong, persistent musty smell but cannot find the mold source. This suggests hidden growth inside walls or under floors.
- The mold growth is a result of major water damage or contaminated water.
- A household member has a compromised immune system, chronic lung disease, or severe mold allergies.
The Professional Remediation Process
A certified remediation company follows a strict protocol to ensure safety and effectiveness. This process typically includes a full assessment, containment of the area with negative air pressure to prevent spore spread, safe removal of contaminated materials, thorough cleaning and disinfection, and professional drying of the structure.
Frequently Asked Questions
Is the black mold in my shower grout harmful?
Yes, exposure to any type of mold in your home can be harmful, especially for individuals with allergies, asthma, or compromised immune systems. The most common effects are allergic reactions and respiratory irritation. Regardless of the color or type, all mold should be removed promptly to maintain a healthy living environment.
Should I use vinegar or bleach to kill mold?
Vinegar is the better choice for killing mold on porous surfaces like grout. Its acidic nature allows it to penetrate the grout and kill the mold's root structure. Bleach is only effective on hard, non-porous surfaces like glazed tile and can be counterproductive on grout, as its water content can feed the underlying mold.
Can I paint or use a grout pen over the mold?
No, you should never paint or apply a grout pen over existing mold. This action only hides the problem. The mold will continue to grow underneath the new coating, digesting the surface and causing the paint or sealant to fail, which will result in a more significant problem later on. The mold must be physically removed first.
How can I clean colored grout without fading it?
Cleaning colored grout requires a cautious approach. Always start with the gentlest method, such as a pH-neutral cleaner or a baking soda paste. If a stronger solution is needed, test it on a small, hidden area first to see if it causes discoloration. Avoid using chlorine bleach or oxygen-based cleaners like hydrogen peroxide, as they are likely to lighten the grout's color.
Why is my grout black if it doesn't look like mold?
If your grout is dark but does not have the typical fuzzy appearance of mold, it is likely due to deep-set staining. This can be residual discoloration left behind after mold has been killed, or it can be an accumulation of dirt and soap scum that has become embedded in the grout's porous structure over time. While a deep cleaning may lighten it, a permanent stain may require a grout pen or re-grouting to fully restore the color.
Conclusion
The recurring fight against shower mold is a battle that is won not by repeated scrubbing, but by strategic design. The evidence shows that persistent mold is a symptom of a flawed system, where porous materials and inadequate water management create a perfect breeding ground.
A permanent solution requires a fundamental shift in approach, from cleaning the surface to engineering the system. This is achieved through three layers of defense:
- A complete subsurface waterproofing system to protect the wall structure.
- The use of non-porous, hygienic materials like epoxy grout.
- Intelligent design details, such as metal trims, that eliminate hard-to-clean corners and failure-prone caulk.
This approach allows a homeowner to step off the cleaning treadmill and build a shower that performs as it should—a healthy space where mold has been engineered out of the equation.


