Did you know? You don't need to spend days removing tile backsplash. Generally, it takes only a few hours to complete If you get the right way.
In fact, every beginner can easily accomplish removing a tile backsplash after reading this step-by-step guide. So, what are you waiting for? Let's walk through the simple 5 step process to remove your tile backsplash without damaging drywall.
![how to remove tile backsplash 00 how to remove tile backsplash with 5 steps [beginner-friendly]]](https://chinatileaccessories.com/wp-content/uploads/2023/11/how-to-remove-tile-backsplash-00.png)
Tools & Supplies You Need to Remove a Tile Backsplash
“One must have good tools in order to do a good job. “
Here's a list of the tools you'll need to prepare. But not everything is necessary. In fact, the most central tools in the whole operation are the hammer and chisel.
Tools:
- Hammer
- Chisels/Grout saw or rotary tool with a grout removal attachment
- Utility knife
- Drywall joint compound
- Putty knife or scraper Sandpaper
Supplies:
- Dust mask
- Safety glasses and work gloves
- Trash bags
- Rag
- Drop cloth to protect your counter top
Before You Begin
Now, what you need to do is confirm that you have ready. By the way, the wall behind is not pretty when you finished the work. So please do not expect it to be perfect. Because it is difficult to complete the removal of tile backsplash without damaging the wall at all. The best you try is reduce the damage to the drywalls.
Turn off Electricity
Please turn off all of your electrical appliances in the kitchen. Avoid touching electrical cords or sockets during operation.
If you can, please pull down the main power switch for safety. Because there are multiple cables may running behind the wall.
Clear the Area
Remove appliances near your backsplash, kitchen items, and anything else that will get in the way of your operation.
If there is a lot of stains and soot on the tile backsplash, it is best for you to wipe some of it with a rag.
Wear Protective Equipment
Finally, please be prepared to take precautions. Wear your mask to avoid breathing in dust and fine debris. Wear gloves to avoid scratching your skin.
Of course, please put a dust cloth on your countertop as well. It will greatly reduce the amount of cleaning that follows.
Step 1: Remove Grout and Caulk
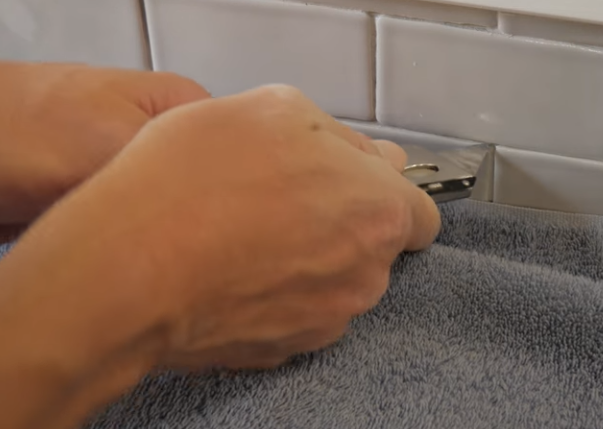
One of the tricks to getting the tiles to come off a little easier is scouring the grout. You can use a chisel edge scraper which is designed to remove tile.
You'll need to spend some patience scraping all the caulking, and clean up all the grout as much as possible. It will help you to remove the tiles easily.
I will analyze the rationale for doing so in detail later in the explanation section.
Tips:
- If you are using a water-based caulk. You can use hot water and wipe it with a rag, which will soften the grout somewhat.
- If you are using a silicone-based caulk. Then you will need to use acetone or alcohol instead of hot water to wipe it down.
Step 2: Tap the Tiles
Then, you should use a hammer to tap the tiles with a tiny force. That's because tile backsplash is adhered to drywall with thin-set mortar. When you apply pressure to the surface of the tile, the thin-set will crack or loosen. It will save you a lot of effort when you remove the tiles in the next step.
Pay attention! Please do NOT overdo that. If you try too hard, the drywall behind tile backslash will be destroyed.
Step 3: Loosen and Remove the Tiles
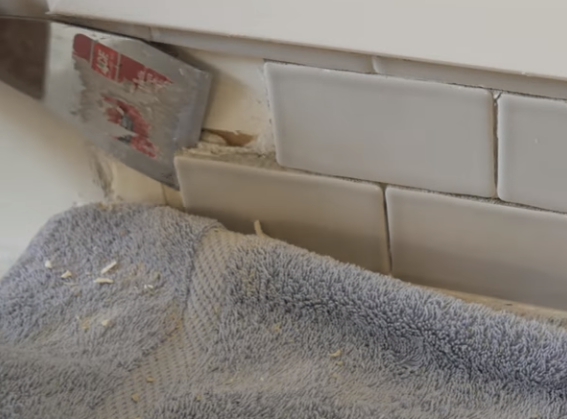
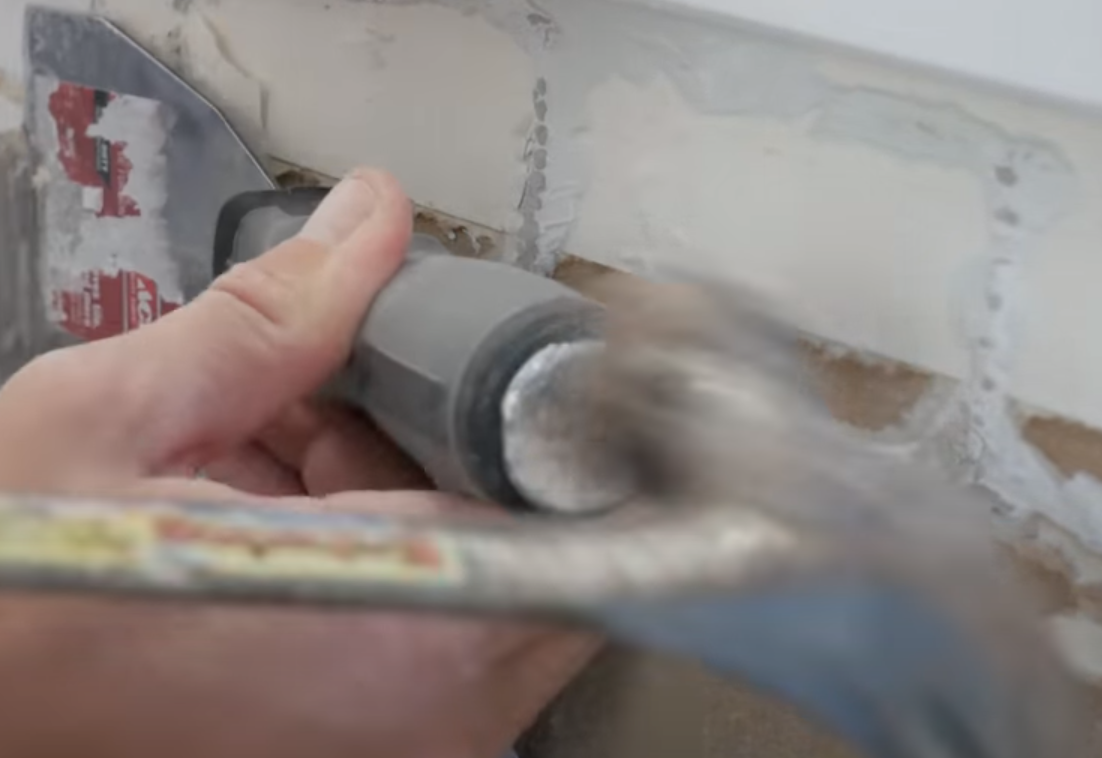
Next you need to remove the first tile. I recommend that you choose the top as a place to start. Put the chisels or drywall knife against the top of the tile, where the tile meets the wall. The optimal angle of force is between 30 and 45 degrees, so you should keep it in that range as much as possible when placing it.
Now, tap the handle of the chisel with a hammer to force the blade between the tile and the drywall. Then you'll see that the tile is just as easily removed.
However, there are always surprises. For example, the tiles remain firmly adhered to the drywall or are broken.
You may need to use a little more force and adjust the angle. As for the tile breaking, you just need to cut it into pieces.
Step 4: Remove Adhesive and Debris
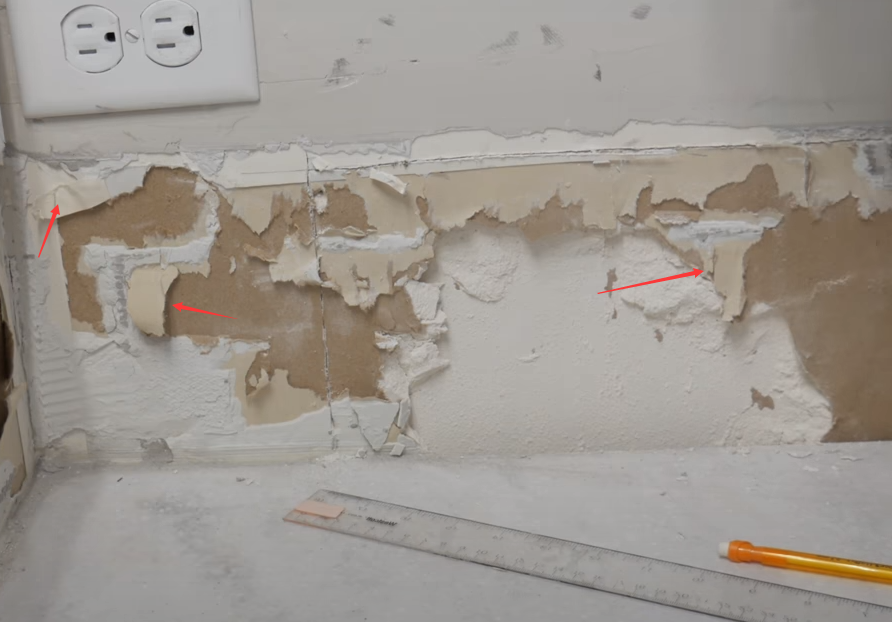
When you remove all the tile on the wall, it is time to clean up. You can use any handy tools, like chisel, spatula and even screwdrivers.
Remove leftover adhesive ridges and loose debris as possible as you can, which is prepared for the next step to repair drywall.
Step 5: Repair Drywall
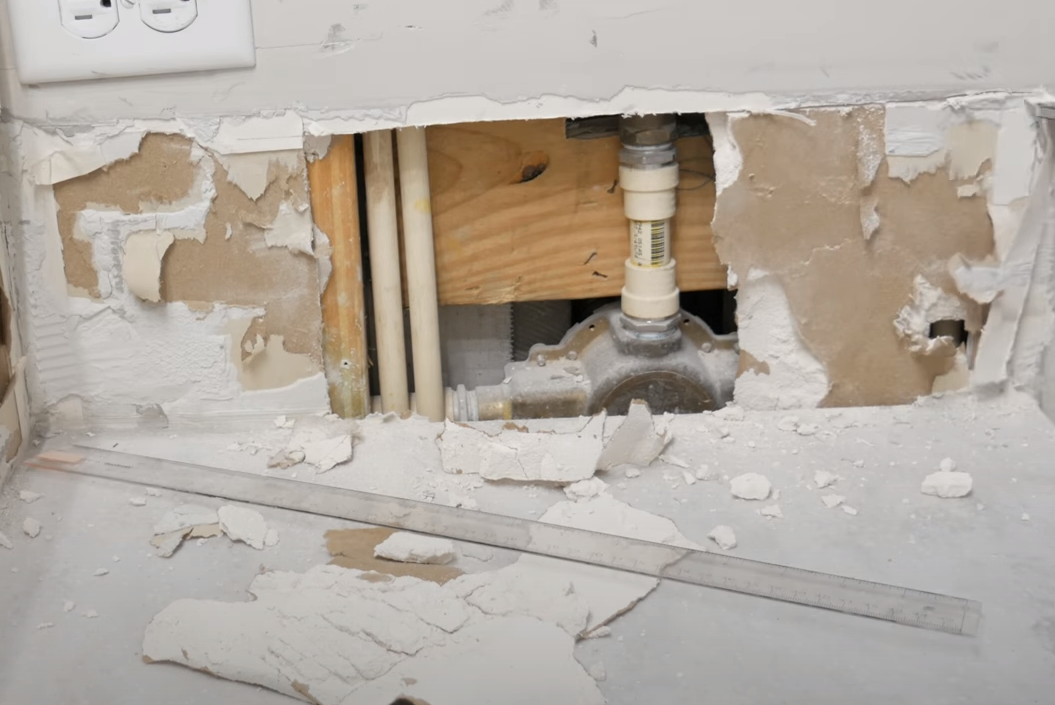
Now, you're just one step away from success. As I said at the beginning, you can't remove the tile backsplash perfectly. Thus you will notice that a part of the sheetrock is damaged. You can consider about replacing the entire sheetrock. But it will cost you much time, and I suggest you to repair it by using some materials.
Here is a method for your reference:
- Use a ruler to measure the area to be repaired.
- Cut gypsum board used for repairs with a razor blade [Do NOT inhale silica dust (carcinogen)].
- Place the cut plasterboard into the wall and adjust it slightly.
- Secure it to the studs with wall screws.
Physical Principle Analysis
It is time for an explanation. Maybe you will ask why I have emphasized removing as much grout as possible. Why this way would protect the drywall behind tile backsplash as much as possible.
Now let us try to analysis from a single tile.
You can think of the tiles as being bonded to the wall through grout. When there is only one tile, you can easily remove it and not affect the wall.
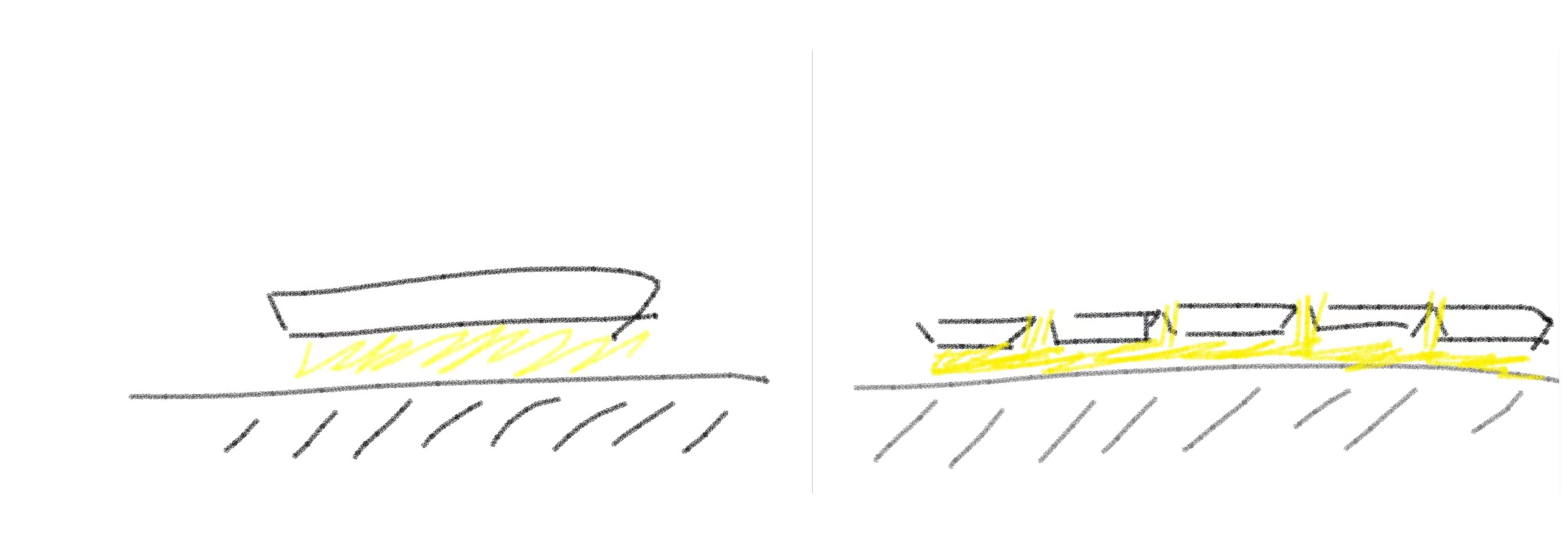
But what about when the situation becomes a lot of tiles?
You'll notice that the grout holds them together. And the grout has turned into a big chunk.
If we haven't removed the grout before. We'll apply upward torque when we are removing it.
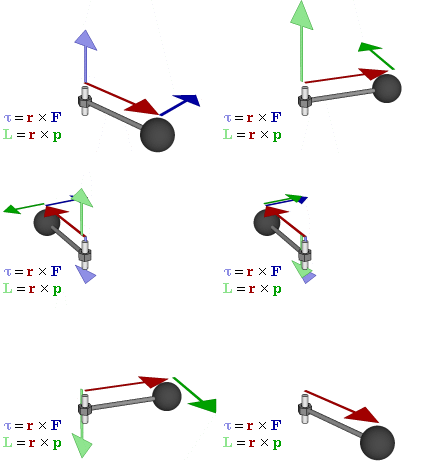
But the bond between them is too strong so that it is impossible to get a particular tile to detach from them.
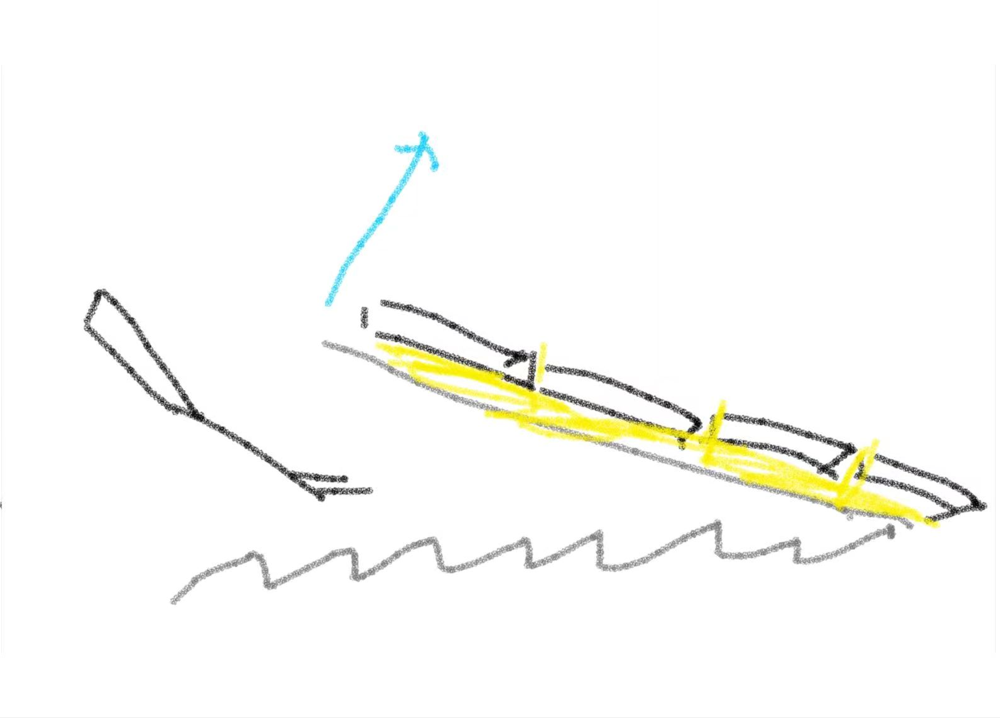
When you continue to apply torque because you suspect you don't have enough force. You'll then see a broken tile, or the entire tile backsplash coming off with the drywall.
Common Mistakes in Removing Tile Backsplash
Now let's review this guide, and summarize some of the common mistakes people will make when removing tile backsplashes.
- Do NOT hammer the tiles hard as it will break the drywall behind tile backsplash.
- Always, always and always remove the grout first. It's not just the trick, but also the key to avoiding mistakes.
- If you used a tile trim when installing your tile backsplash, remove it first.
Keep Learning More Tips
By now, I'm sure you've learned how to properly remove a tile backsplash in your kitchen. That's right? It's not a highly specialized job, and you can do it in a matter of hours even if you get started now.
I hope you can keep a confident heart and explore more tips about decorating. There's nothing more fulfilling than being hands-on.
Stay tuned for more of our guides. If there's something in particular you'd like to learn, feel free to contact us.
Frequently Asked Questions about Tile Backsplash
How to change backsplash without removing tile?
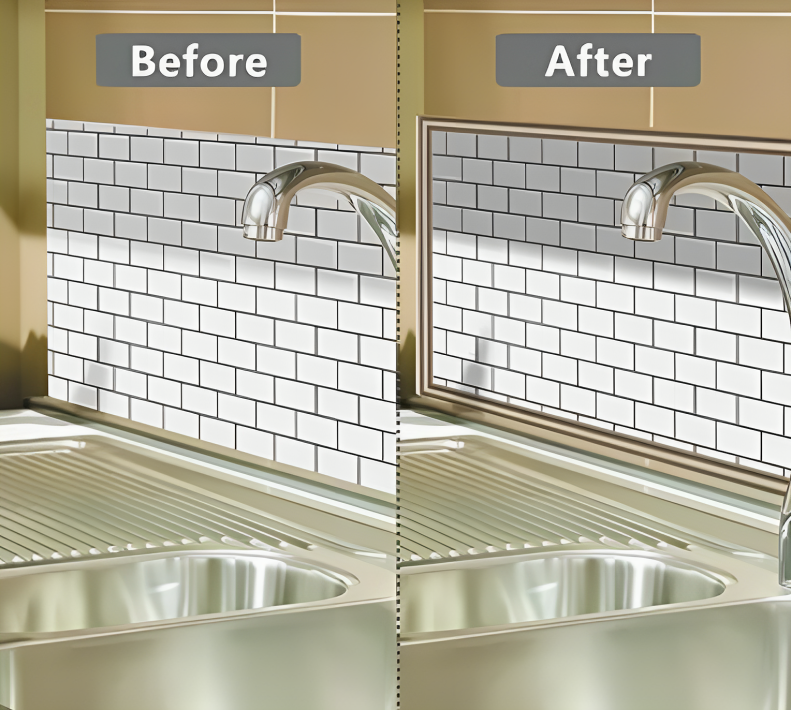
This is a slightly more advanced question. You can use some decorative materials to cover the tiles. For example, tile stickers, tile decals or paint. However, I would not recommend installing another backsplash over the existing tile. It will cause problems with poor adhesion in addition to thickening it.
Can you paint tile backsplash?
Sure. You will need to have some quality assured acrylic paint or semi-gloss paint on hand. And make sure the surface has good adhesion to avoid hard lines between painted areas.
How to install tile backsplash?
- Install backer board
- Cut your tiles to fit the backsplash
- Prepare mortar
- Lay tiles and grout them


