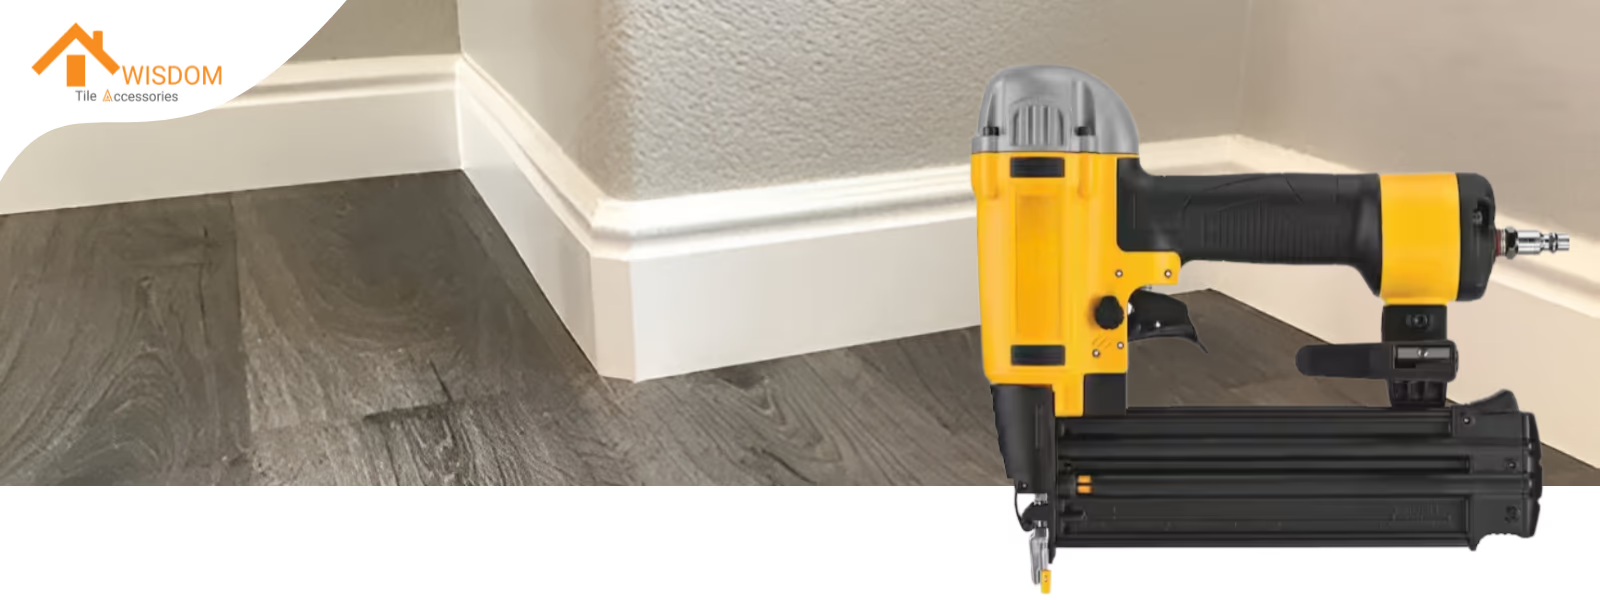
So, you’re diving into a woodworking project? Let’s talk about one tool that can really make your life easier: the brad nail gun (Brad Nailer). If you’re looking to install baseboards, trim, or molding without a hitch, this handy tool is your best friend. It’s all about getting that clean finish while saving time, and who doesn’t want that?

What is a Brad Nailer?
A brad nailer is a handy tool that drives thin 18-gauge nails into wood and other materials, making it a must-have for anyone tackling woodworking projects. These tools are especially useful for attaching delicate trim and molding without causing splits or damage, which can often happen with a traditional hammer.
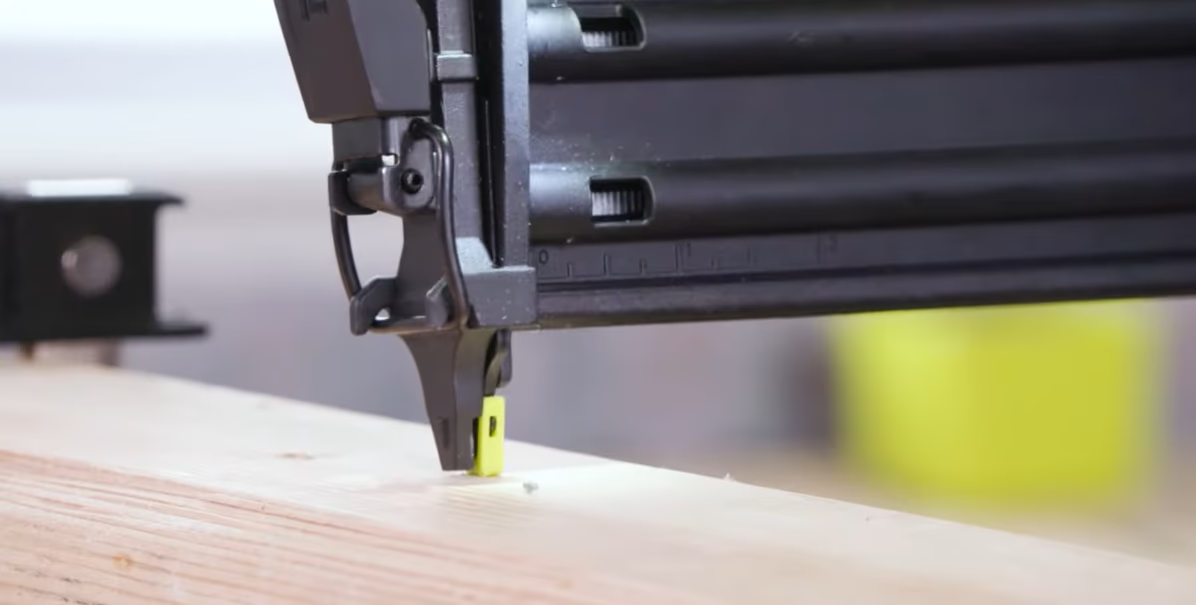
You’ll find brad nailers commonly used for tasks like installing baseboards or crown molding. Their lightweight design makes them easy to maneuver, even in tight spots. Many models come with features that make the job easier, such as adjustable depth settings to ensure the nails sit just right and quick-release mechanisms for loading nails without fuss. With a brad nailer in your toolkit, you can achieve that polished look you want while saving time and effort.
Type of Nail Gun | Nail Size | Best For | Advantages |
|---|---|---|---|
Brad Nailer | 18-gauge | Lightweight trim and molding | Minimal splitting, less visible holes |
Finish Nailer | 15- or 16-gauge | Heavier trim and cabinetry | Greater holding power for thicker materials |
Stapler | Various sizes | Upholstery and fabric projects | Ideal for soft materials, quick application |
Benefits of Using Brad Nailers for Baseboards and Molding
Using a brad nailer for baseboards and molding offers several advantages that can make your woodworking projects more enjoyable. Have you ever struggled with splitting delicate trim while trying to hammer nails? That is where brad nailers shine.
Choosing the Right Brad Nail Gun
Picking the right brad nail gun will make your woodworking projects easier and more enjoyable. With so many options out there, it’s worth taking a moment to consider what will work best for you.
Nail Gauge Selection for Trim Work
The gauge of your nails is important because it affects both how well your trim holds up and how noticeable those nail holes will be. Here’s a quick overview of common gauges and what they’re good for:
Gauge | Description | Best For |
|---|---|---|
15-gauge | Thicker nails that provide strong holding power | Heavy-duty applications like thick baseboards and door frames |
16-gauge | A versatile option suitable for various trim work | Window casings and crown molding |
18-gauge | Ideal for lighter projects | Decorative moldings and delicate trim |
23-gauge | Very thin pins that are almost invisible | Attaching thin veneers and delicate tasks |
For most trim work, an 18-gauge brad nail is a solid choice. It gives you good holding power while keeping those nail holes nice and discreet.
Selecting Nail Lengths
Don’t forget about nail length! You’ll typically find lengths ranging from 1 to 2.5 inches, depending on how thick your materials are. A good rule of thumb is that nails should penetrate at least 1.5 times the thickness of what you’re fastening. This helps ensure everything stays securely in place without risking damage to your trim.

How to Use a Brad Nail Gun for Baseboards and Trim
Using a brad nail gun can simplify the process of installing baseboards and trim, making your projects more efficient. Here’s a step-by-step guide to help you get started.
Preparation Steps
Installation Process
Finishing Touches
"Think it’s too complex? You might consider using a more modern metal baseboard. Whether it's aluminum alloy, stainless steel or LED baseboard, they all have a more friendly installation design structure."

Things NOT Recommended for You to Do
To help ensure your installation of baseboards and trim goes smoothly, here are a few things you definitely want to avoid:
Preparation
Installation Techniques
Material Considerations
Conclusion
Well, by now it should be pretty clear that using a brad nail gun can really transform your approach to installing baseboards and trim. We’ve covered a lot of ground—like how these tools can save you time and help you avoid common pitfalls along the way.
But remember, it’s not just about having the right tools; it’s also about knowing how to use them effectively. Whether you’re a seasoned pro or just starting out on your DIY journey, mastering your brad nailer can elevate your projects to a whole new level.
And hey, if you find yourself tackling more woodworking projects in the future, there are plenty of other tools out there waiting to make your life easier. But for now, go ahead and enjoy your next project! Happy crafting!
Frequently Asked Questions
Now that we’ve explored brad nailers in detail, let’s dive into some common questions from fellow woodworking enthusiasts!
What’s the difference between a brad nailer and a finish nailer?
Great question! A brad nailer uses thinner 18-gauge nails, which are perfect for delicate trim work because they leave smaller holes. Finish nailers use thicker nails (15 or 16-gauge) that provide more holding power for heavier materials. If you’re working on trim or lightweight projects, stick with a brad nailer. For anything heavier, you’ll want a finish nailer.
Should I choose a pneumatic or battery-powered brad nailer?
It really depends on your needs! Pneumatic nailers are usually lighter and provide consistent power but require an air compressor. They’re fantastic for heavy use in a workshop. Battery-powered models offer convenience and portability, making them ideal for jobs where you can’t easily access power outlets. Just keep in mind that battery-powered tools can be pricier over time due to battery replacements.
How do I pick the right gauge for my project?
For most trim work, an 18-gauge brad nail is usually just right. If you’re working with thicker materials or need extra holding power, consider using a 16-gauge finish nail instead. It’s always good to have both on hand if you plan to tackle various projects!
Can I use a brad nailer for furniture making?
Sure! While brad nailers are great for assembling lightweight furniture or attaching trim, they might not provide enough holding power for heavier pieces. If you’re building something sturdy, consider using a finish nailer or wood glue along with your brad nails.
What should I do if my nails aren’t sinking properly?
If your nails aren’t sinking all the way, check the depth adjustment settings on your brad nailer. Sometimes, it can be miscalibrated. Make sure you're using the right type of nails too; generic brands can sometimes cause issues. If problems persist, it might be time to clean or lubricate your tool.
Do I really need multiple types of nailers?
While you can get by with just one type of nailer, having multiple options can really make your life easier! Each type serves different purposes—brad nailers for trim work, finish nailers for heavier applications, and pin nailers for delicate tasks. If you plan on doing various projects, investing in a few different tools will pay off in the long run.


