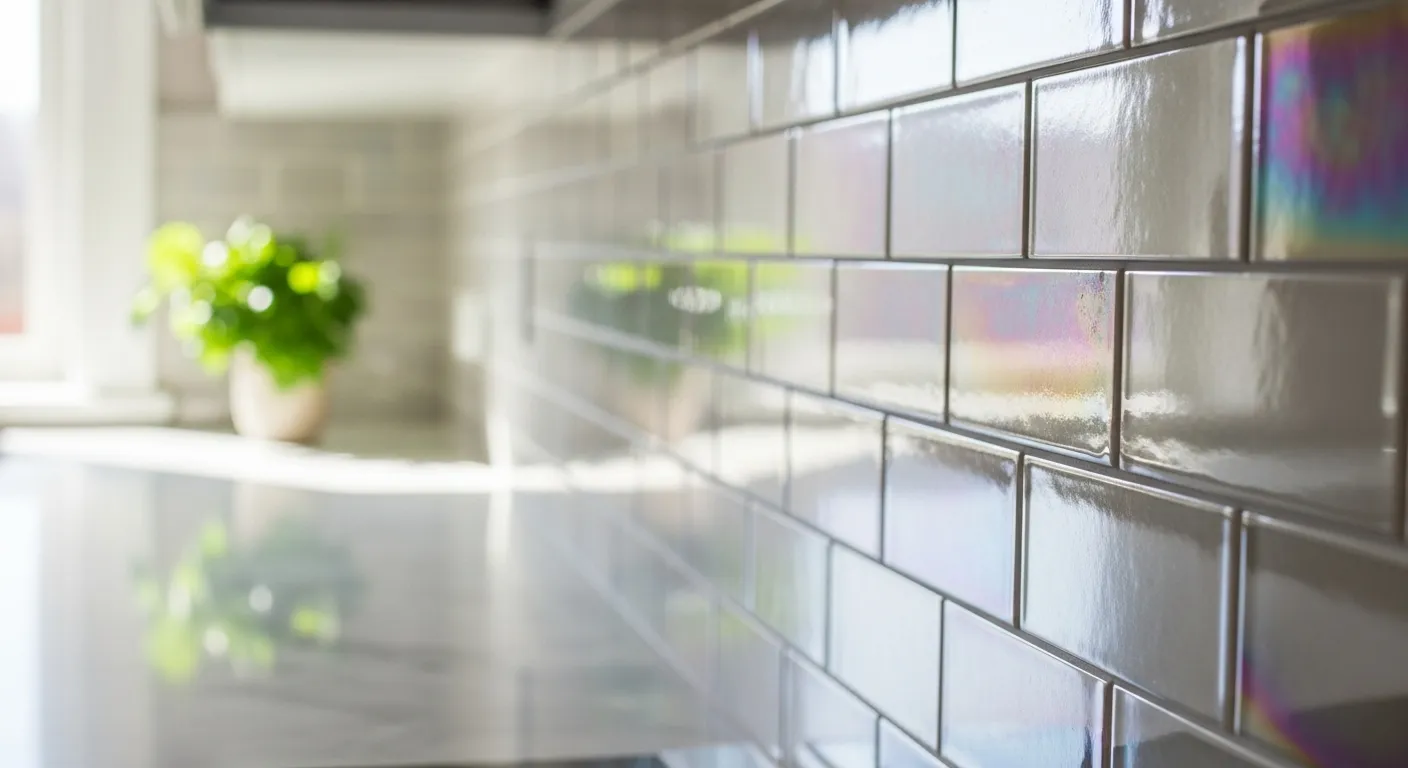
Glass tile offers a luminosity no other material can match, promising a brilliant, modern finish. Yet, its transparent nature unforgivingly reveals every flaw beneath, from the color of the mortar to the marks of a trowel. Achieving a flawless, permanent result when tiling with glass tiles is not a matter of luck, but of specialized knowledge. This guide provides that knowledge, transforming a high-risk material into a successful, lasting installation.
The First Rule of Glass Tile: Know the Material
Before a single tool is lifted or a bag of mortar is opened, a professional installer engages in a critical assessment. The success of a glass tile installation is determined not by the speed of the work, but by the depth of understanding of the material itself. Every subsequent choice, from adhesive to grout, is a direct response to the tile's specific construction and its inherent physical properties. To ignore this first rule is to plan for failure.
What type of glass tile are you using?
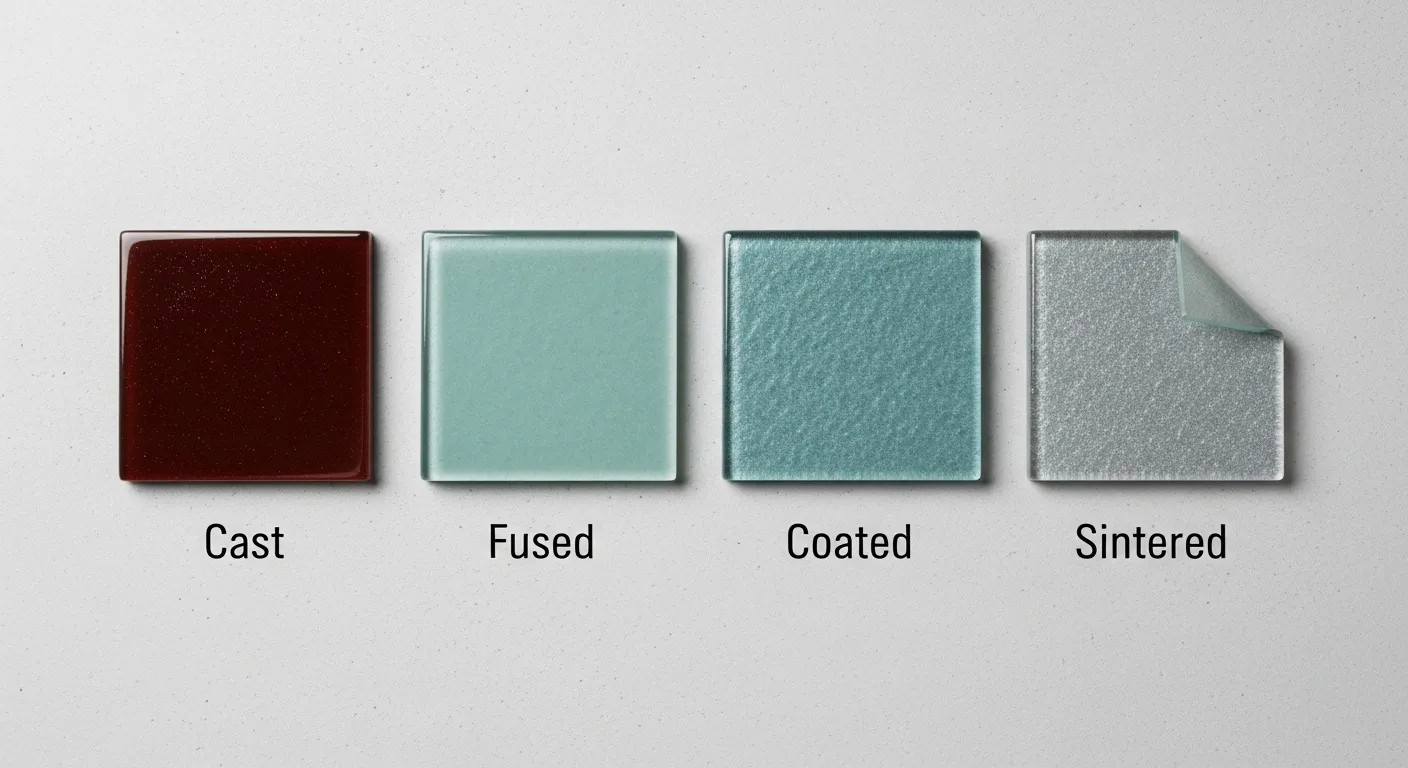
The term "glass tile" is not a monolith. It describes a family of products with distinct manufacturing processes. Identifying the specific type you are working with is the first step in a successful installation, as some are far less forgiving than others.
- Cast, Fused, Coated, and Sintered Explained
Cast glass is formed from molten glass, with color integral to its body. Fused glass is layered, with colors and patterns bonded to a base sheet of glass by heat. Sintered glass is made from compressed glass powder, giving it a uniform, milky look. The most critical type to identify is low-temperature coated glass, where a decorative backing is applied to clear glass. - Why the tile's construction dictates the installation method
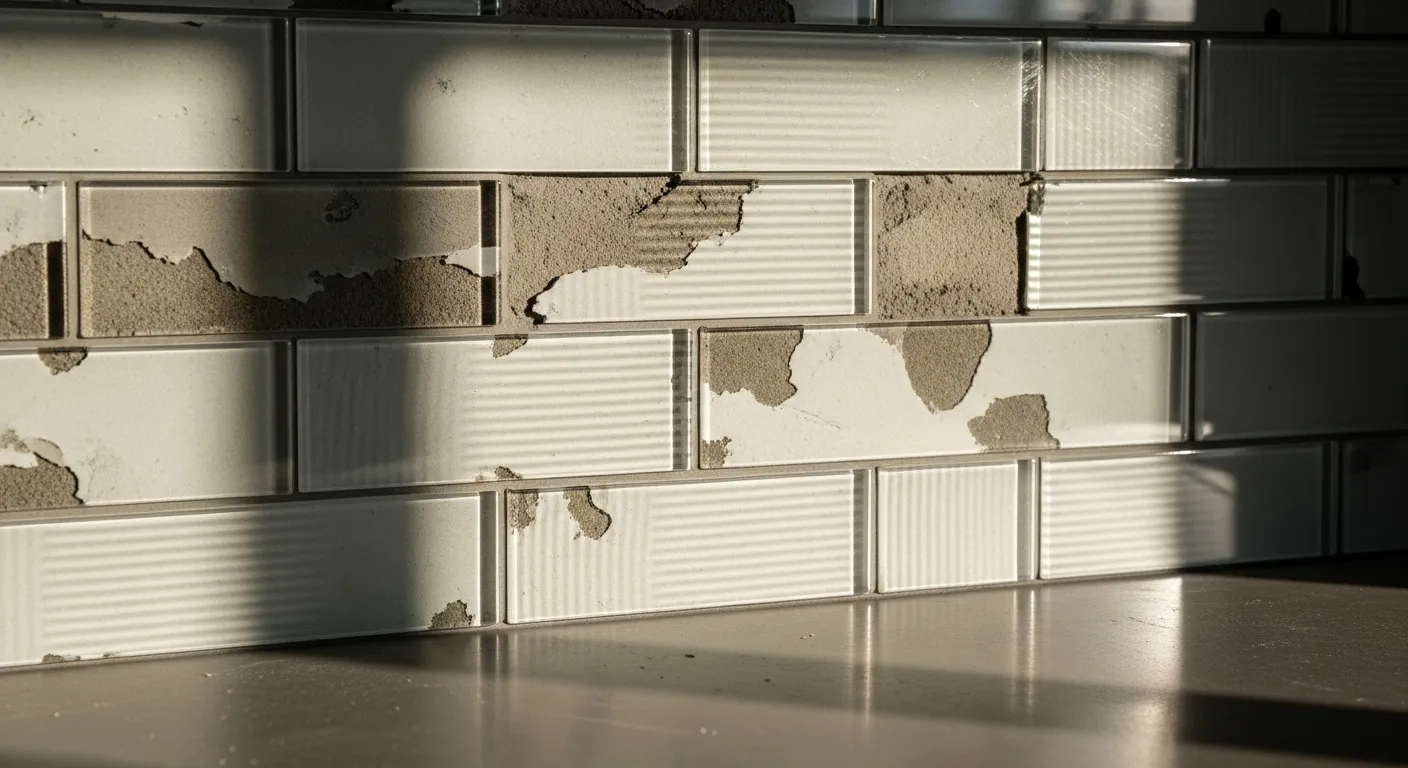
The bond between the backing and the glass on a coated tile is often the weakest point in the entire assembly. A high-performance mortar can create a bond to this coating that is stronger than the coating's bond to the glass. As the mortar cures and shrinks, it can physically pull the decorative layer away from the glass, resulting in a "crumpled foil" appearance or complete delamination. This makes consulting the tile manufacturer's specific mortar recommendation absolutely essential.
What are the inherent challenges of glass?
Regardless of its manufacturing process, all glass shares a set of immutable properties. These are not minor details; they are the scientific realities that dictate the entire installation system.
- Imperviousness (The Adhesion Problem)
Glass has a water absorption rate near zero. Unlike porous ceramic tile, which allows mortar to grip it mechanically, glass offers no physical anchor. Adhesion is almost entirely dependent on a chemical bond. This is precisely why standard adhesives fail and a highly polymer-modified thin-set mortar is required to create that tenacious chemical connection. - Transparency (The "Nowhere to Hide" Problem)
Most glass tile is translucent or transparent. This means the finished surface will reveal everything beneath it. Every trowel ridge, any variation in mortar color, and any imperfection on the substrate will be permanently visible. This property demands a perfectly smooth substrate, a consistently white mortar, and a flawless application technique. - Thermal Movement (The Cracking Risk)
Glass expands and contracts with temperature changes more significantly than the cement-based mortar used to install it. This differential movement creates immense stress within the tile assembly. In areas exposed to sunlight or rapid temperature shifts like a steam shower, this stress can easily lead to cracked tiles. This is the primary reason why movement accommodation joints are not an option, but a mandatory structural component of the installation.
Is your surface properly prepared?
Because glass is an unforgiving material, the foundation it rests upon must be perfect. Any instability or imperfection in the substrate will eventually manifest as a failure in the tile.
- Substrate requirements: flat, stable, and clean
The surface must be structurally rigid, free of any deflection, and perfectly flat. All contaminants such as dust, grease, soap scum, or old paint that could interfere with a proper bond must be completely removed. Any uneven areas must be patched and leveled before any tiling work begins. - The mandatory use of membranes for waterproofing and crack prevention
In any area prone to movement, such as over a concrete slab, a crack isolation membrane (compliant with ANSI A118.12 standards) must be applied. This elastomeric layer uncouples the tile from the substrate, absorbing minor movements to prevent stress from transferring to the brittle glass. In all wet areas like showers, a waterproofing membrane is not a luxury; it is an absolute requirement to protect the building structure and ensure the integrity of the installation.
Assembling the Right Tools and Materials
With a clear understanding of the material and a prepared substrate, the next phase involves selecting the correct arsenal of tools and materials. This is not the place to cut corners. Using standard, lower-grade products designed for ceramic tile is a direct path to failure when working with glass. Each item must be chosen specifically to counteract the challenges that glass presents.
What is the correct mortar for glass tile?
The choice of mortar will determine whether the tile stays on the wall or fails over time. Because glass is non-porous, the entire success of the bond relies on the adhesive's ability to chemically grip the tile's smooth surface.
- The Required Mortar
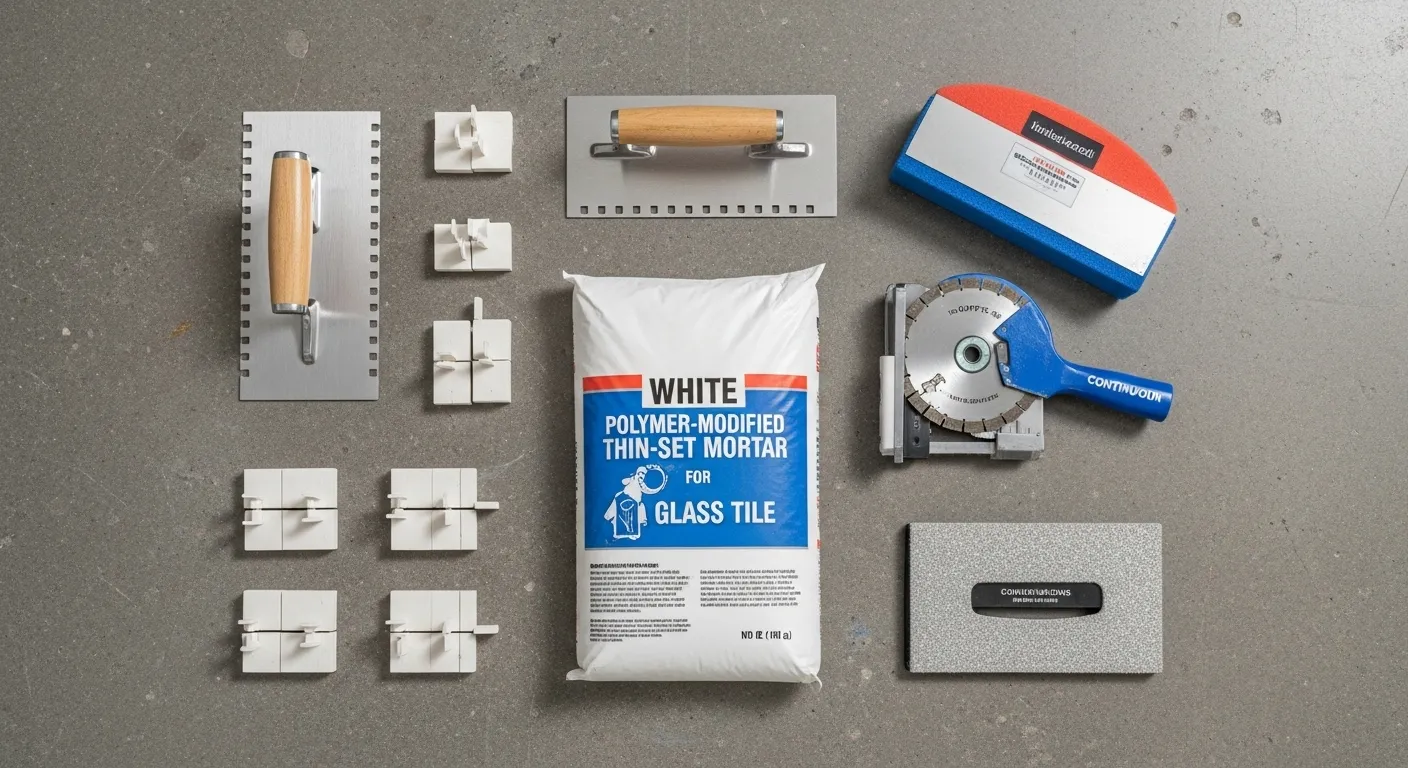
The only acceptable adhesive is a premium, polymer-modified thin-set mortar specifically formulated for glass tile. The polymers in these mortars provide flexibility and, more importantly, facilitate the chemical bond necessary for adhesion to a non-porous surface. The mortar must be bright white to ensure it does not alter the tile's color from behind. For most applications, it must meet or exceed ANSI A118.4 standards. For submerged installations like pools or fountains, the more stringent ANSI A118.15 standard is required. - Prohibited Adhesives
Despite its convenience, organic adhesive, or mastic, must never be used. Its bond is weaker, it re-emulsifies in wet conditions, and it yellows over time, which will stain translucent tile. While epoxy adhesives offer tremendous strength, most standard formulations are too rigid and do not accommodate the thermal movement of glass, which can lead to tile cracking. They should only be used if explicitly recommended in writing by both the tile and epoxy manufacturer.
Expert Warning: The Mastic Mistake
Using mastic adhesive for glass tile is not a shortcut; it is a guaranteed failure. Mastic cures by evaporation and requires a porous tile to dry properly. With impervious glass, the mastic remains soft, leading to weak bonds and tile movement. In any wet environment, it will fail completely. There are no exceptions to this rule.
How do you choose a grout that won't scratch?
The final aesthetic of the project can be ruined in the last step if the wrong grout is chosen. The primary concern is scratching the delicate glass surface. The following table compares the common options to help guide your selection.
Grout Type | Scratch Risk | Best For (Joint Size) | Key Characteristics |
|---|---|---|---|
Sanded Grout | High | > 1/8" | Strong and resists shrinkage, but the sand particles will likely damage the glass surface. |
Unsanded Grout | Very Low | < 1/8" | Safe for glass, but weaker than other types and can shrink or crack in wider joints. |
High-Performance Grout | Very Low | Varies | The professional's choice. Offers strength and stain resistance without scratching. |
As the comparison shows, modern high-performance grouts are the superior option, offering the benefits of both traditional types without the significant drawbacks. While unsanded grout is a safe alternative for narrow joints, sanded grout should be considered too high-risk for almost all glass tile applications.
What specialized tools are necessary?
Professional results require professional tools. Standard tile-cutting equipment is often inadequate for the unique demands of glass.
- The Cutting Blade
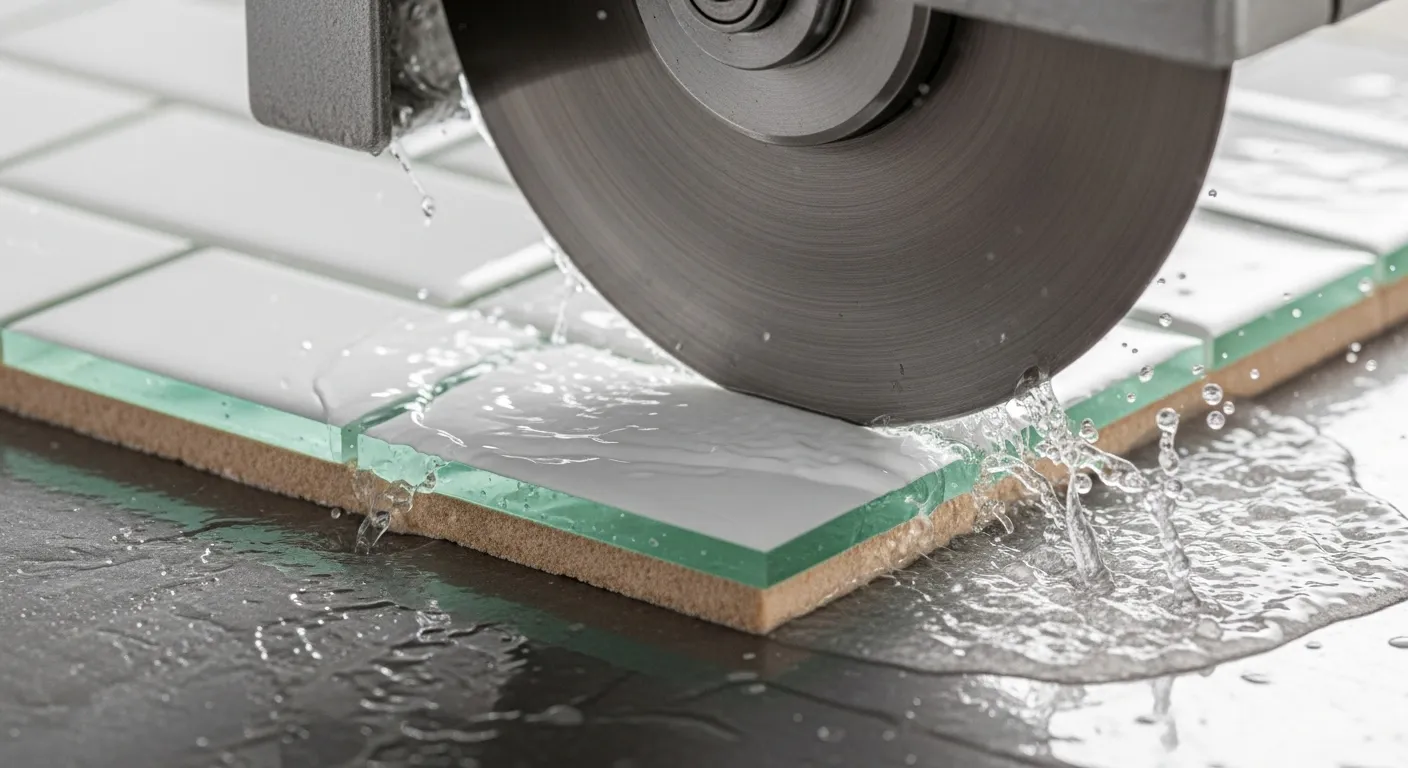
For clean cuts, a wet saw must be fitted with a high-quality, continuous-rim diamond blade designed specifically for glass. These blades have finer diamond particles and a continuous edge that grinds, rather than chips, its way through the material. Using a standard segmented blade for ceramic tile will result in severe chipping. - Trowel Selection
A notched trowel is used to apply a uniform amount of mortar. The size of the notch depends on the tile. For smaller mosaics, a 3/16" x 1/4" V-notch trowel is common. For larger tiles, a 1/4" x 1/4" square-notch trowel may be more appropriate. The goal is to use a trowel that allows for 100% mortar coverage on the back of the tile after it is set.
The Professional Installation Method
The application process for glass tile is methodical and precise. Every action is designed to address a specific property of the material, from its transparency to its fragility. This is where technique separates a professional result from a failed attempt.
How do you apply mortar to avoid visible lines?
This is the most common aesthetic failure, and it is entirely preventable. The goal is to create a perfectly flat, uniform bed of mortar with no voids or ridges.
- Mortar Application Method
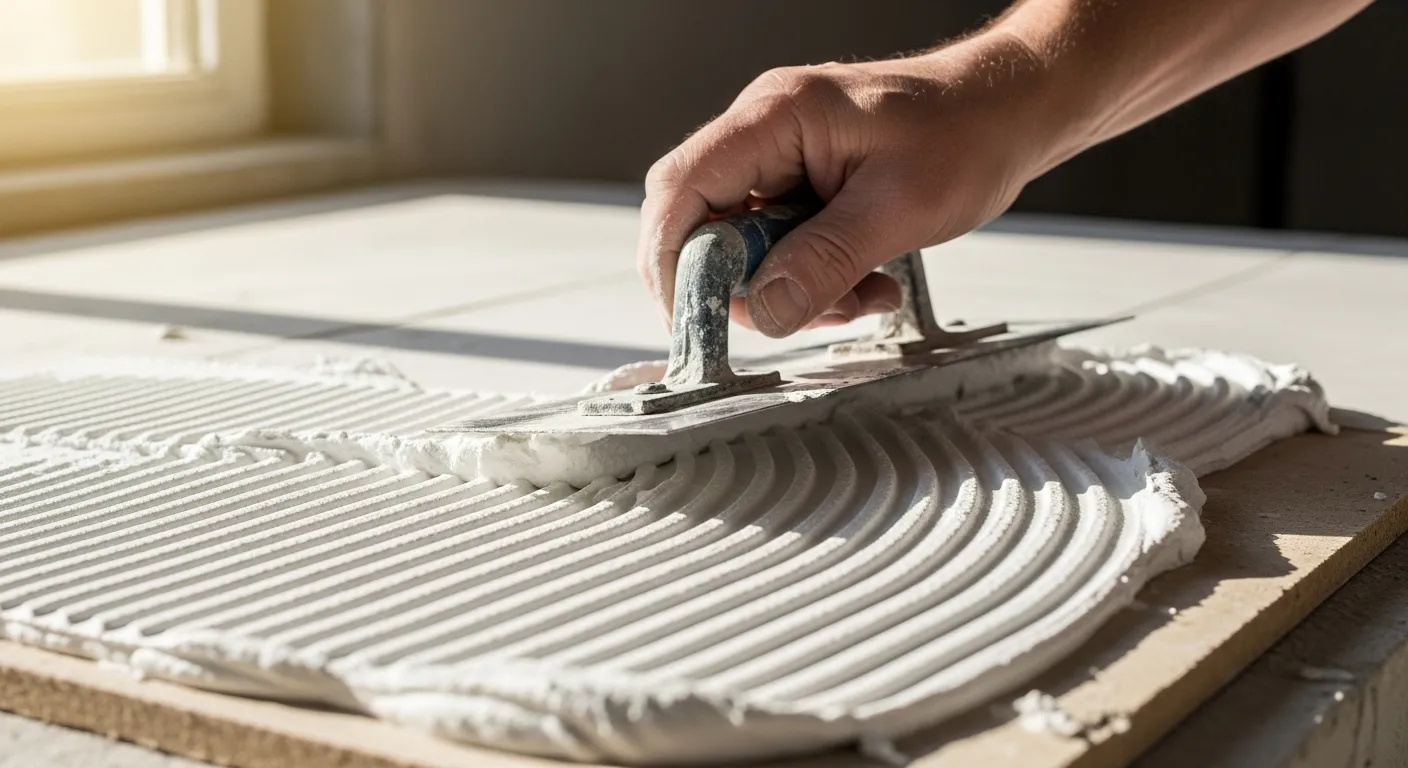
First, use the flat side of the trowel to key-in a thin, tight coat of mortar to the substrate, ensuring a tenacious bond. Second, apply more mortar and use the notched side to comb it into uniform ridges. Third, and this is the most often skipped step, use the flat side of the trowel again to gently knock-down the ridges, creating a single, smooth setting bed. This eliminates the valleys that would be visible through the glass. - The Back-Buttering Technique
To guarantee the 100% mortar coverage required for glass tile, each tile or mosaic sheet must be back-buttered. This involves applying a thin, continuous layer of mortar to the back of the tile just before setting it. This eliminates voids that trap moisture and create weak spots in the bond.
How do you achieve clean, chip-free cuts?
Cutting glass is about controlling a fracture, not forcing it. Chipping is simply an uncontrolled fracture, caused by using the wrong tool or technique.
- Using a Wet Saw
The preferred tool is a wet saw with a glass-specific blade. The continuous water flow cools the tile and lubricates the cut, minimizing friction. The tile should be fed into the blade slowly, without forcing it. - Cutting Coated Tiles
To prevent the blade from chipping the delicate colored backing, cut these tiles upside down, with the coated side facing up. This allows the blade to enter the fragile coating first and push into the solid glass body, rather than chipping away from it upon exiting. - Polishing Cut Edges
A freshly cut edge of glass will be sharp and slightly rough. It must be smoothed with a diamond hand pad or rubbing stone. This is not just for safety; a polished edge is less prone to micro-fractures and helps the cut edge blend perfectly with factory edges after grouting.
How are the tiles set and cured?
The final steps of setting the tile require precision and, most importantly, patience.
- Setting the Tile
Press tiles into the flattened mortar bed with firm, even pressure. Use tile spacers to maintain consistent grout lines, typically a minimum of 1/16th of an inch. Ensure that lines are straight and plumb as you work. - Mortar Curing Time
Moisture from the thin-set mortar cannot evaporate through the impervious glass tile itself. It can only escape slowly through the open grout joints. For this reason, you must wait a minimum of 48 hours after setting the tile before grouting. Grouting too early traps moisture, which can compromise the mortar's final bond strength and cause visible discoloration behind translucent tiles.
Grouting and Finishing Your Project
The final steps of the installation protect the tile assembly and define its finished appearance. With glass tile, these steps require patience and the correct materials to avoid causing damage at the very end of the project.
What is the correct grouting procedure?
The primary objectives are to fill the joints completely without scratching the tile, and then to clean the surface perfectly.
- Applying the Grout
Use a soft rubber float designed for grout application. Holding the float at a 45-degree angle, press the grout firmly into the joints, working in small, manageable sections. Ensure the joints are fully packed, then remove the excess grout from the tile surface with the float. - Cleaning the Surface
Wait 15-30 minutes for the grout to set slightly. Use a clean, damp sponge to gently wipe the excess from the tile surface. Avoid using too much water or pressing too hard, as this can pull fresh grout out of the joints. After the grout has fully cured (24 hours or more), any remaining light haze can be polished off with a soft, dry cloth or cheesecloth.
What needs to be done with movement joints?
This is a structural requirement, not an aesthetic choice. It accommodates the natural expansion and contraction of the building and the tile assembly.
- Joint Locations
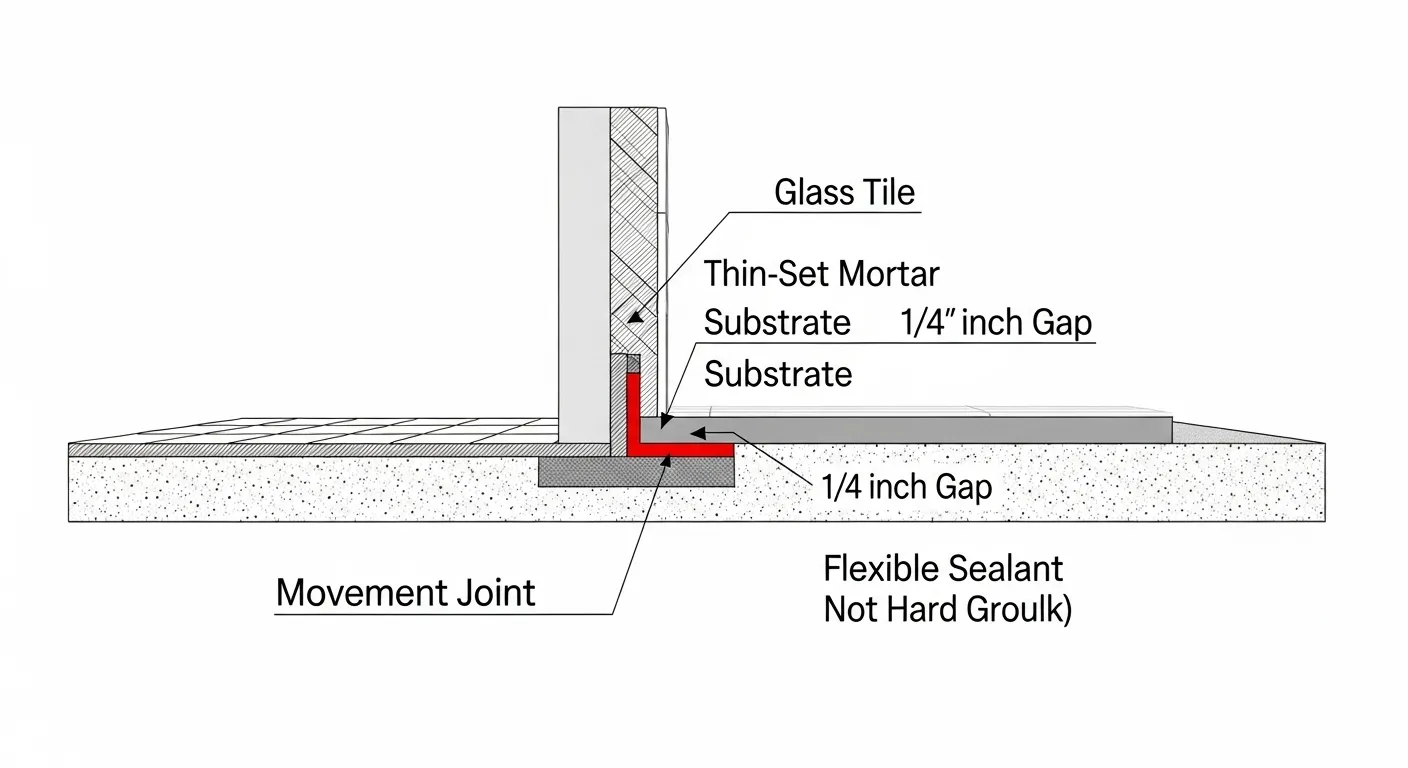
A gap of at least 1/4 inch must be left wherever the tile meets a different material or a change in plane. This includes the perimeter of the installation, at inside corners, and against countertops, cabinets, or pipes. - Filling the Joints
These gaps, known as movement or expansion joints, must never be filled with hard grout. Rigid grout will crack and transfer stress to the tiles. Instead, they must be filled with a flexible, 100% silicone or urethane sealant (caulk) that can compress and expand with movement.
Troubleshooting Common Glass Tile Failures
An experienced installer knows that problems are preventable. The following are the most common failures seen in the field, each one rooted in a specific procedural error.
Why can I see trowel marks or dark spots?
This is a direct result of improper mortar application. The installer either failed to "knock-down" the trowel ridges to create a flat bed, or they failed to back-butter the tile, leaving voids. The transparency of the glass makes these mistakes permanently visible. The only solution is preventative: a flat mortar bed and 100% coverage.
What causes newly installed glass tiles to crack?
Tile does not crack without reason; it cracks when subjected to stress. There are three primary causes:
1) movement from the substrate was transferred to the tile because no crack-isolation membrane was used;
2) thermal stress from expansion had no room for relief because movement joints were not installed;
3) an excessively thick mortar bed shrank as it cured, pulling the rigid glass apart.
Why are my tiles falling off in the shower or pool?
This indicates a complete system failure. The cause is almost always a combination of factors: the wrong mortar was used (one not rated for constant submersion); the mesh-backing on mosaic sheets dissolved in the water, breaking the bond; and most critically, no waterproofing membrane was installed on the underlying structure, allowing water to attack the adhesive from behind.
How can I verify a contractor's expertise?
An informed client can effectively vet an installer by asking specific, technical questions. A true professional will have clear and confident answers. Before hiring, ask them the following:
- "What kind of blade do you use for cutting glass?" The correct answer must involve a continuous-rim diamond blade for glass.
- "How will you prevent trowel lines?" They should describe flattening the mortar and back-buttering.
- "What mortar will you use?" They must specify a white, polymer-modified thin-set and confirm they never use mastic.
- "How will you handle the corners?" The answer must involve leaving a gap for flexible sealant (caulk), not hard grout.
If a contractor dismisses these questions, they lack the specialized knowledge required for the job.
Frequently Asked Questions
Can I cut glass tile without a wet saw?
Yes, for straight cuts on smaller jobs, a manual score-and-snap cutter can be used. This requires a sharp scoring wheel and a steady hand to create a single, firm score line. However, for the cleanest edges, larger projects, or textured glass, a wet saw with a glass-specific blade remains the superior method.
Do I need to seal glass tile?
No, the glass tile itself is non-porous and does not require sealing. The critical distinction is the grout. If a traditional cement-based grout was used, the grout lines must be sealed to protect them from stains and moisture. High-performance or epoxy grouts typically do not need a sealer.
Is glass tile suitable for floors?
It can be, but only if the specific tile is rated by the manufacturer for floor use. Floor-rated glass tile is thicker and often has an anti-slip finish to ensure it can withstand foot traffic and provide adequate traction. Standard wall-grade glass tile should never be used on floors as it is too fragile and slippery.
How do you replace a single broken glass tile?
First, carefully remove the grout from around the damaged tile using a grout removal tool. Then, gently break up and chisel out the pieces of the broken tile, taking care not to damage the surrounding tiles. Finally, apply a small amount of fresh thin-set mortar, set the new tile in place, and re-grout the joints after the mortar has cured.
Can you install glass tile over existing tile?
While technically possible, it is not the recommended professional method as it introduces potential points of failure. If it must be done, the existing tile surface must be structurally sound, perfectly level, and thoroughly cleaned. The surface must then be mechanically abraded (scuffed) to create a profile for the new mortar to grip. Any underlying issues with the old installation will eventually transfer to the new glass tile.


