Do you still not know how to cut vinyl siding? There's no secret to it. Even if you're not a professional, you can master the techniques of cutting vinyl siding.
Welcome to read this step-by-step guide, where I will break down all the methods and tools needed for cutting vinyl siding.
![3 Proven Ways How to Cut Vinyl Siding?[Step-by-Step] 3 Proven Ways How to Cut Vinyl Siding?[Step-by-Step]](https://chinatileaccessories.com/wp-content/uploads/2023/12/3-Proven-Ways-How-to-Cut-Vinyl-Siding?Step-by-Step.png)
5 Tools You Need To Cut Vinyl Siding
There are many tools for cutting vinyl siding, and the following are my top 5 favorite tools:
- Circular Saw
- Miter Saw
- Utility Knife
- Tin Snips
- Grinder
Don't forget the safety equipment
Of course, safety is also a crucial aspect. I highly recommend wearing protective gear and following safety guidelines to better protect yourself. You don't need to invest in any specialized equipment. You just make sure you have the following two types of protective tools:


- Safety goggles: Prevent debris generated during cutting from splashing into your eyes.
- Ear protection: Guard against the noise produced during cutting that could harm your ears. By the way, I strongly recommend using Banded Earplugs. They can be hung around your neck for easy removal whenever necessary.
What is the Best Way to Cut Vinyl Siding
While I mentioned 5 tools, you don't need to prepare them all. This is because it depends on the cutting method, and each tool has its own advantages in different methods.
Here's a brief overview:
Comparison of different methods for cutting vinyl siding.
Horizontal Cuts | Short Vertical Cuts | Long Vertical Cuts |
|---|---|---|
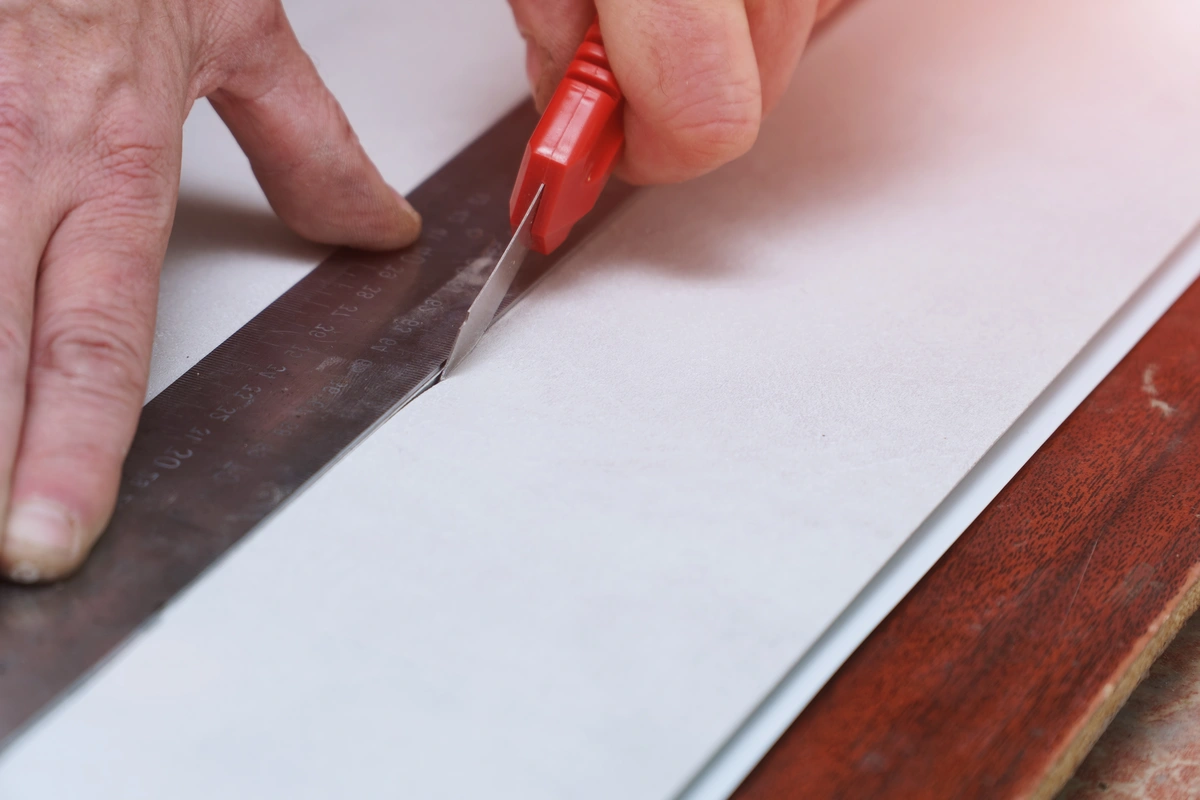
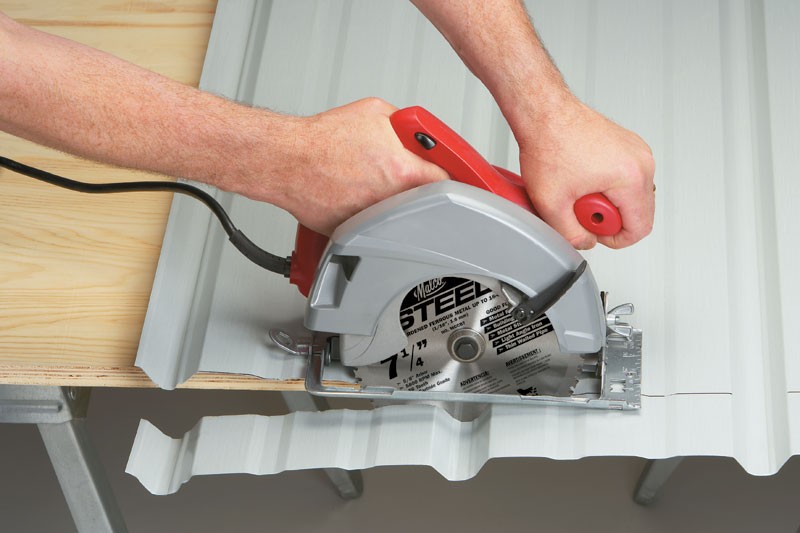
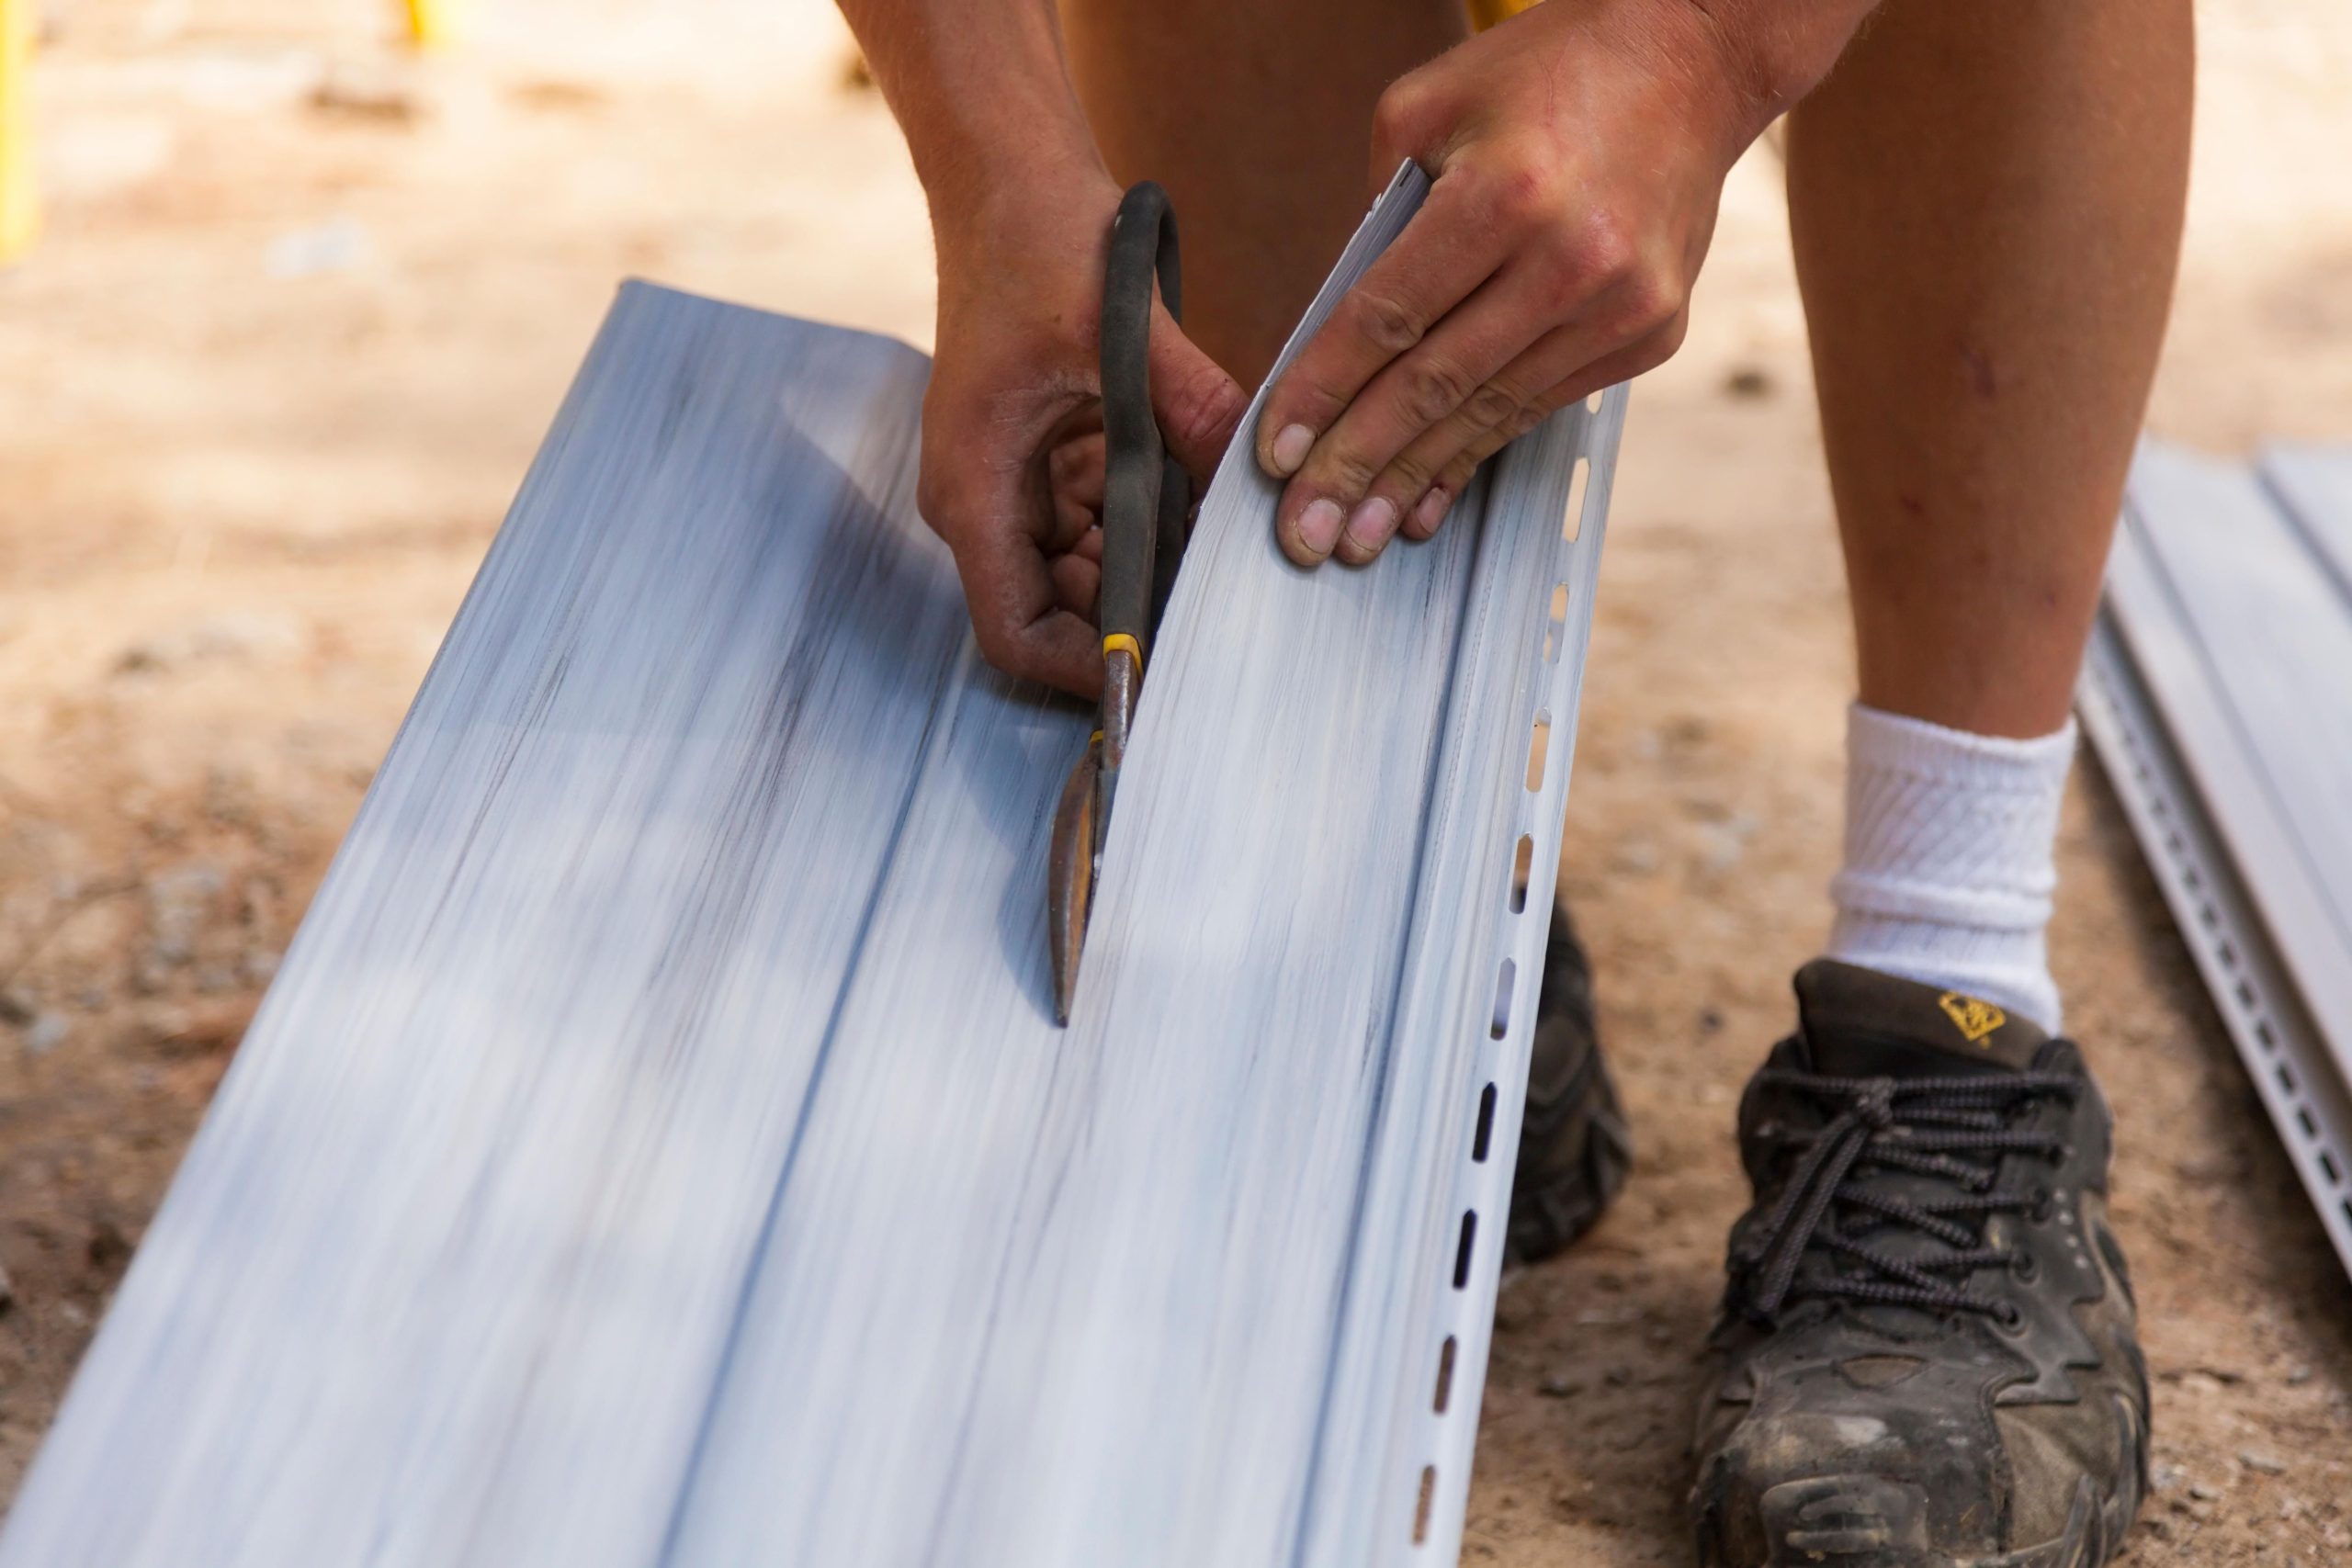
Utility Knife | Circular Saw or Miter Saws or Table Saws | Tin Snips or Grinder |
Simple to operate, suitable for small-scale cutting | High efficiency, ideal for large-scale cutting | Smooth cutting edge, with low tool requirements |
 |  |  |
Now, let's study the specific steps for each of these three cutting methods separately.
Method 1: Horizontal Cuts
Tools: Utility Knife

For beginners, using a utility knife is a very simple method. However, this method is more labor and time-consuming, and the edges of the vinyl siding could be rough.
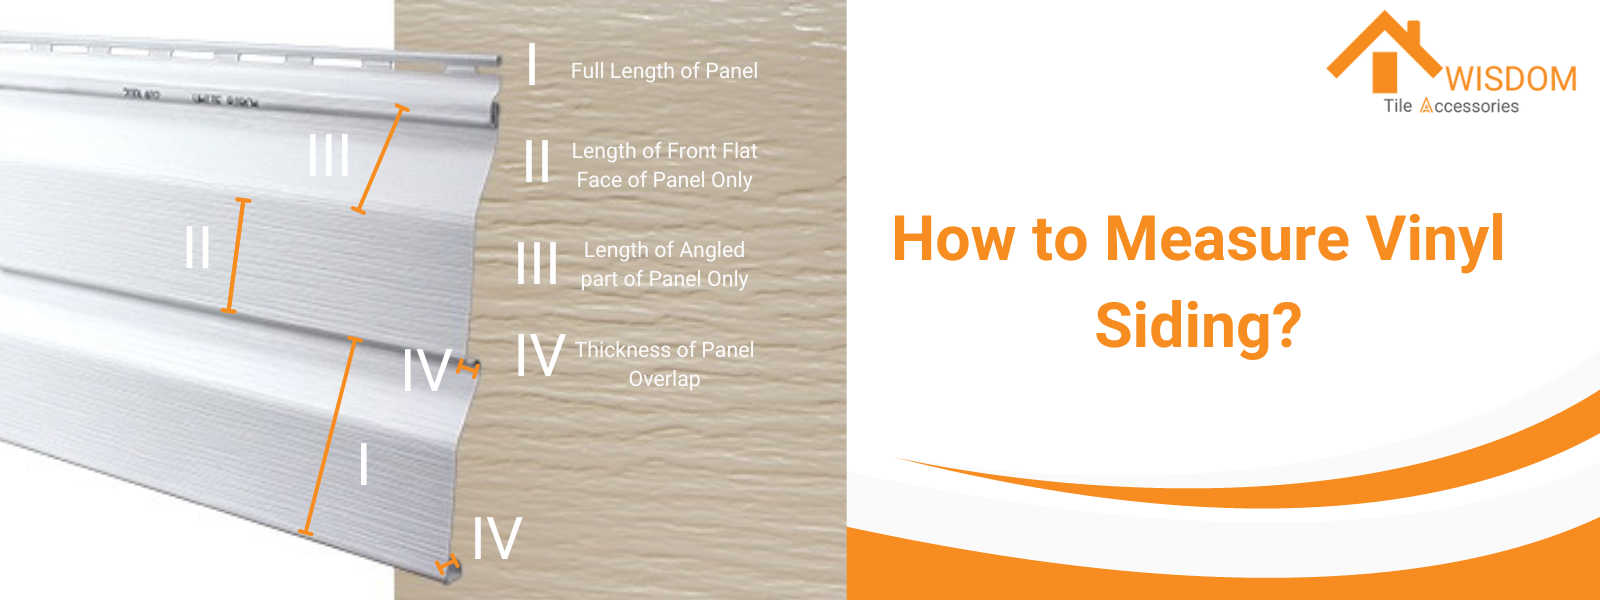
Step 1: Measure Your Wall
You can use any convenient measuring tool, such as a ruler or tape measure, to measure your wall. Then, measure your vinyl siding.
Now, you have two sets of data. Subtract the height of the siding from the height of the wall. And this is the length you need to cut on the vinyl siding.
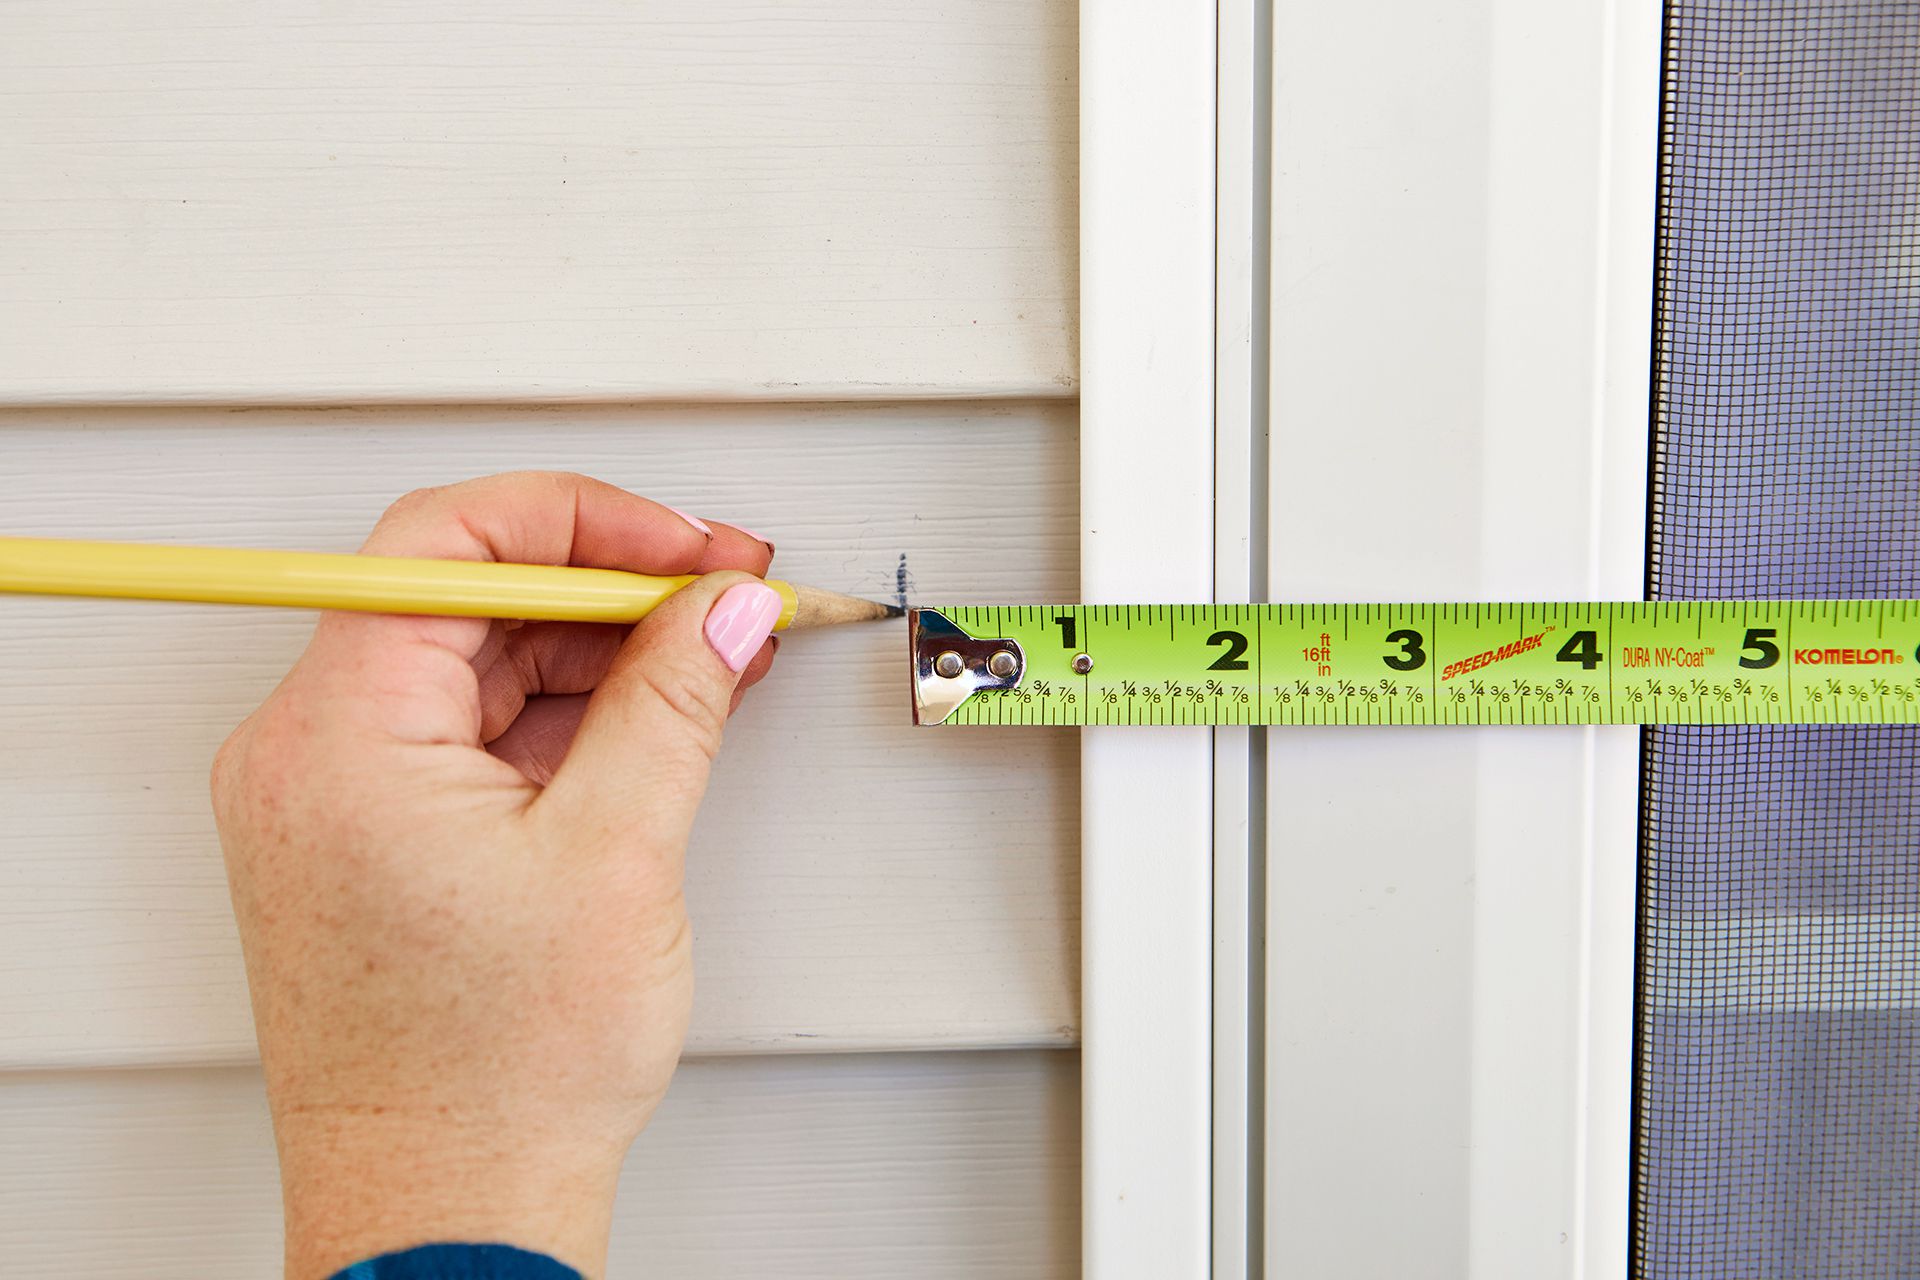
Step 2: Mark the Cutting Line
Use a pencil to draw marking lines on the vinyl siding. These lines will serve as the boundaries for your upcoming cut, so try to keep them as straight as possible to avoid any deviations during cutting.
The line can be either perpendicular to the edge of the siding or at an angle, depending on your intended use. However, ensure that the cutting line spans the entire length of the vinyl siding.
Step 3: Secure Your Vinyl Siding
Because the surface of the vinyl siding is smooth. To prevent any displacement during cutting, please secure it before. You can use professional carpenter clamps or simply place it between two tables for stability.
If you don't have these, just lay it flat on a level surface, such as your workbench or the ground.
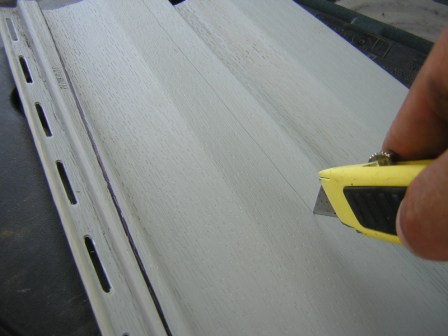
Step 4: Cut with a Utility Knife
Hold the vinyl siding with your non-dominant hand and slowly slide the utility knife along the marked line with your dominant hand.
You can apply a bit of pressure, but there's no need to cut it completely through at this point. Just make an initial incision.
Step 5: Snap the Vinyl Siding
Now comes the final and most exciting step. Hold the vinyl siding with both hands and forcefully bend it along the marked line to snap it in half. Alternatively, you can press down with one hand next to the marked line and slowly lift the siding with the other, causing it to bend and break.
If you encounter difficulty, try flexing it back and forth. If it still doesn't snap, repeat Step 4 until the vinyl siding breaks. The principle behind it is similar to metal fatigue. After cutting it once, this thin vinyl siding will become more susceptible to breaking under external force.
Method 2: Short Vertical Cuts
Tools: Circular Saw or Miter Saws or Table Saws
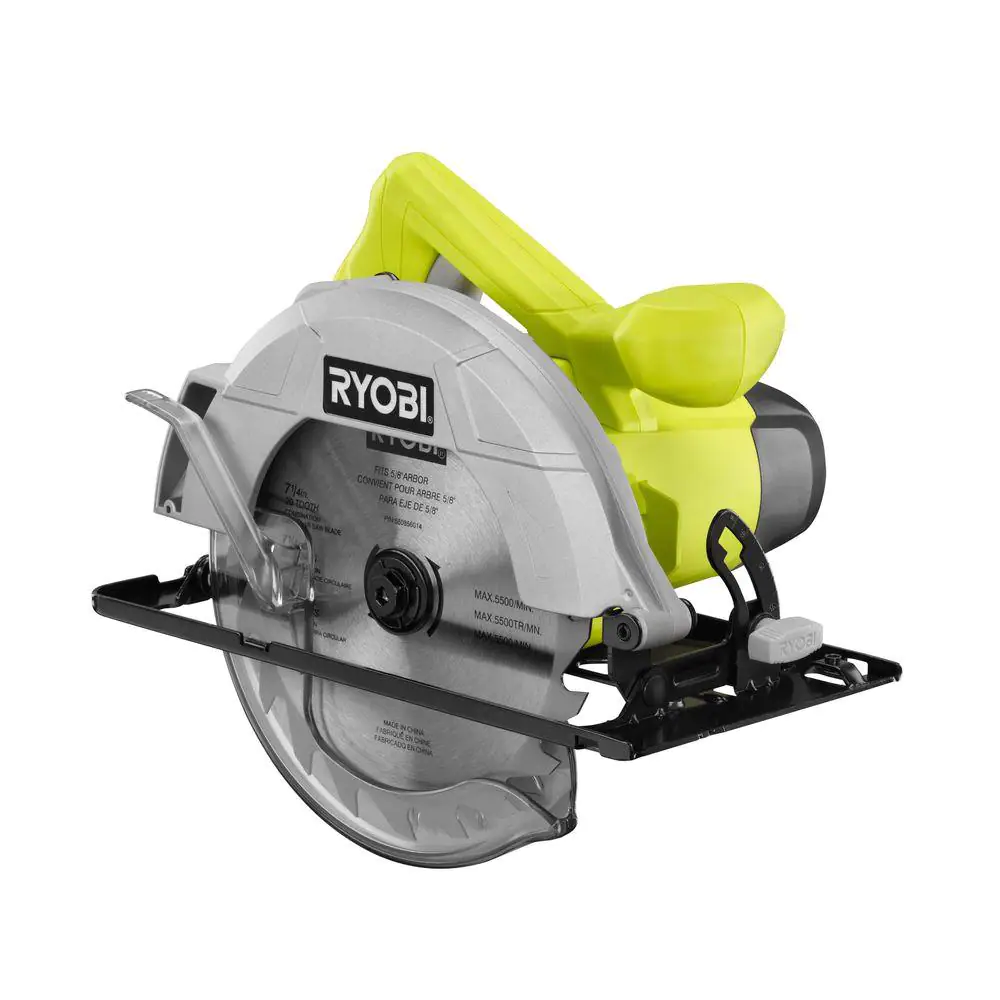
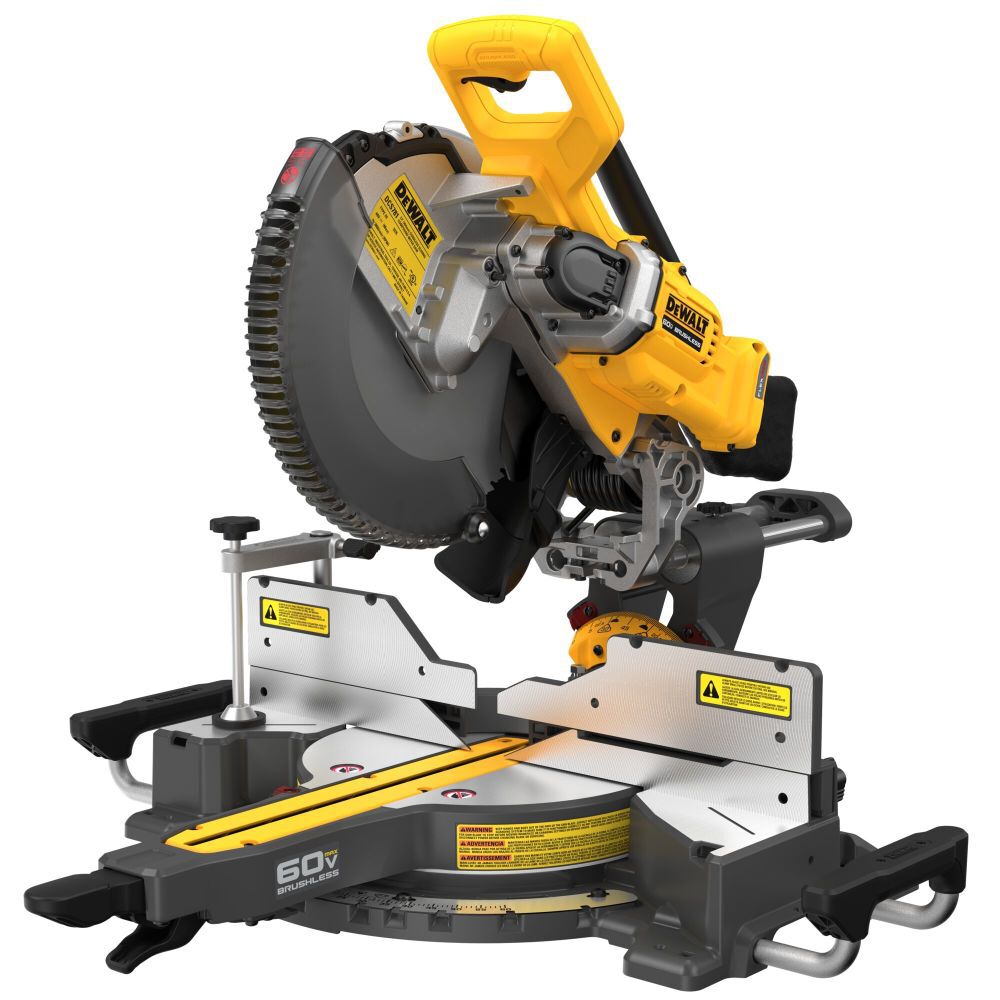
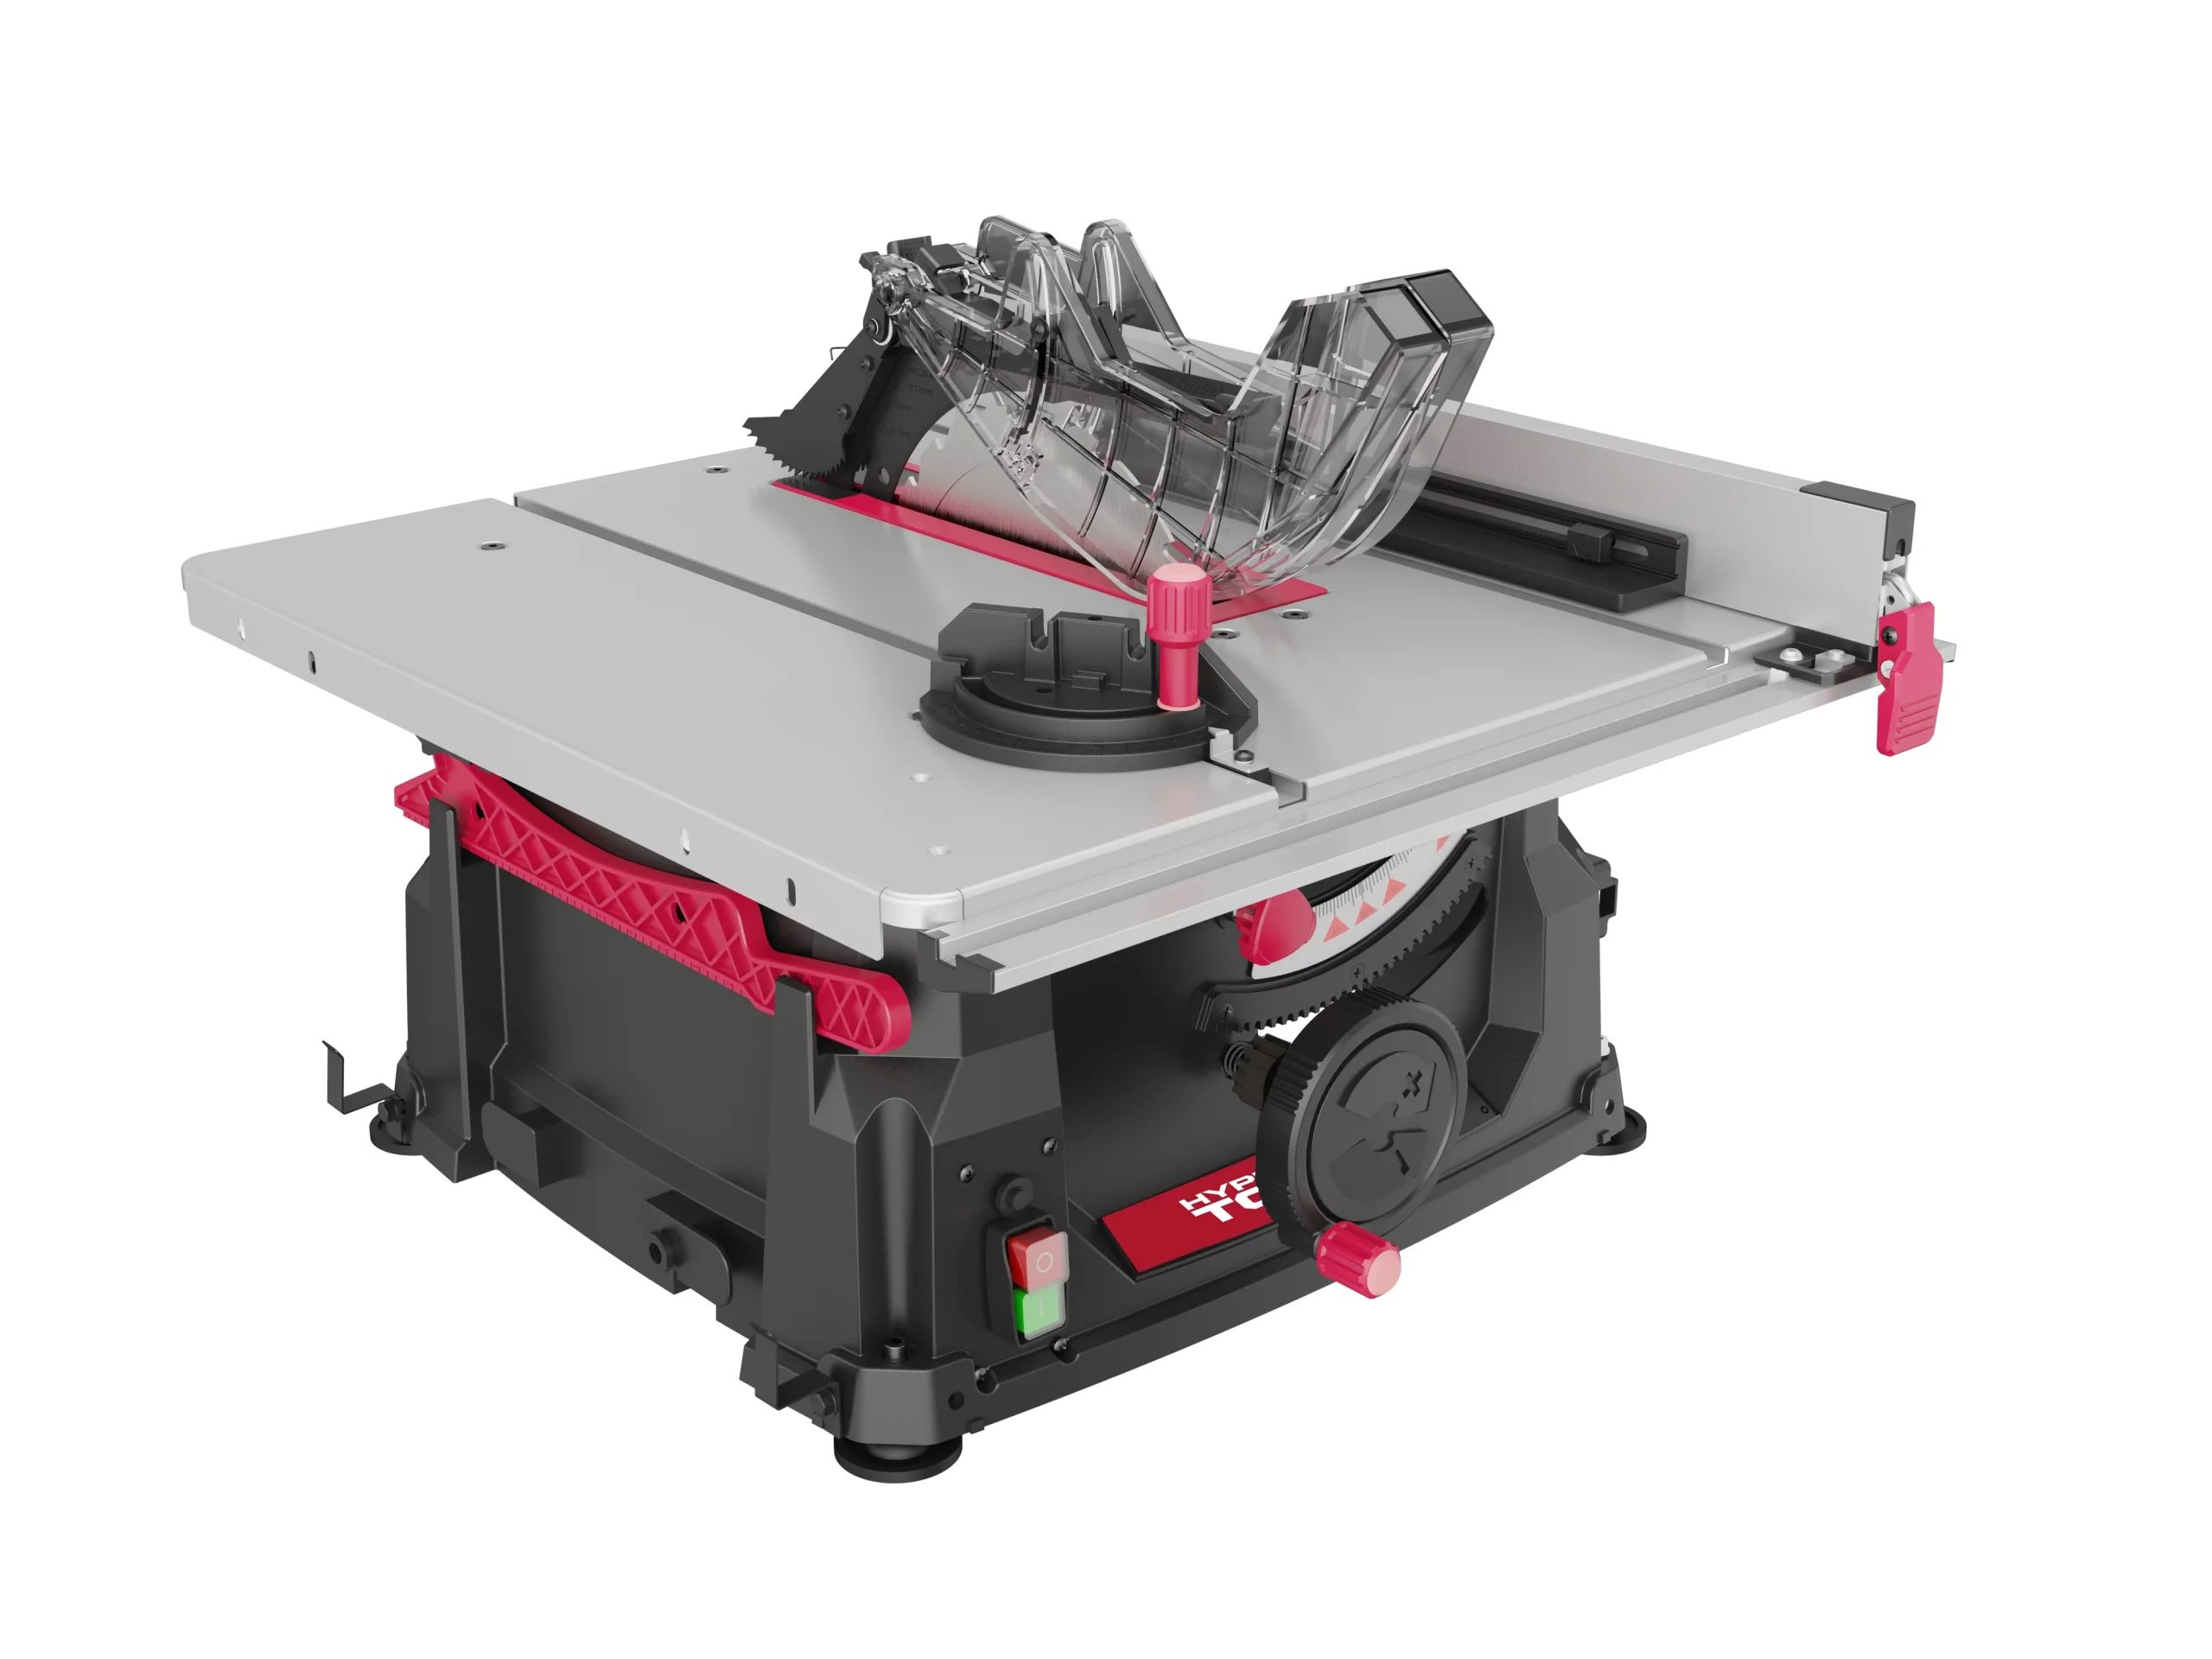
Short Vertical cuts are the most common way to cut vinyl siding, and it's my favorite method. Generally, I would recommend using a circular saw for its convenience.
Of course, miter saws and table saws are also good options.
Short vertical cuts are not only efficient but also result in nice smooth edges on the siding. This method provides the best outcome when cutting vinyl siding. Below, I'll explain the cutting steps using a circular saw as an example.
Professional Experience Tip:
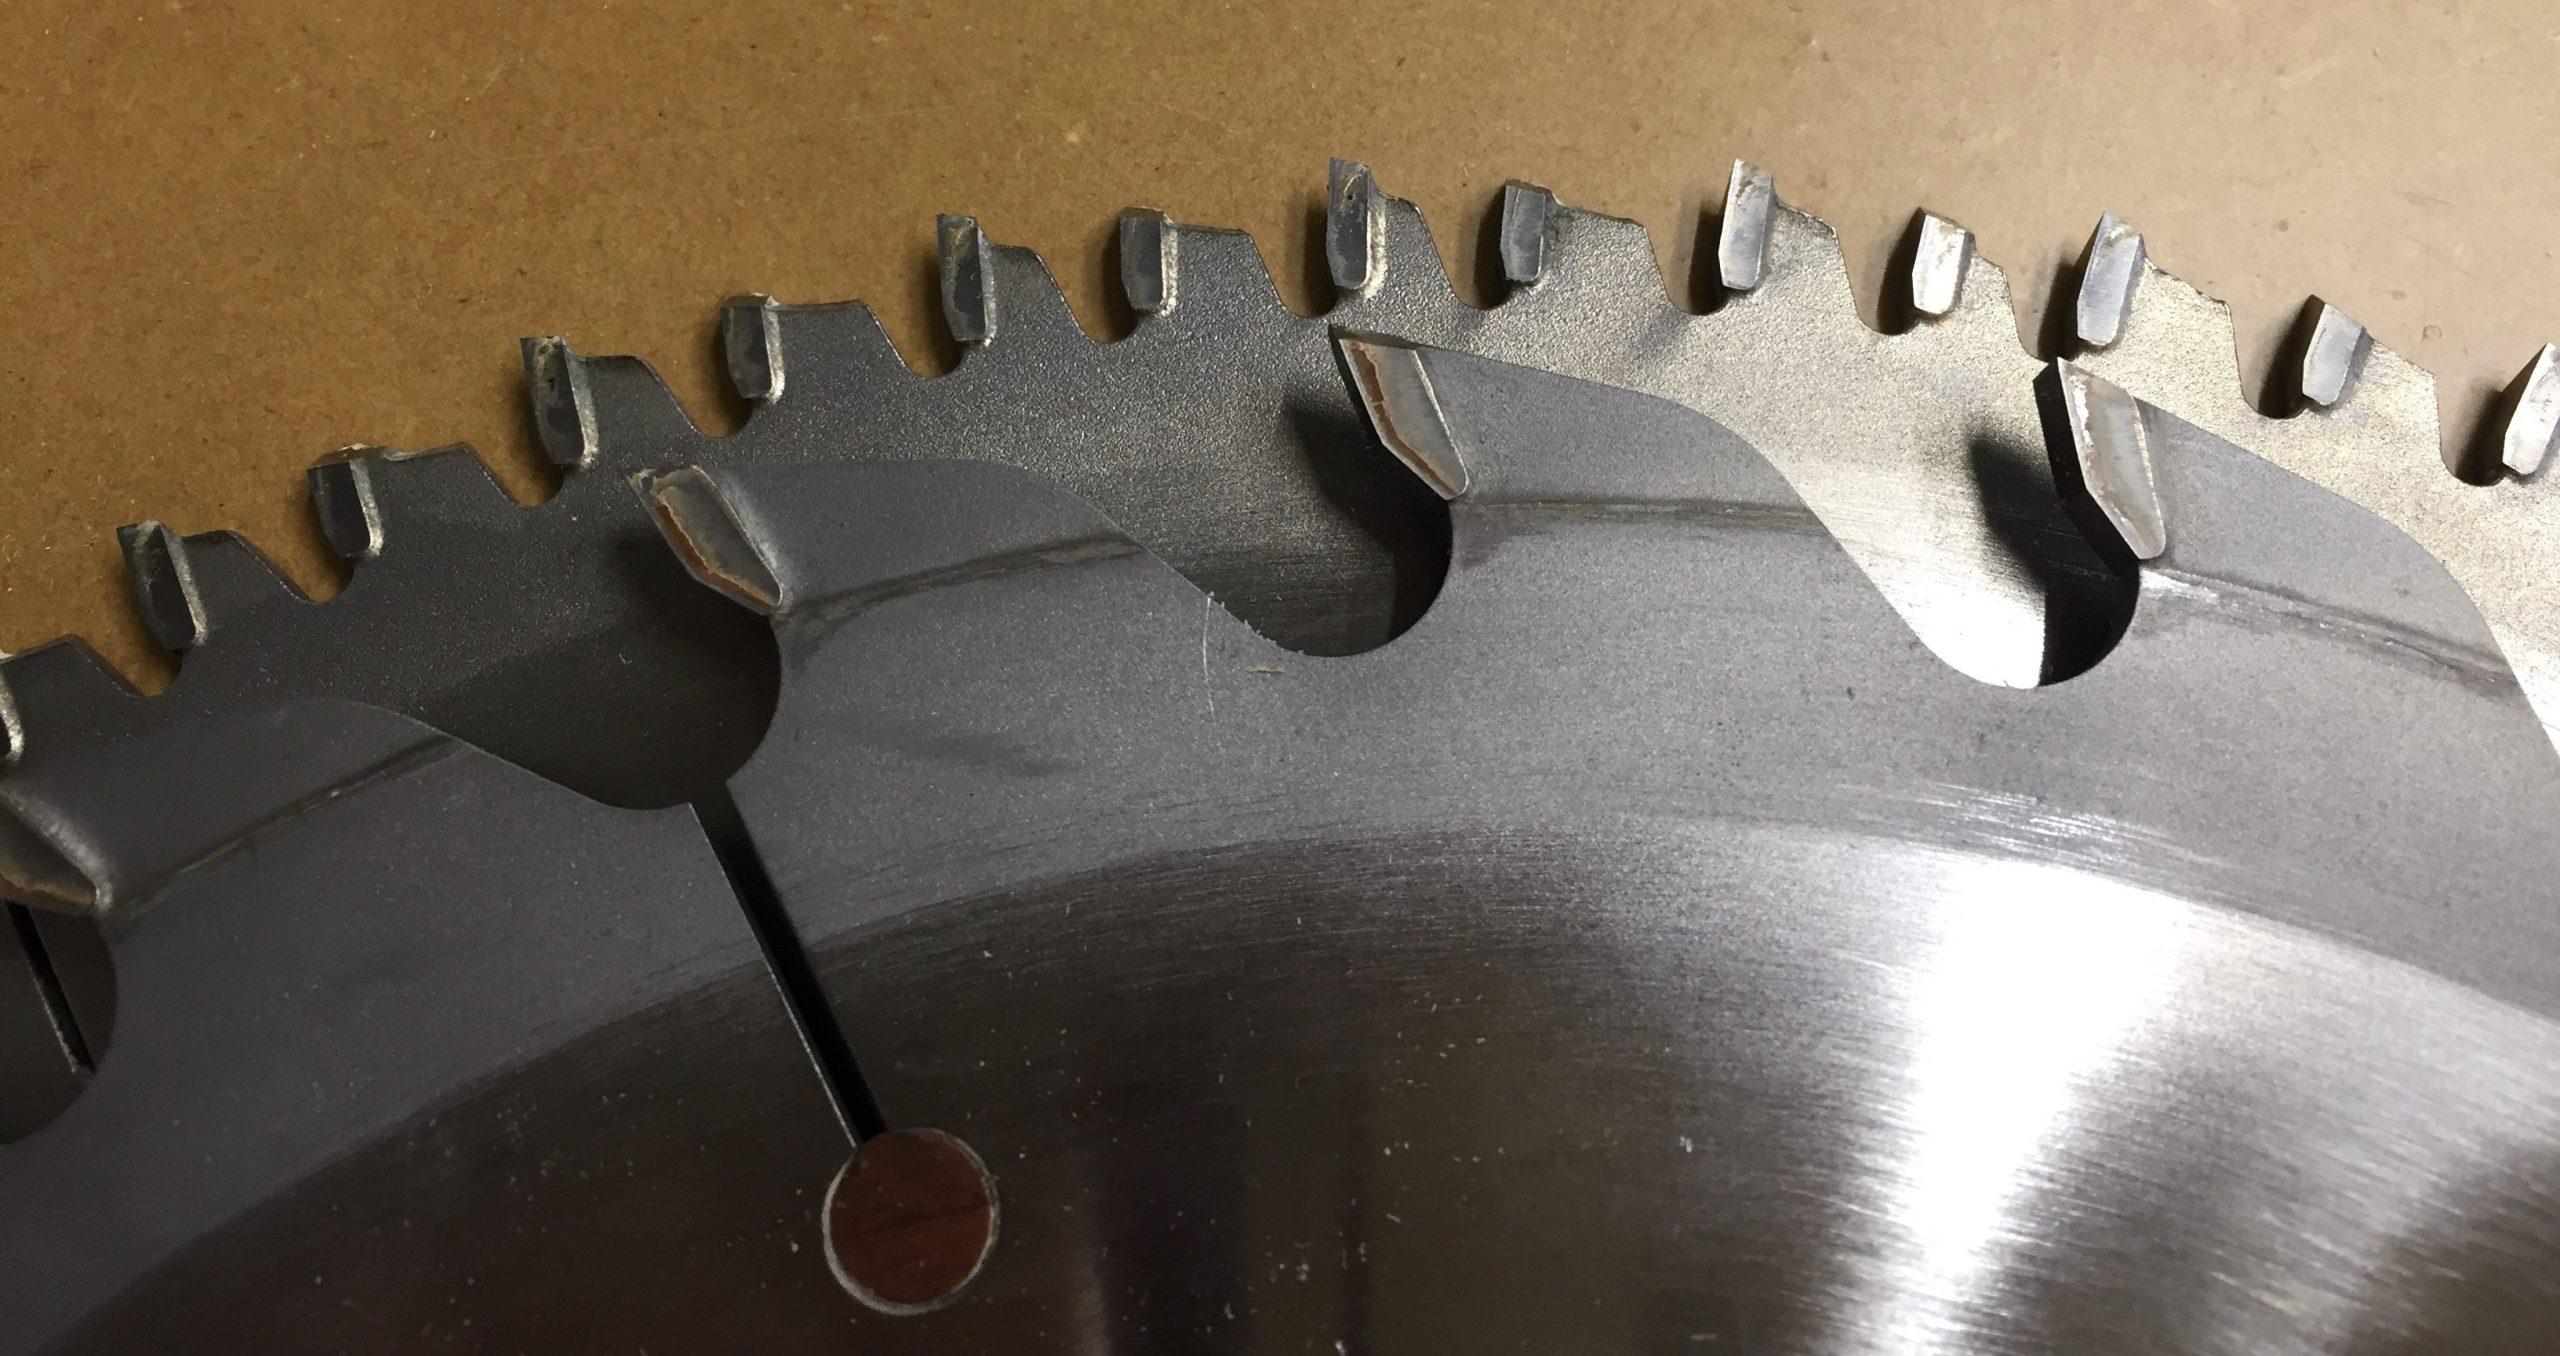
Be sure to use a fine-tooth plywood blade. It's the best choice for cutting vinyl siding, providing you with the most efficient cut.
Step 1: Install the Fine-Tooth Plywood Blade
Normally, people will install the saw blade facing forward on a circular saw. However, for a fine-tooth plywood blade, be sure to place the blade facing backward, so it points backward within the circular saw.
Additionally, the teeth on the blade should point in the opposite direction of the blade's rotation to ensure optimal cutting performance.
Step 2: Measure and mark the cutting line
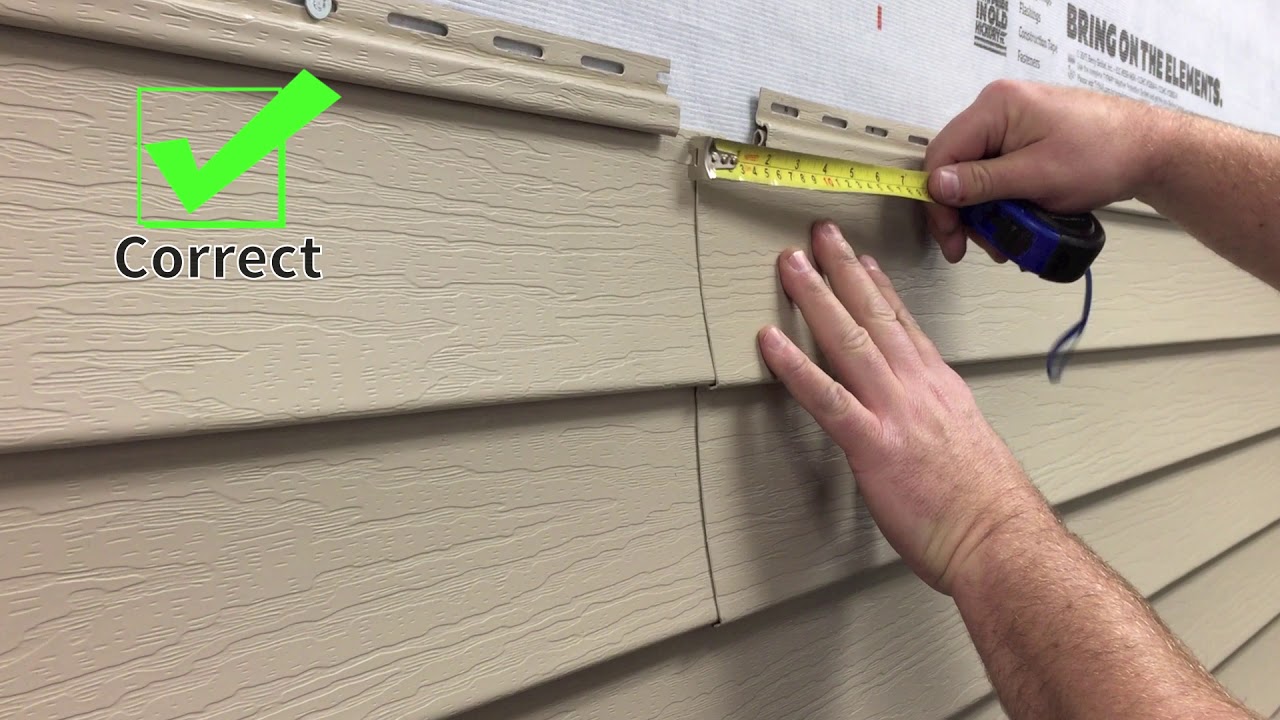
As with horizontal cutting, you also need to measure the height of the siding and the wall and mark accordingly. Because it might be challenging to see the marked line when using a circular saw, you can use some tape instead of a pencil.
By this way, you can clearly see the cutting position.
Step 3: Secure the vinyl siding
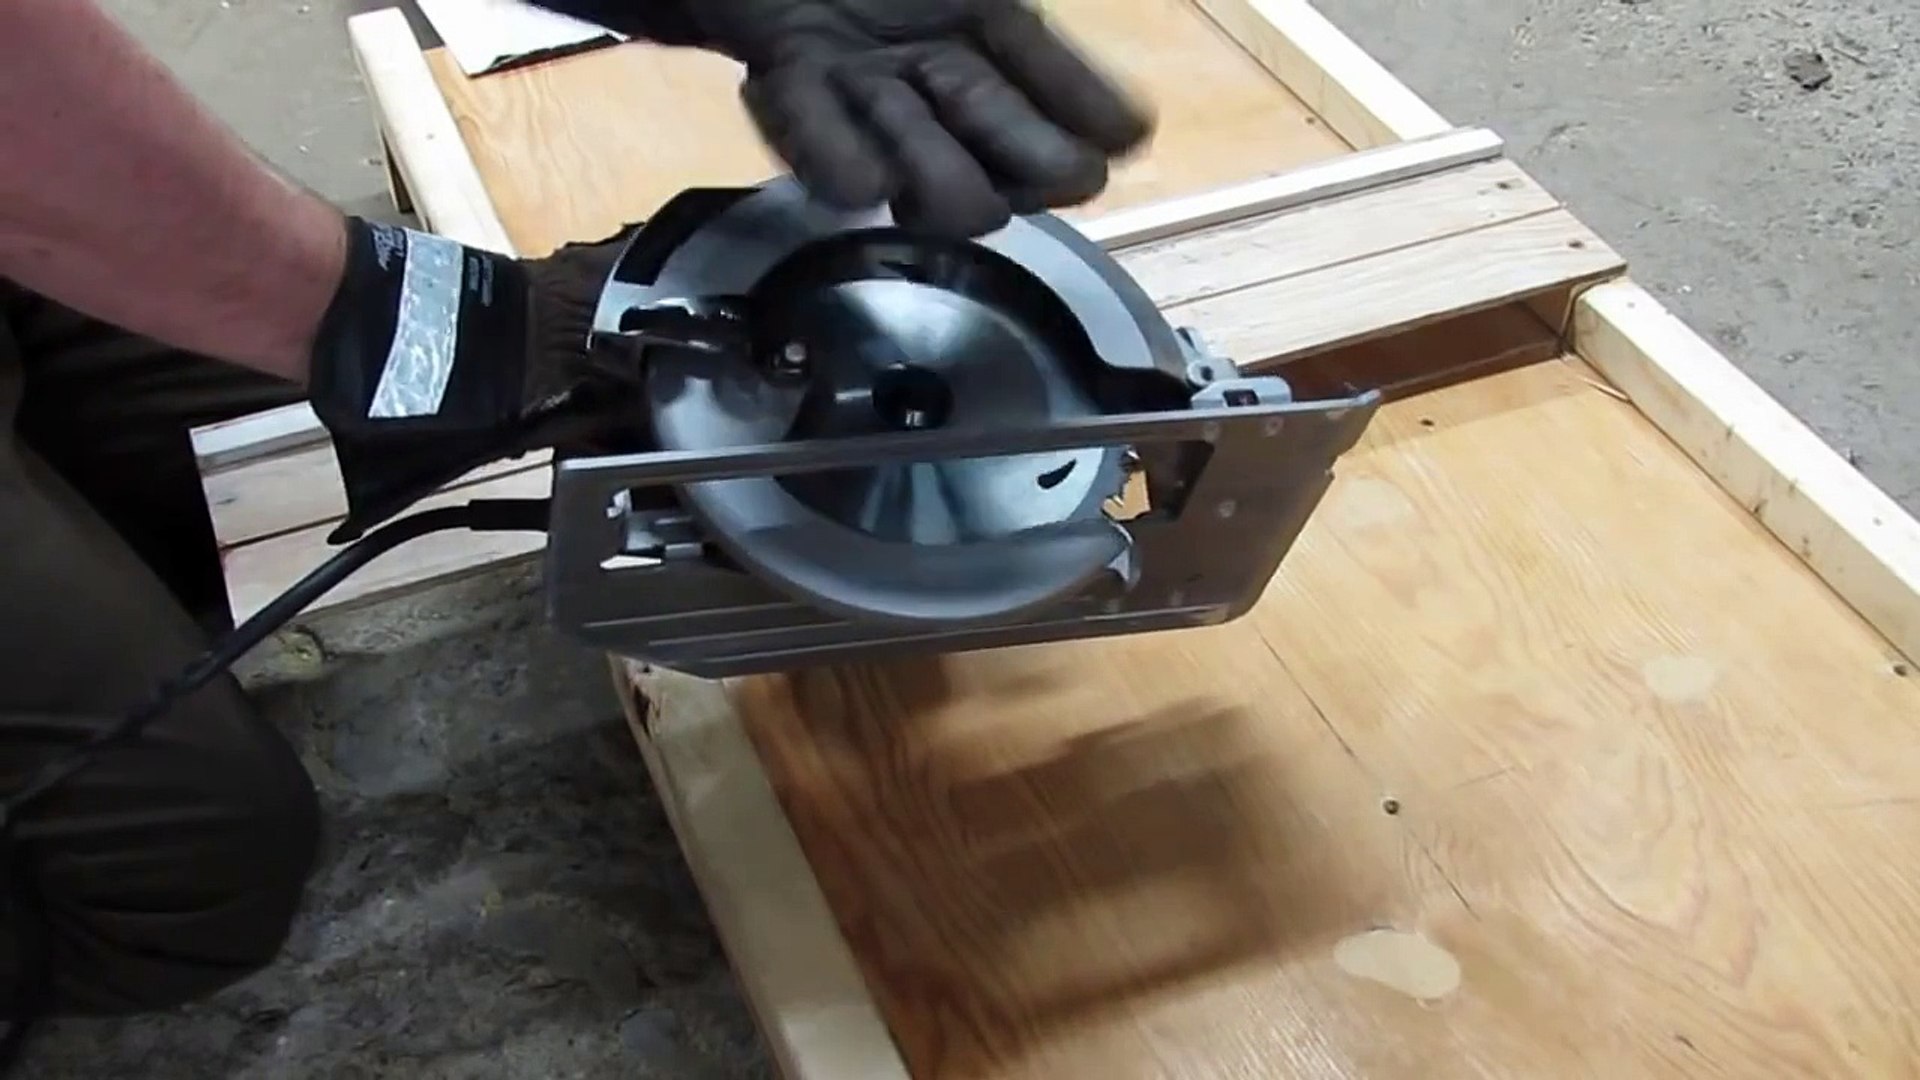
Unlike before, you need to place the siding at the edge of the workbench, letting the cutting area hang in the air. The purpose of it is to prevent damage to objects beneath the siding during cutting. If your workspace is too small to allow this, you can stack several flat boards to create an edge.
Of course, if you have the capability to create a cutting guide, it will make your work much easier.
Step 4: Cut the vinyl siding using a circular saw
Put on your safety goggles and ear protection, and begin the cutting. Don't be nervous. Hold the siding with your non-dominant hand. Push the circular saw at a steady pace, and you'll achieve a perfect, smooth cut edge.
Method 3: Long Vertical Cuts
Tools: Tin Snips or Grinder
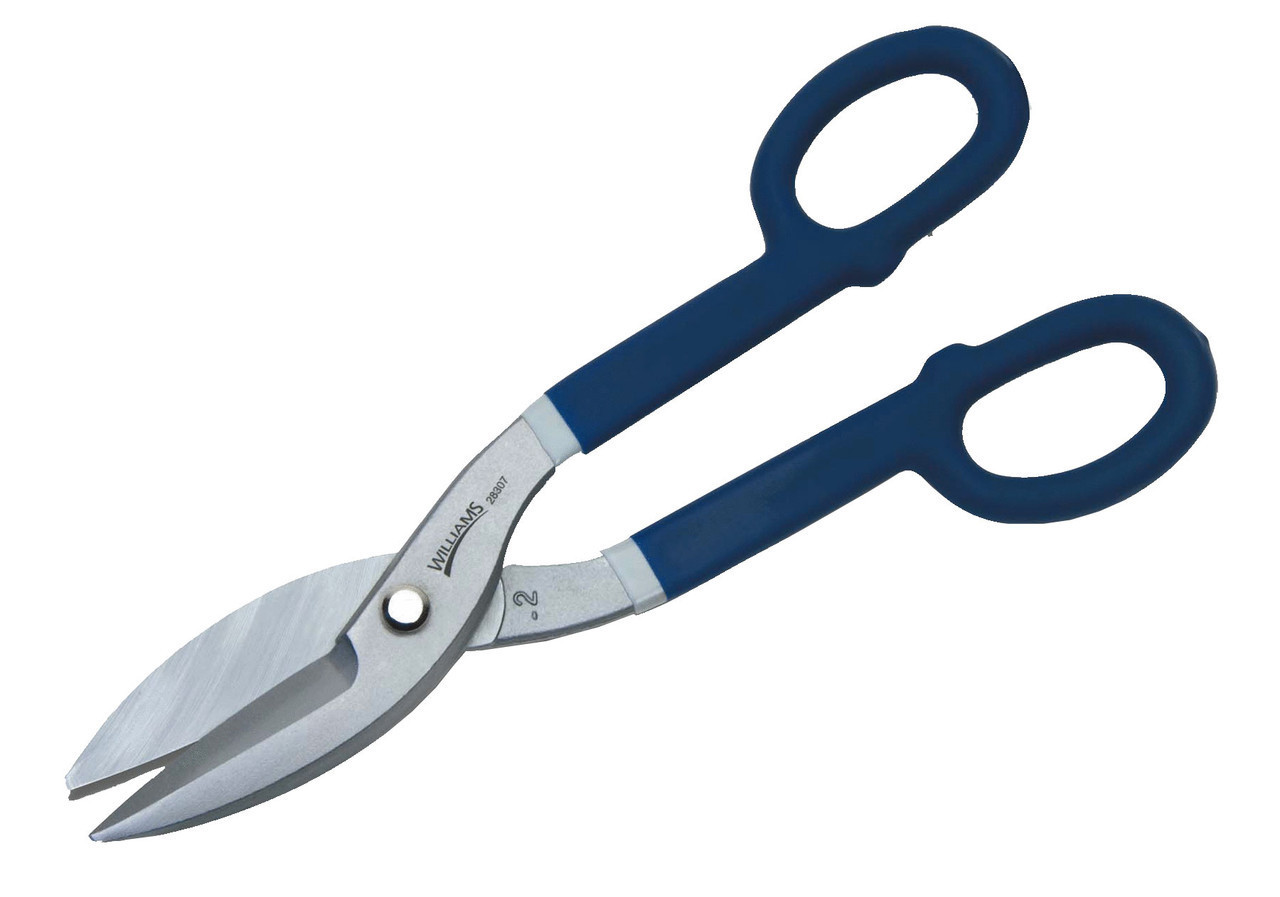
Using tin snips is a safer cutting method. Compared to a circular saw, you can have more precise control over the cutting position of the vinyl siding. The only downside is that your hands may feel tired. If you're only doing small-scale vinyl siding cutting, tin snips will be your best cutting tool.
Pro Tip:
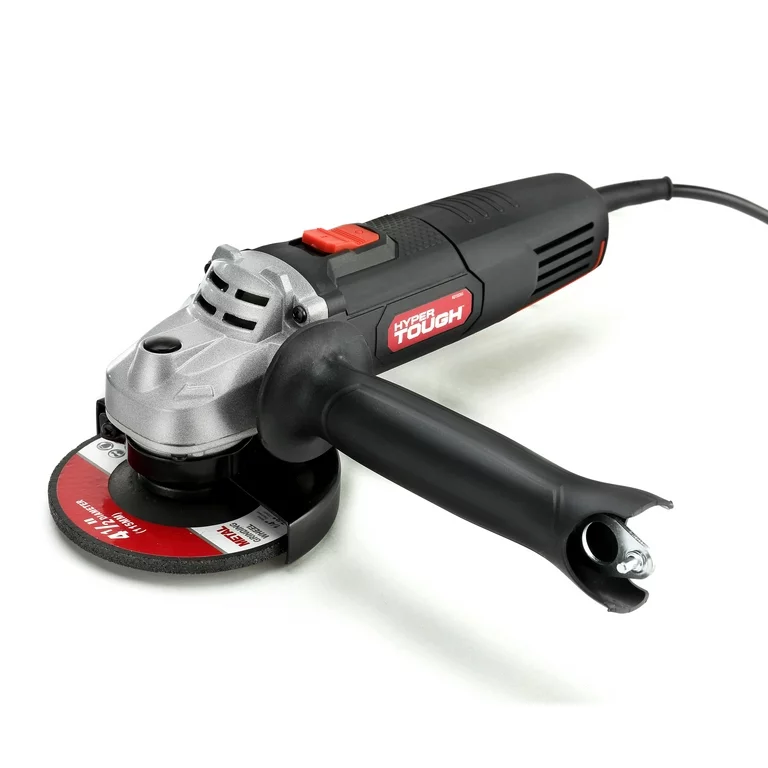
In addition to tin snips, I would also recommend using an angle grinder. This is a clever workaround that prevents your hands from getting too tired. Plus, the edges of the vinyl siding after cutting will be very smooth.
If you plan to use an angle grinder, please pair it with a concrete blade for the best cutting results.
Step 1: Measure the Vinyl Siding and the Wall
I hope you don't find it repetitive. Because regardless of the tool or method you choose, measuring the length of the vinyl siding to be cut is a crucial step. A ruler or tape measure remains your trusted companion. Subtract the height of the wall from the height of the siding to determine the cutting length you need.
Step 2: Mark the Vinyl Siding with a Pencil
Make marks at the near and far ends of the siding, then draw a straight line between them using a ruler. Ensure the line is horizontal, which will assist you when cutting the vinyl siding with tin snips.
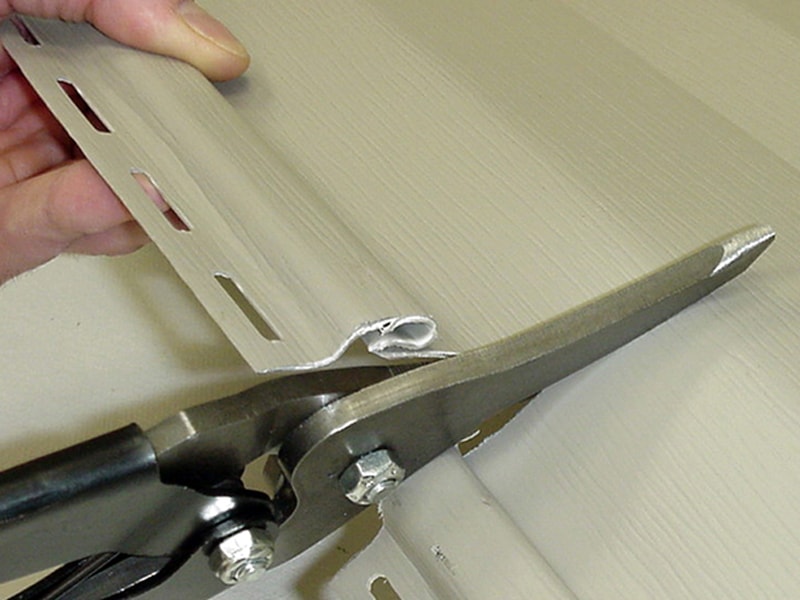
Step 3: Cut the Vinyl Siding with Tin Snips
Wear your protective gear and hold the siding with your non-dominant hand. Use tin snips to cut along the marked line until you completely pass through the vinyl siding.
Pro Tip:
Do NOT completely close the blades of the tin snips (keep them about 2/3 closed) for a cleaner cutting edge.
Common mistakes when cutting vinyl siding
- Incorrect Measurements: Always measure accurately to avoid costly and time-consuming mistakes. Use a tape measure to determine the dimensions needed for the siding and mark these measurements directly on the vinyl siding, ensuring clarity and straight lines. Double-check your markings carefully before making the cut.
- Wrong Cutting Angles: Ensure your cuts align with the layout and design of the siding for a polished finish. Misaligned cuts can result in ill-fitting pieces and an unprofessional appearance.
- Not Wearing Safety Gear: Neglecting safety equipment can lead to accidents, so prioritize your well-being. Always wear the recommended safety gear, including gloves, safety goggles, and ear protection.
- Using the Wrong Tools: The tools you use significantly impact the quality of the cut. Common tools include utility knives for vertical cuts, tin snips or hand saws for some horizontal cuts, and circular saws for short vertical cuts.
- Incorrect Cutting Techniques: For example, when using a circular saw, it's recommended to install the blade facing backward to minimize tearing and ripping of the vinyl. Additionally, when using a utility knife, score along the marked line on the siding and then gently snap the vinyl siding along the scored line.
FAQ About Cutting Vinyl Siding
What is vinyl siding?
Vinyl siding is an exterior wall covering used for homes and small apartment buildings. It combines decorative and practical elements, mimicking the appearance of wood clapboard, board and batten, or shake, while providing protection against the elements.
How much is vinyl siding?
The cost of vinyl siding can vary significantly due to factors like material quality, home size, installation complexity, and contractor fees. The cost of vinyl siding materials typically ranges from $3 to $12 per square foot, depending on material quality.
How long does vinyl siding last?
Vinyl siding can last for 30 to 40 years, depending on various factors such as climate and maintenance. In mild climates with moderate temperatures and proper upkeep, vinyl siding can exceed 40 years. However, in hotter or colder climates, it may need replacement every 20 years.
How to remove vinyl siding?
Removing vinyl siding is a relatively simple task that can be accomplished with the right tools and a bit of patience. Here are the steps to remove vinyl siding:
- Gather necessary tools: Tools needed include siding removal tools (also known as zip tools), a ladder, safety glasses, work gloves, and possibly a hammer or pry bar.
- Start from the top: Vinyl siding is installed from bottom to top, so to remove it, you should start from the top and work your way down. Top-row siding is usually cut to the required height and wedged into a molding at the top. The top may not have any fasteners, but if it does, they need to be removed.
- Use siding removal tool: Insert the siding removal tool into the overlapped position of the panels. Use the tool to hook the edge downward while gently pulling the siding away from the components below it. This should unlock the panel from the panel below.
- Remove nails: Once the siding is loosened, use a cat's paw or a similar tool to pull out siding nails.
- Continue the process: Continue the process of unlocking panels and removing nails until you have removed all necessary siding.
- Clean up: After completing the vinyl siding removal project, clean the work area. Collect and dispose of any loose nails, screws, or other fasteners.


