You don't have to be a professional to install wall panel. In fact, the beginner who does NOT have any experience can learn how to install wall paneling correctly in an hour.
Don't be afraid, it is easy to install wall panels. Let's go through this guide together to understand the specific steps of installing wall panels and the professional knowledge involved.
![How to Install Wall Paneling Correctly [Step By Step] How to Install Wall Paneling Correctly [Step By Step]](https://chinatileaccessories.com/wp-content/uploads/2023/12/How-to-Install-Wall-Paneling-Correctly-Step-By-Step.png)
Understand the Type of Wall Panels
The installation of wall panels has become the most popular method of protecting walls in the construction industry. It also serves a decorative function, including concealing imperfections in the drywall behind.
Before learning how to install wall panels, it's essential to understand the type of panels you are using because different types require different installation methods.
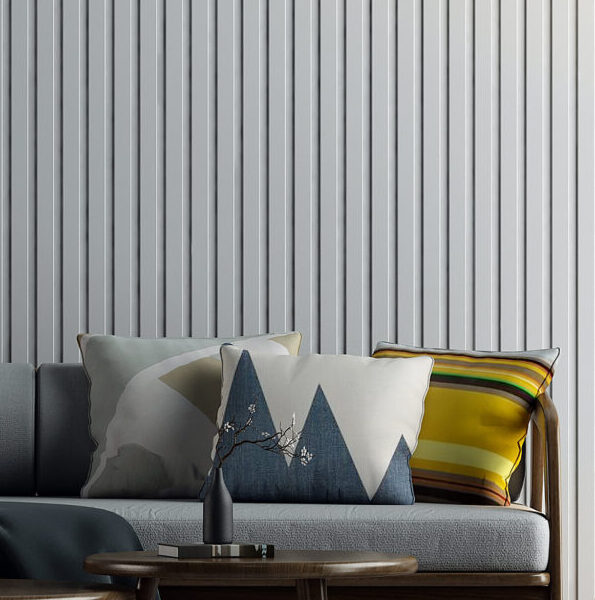
Currently, there are two main types of wall panels. One is the common decorative wall panel, also known as Medium Density Fiberboard (MDF). MDF has a similar appearance to wood, and people often use it to decorate their living rooms and bedrooms.
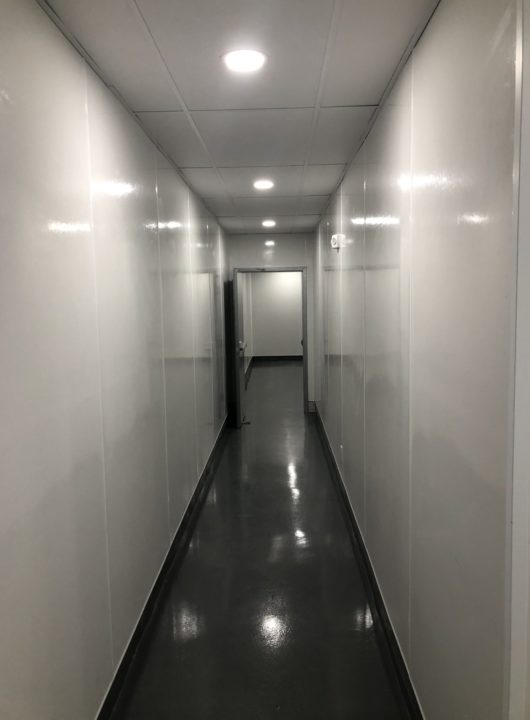
The other type is Fiberglass Reinforced Plastic (FRP), also known as fiberglass wall panels. These panels primarily provide waterproofing effects and are commonly found in places such as basements and bathrooms.
The installation methods for both types of wall panels are not complicated, but FRP requires additional installation costs, such as purchasing partitions, external and internal corners, as well as rivets and other accessories.
Below, I will use FRP as an example to guide you on how to correctly install wall panels.
Tools and Supplies Needed for Install Wall Paneling
First, please confirm the following checklist:
- Tape measure
- Pencil
- Sealant and caulking gun
- Level
- Paneling adhesive
- Circular saw
- Hammer or nail gun
How to Install Paneling in 6 Steps
Step 1 Prepare Your Wall
First, make sure there are no debris on your wall, such as nails, baseboards, etc. Use a utility knife or chisel to slide between the baseboard and the wall, then use a pry bar to open it.
You also need to use sandpaper to sand down protruding plaster to keep your wall smooth. You may encounter situations where there are holes in the wall. This is a question about how to patch holes in the wall. But for now, you just need to fill the holes or gaps with some filler.
Professional tip:
You need to place the wall panels in the room where they will be installed in advance and let them sit for about 48 hours. The purpose of doing this is to allow your wall panels to adapt to the humidity and temperature in the room.
While placing them, you can use some wooden sticks or discarded boards to separate them, enhancing air contact on the surface of the wall panels.
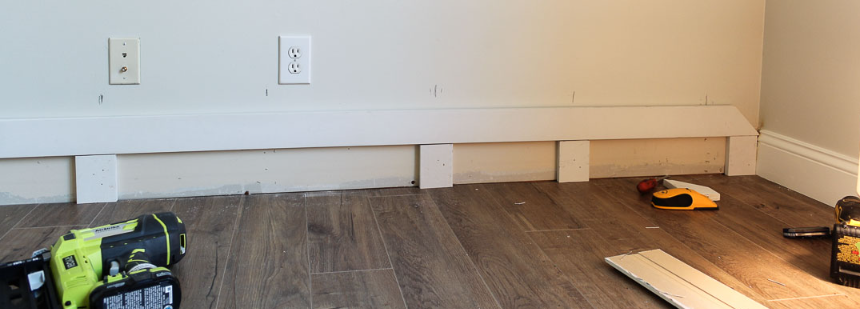
Don't forget to leave space for your skirting boards, which is crucial. The overall thickness of the wall will increase after installing the wall panels. You can use some discarded wood or the remaining wall panels from the upcoming cuts as temporary placeholders. By this way, your baseboards will have sufficient installation space.
Step 2 Measure the Height and Width of Wall
Next, use a tape measure to measure the length and width of the wall you are going to install panels on. To ensure data accuracy, I recommend measuring multiple times and averaging the results.
$$ Width=\frac{(W_1+W_2+W_3)}3 $$
To facilitate the purchase of wall panels, you need to calculate the area of the wall. Of course, don't forget to subtract the area occupied by windows, outlets, and other elements.
$$ Area= Width×Height-Area_{others} $$
Finally, divide the width of the wall by the width of the wall panel to determine the number of panels you need to prepare.
$$ Quantity=\frac {W_{wall}}{W_{panel}} $$
Professional tip:
After measuring the data, you can consider an overall enlargement of 5%-10%. It will help to prevent material loss during cutting, ensuring you have enough wall panels to complete the job.
Step 3 Ensure the Panel is Level
One thing you need to understand that, in most cases, walls are not perfectly level vertically. It means that you must ensure the first wall panel is level during placement. Otherwise, the subsequent paneling will be skewed.
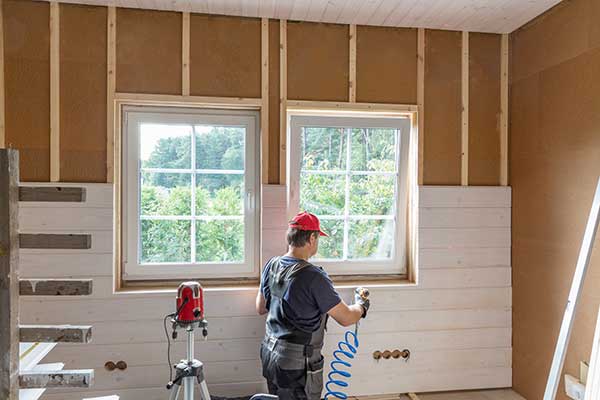
Start by placing the first panel in the corner of the wall, then use a laser level to check the edge of the panel, ensuring it is plumb.
What if the wall is not level?
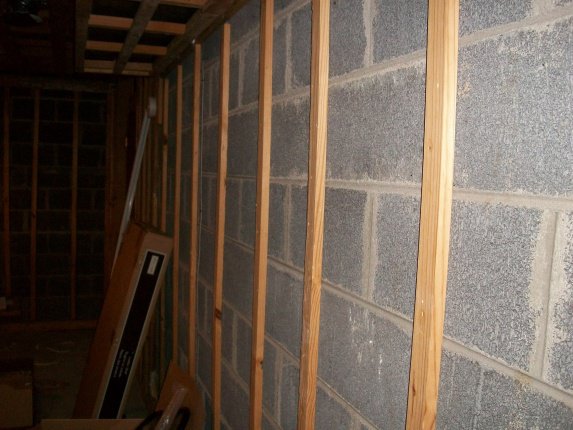
Use furring strips to create a horizontal grid structure on the wall. You can use kiln-dried wood or plywood strips. Align them with shims and then use a level to check if the wall is truly plumb.
Recommended sizes for different materials of furring strips
Kiln-dried wood | Plywood strips |
|---|---|
1 inch x 2 inches | 2 inches wide, 1/2 inch thick |
1 inch x 4 inches | Cell |
Step 4 Trim it and Cut Openings
Based on the previously measured data, use a pencil to mark cutting lines on the wall panel. It should include marking the excess parts of the panel and indicating where notches need to be made.
Professional tip:
You can use red chalk or crayon to mark the outer edges of outlets and switches. Align the wall panel in the installation area, gently pressing it against the wall. The marks made by the chalk or crayon will transfer onto your wall panel. It allows you to more precisely locate the positions for outlet holes.
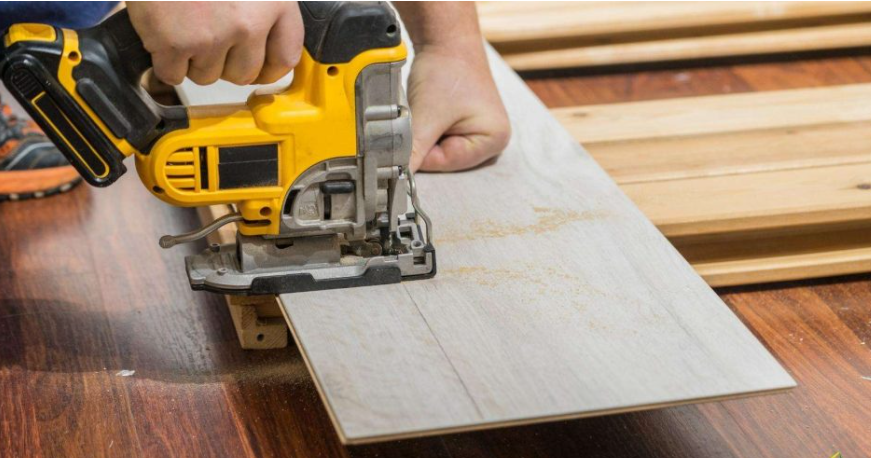
Then, use a circular saw to cut along the marked lines, which is the best way to cut paneling in my opinion. Remember to leave approximately 1/4 inch of space above and below the wall panel. The fibers in MDF panels tend to compress over time, especially in situations involving moisture.
Since MDF panels easily absorb moisture, unless you can maintain a completely dry environment, they may expand.

Step 5 Apply the Adhesive
Prepare a tube of wall paneling adhesive and load it into the caulking gun. Apply the adhesive evenly on the wall panel. An effective method is to apply it in a wavy pattern. It will maximizes the bonding between the wall panel and the wall without causing an excess of adhesive.
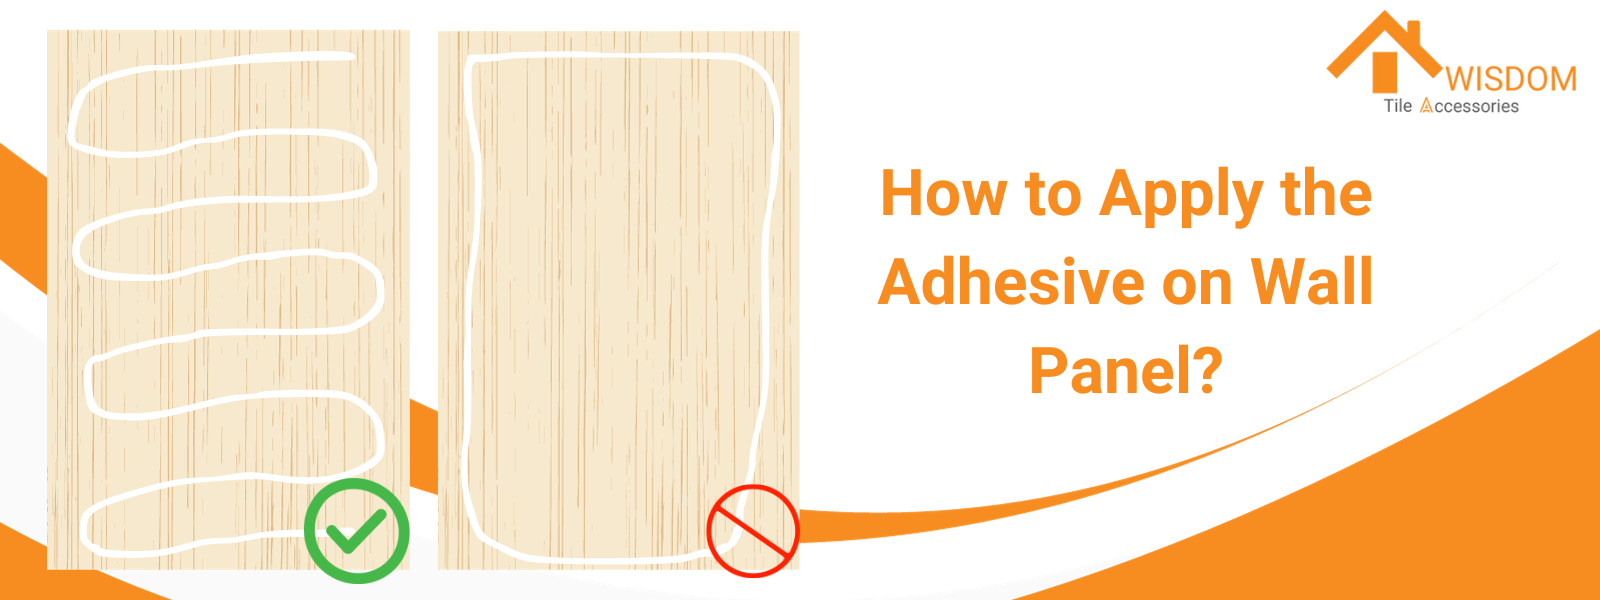
Of course, you can also choose to apply adhesive on the wall. Use the caulking gun to apply it on the wall in a dot matrix pattern, with the optimal distance between each application point being about 10 inches.
Professional tip:
If the surface you are working on does NOT support the use of adhesive, consider using screws for fixation instead.
Step 6 Attach the Paneling to the Wall
Finally, use a level once again to measure the vertical alignment of the wall to ensure precision. Align the wall panel in the installation area and use an electric nail gun to drive finishing nails into the panel, securing it to the wall. If you don't have an electric nail gun, a hammer is also a good alternative.
There is no set number of paneling nails required. Typically, 10 to 20 nails are sufficient to secure one panel. You can reduce the number of nails for aesthetic reasons, but make sure the panel is securely attached to the wall.
Afterward, you can reinstall your baseboards. Remember the space you reserved earlier? Remove those temporary materials and install the baseboards to secure the bottom of the wall panel.
Some Half Wall Paneling Ideas 2023
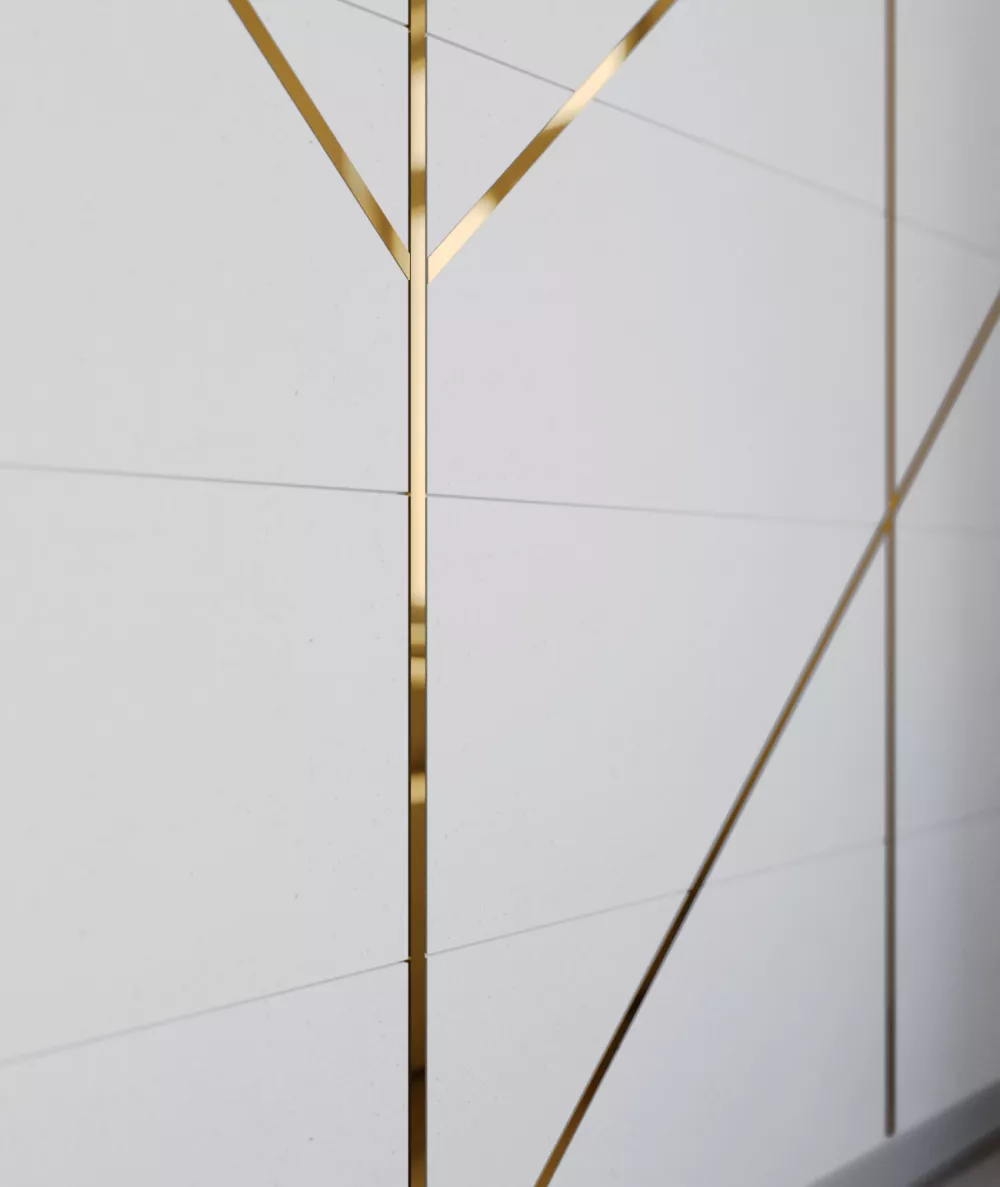
Glossy Gold Steel Decorative Strip: Add a touch of elegance and sophistication to your space with glossy gold steel decorative strips. These strips can be installed horizontally or vertically to create a stunning visual effect.
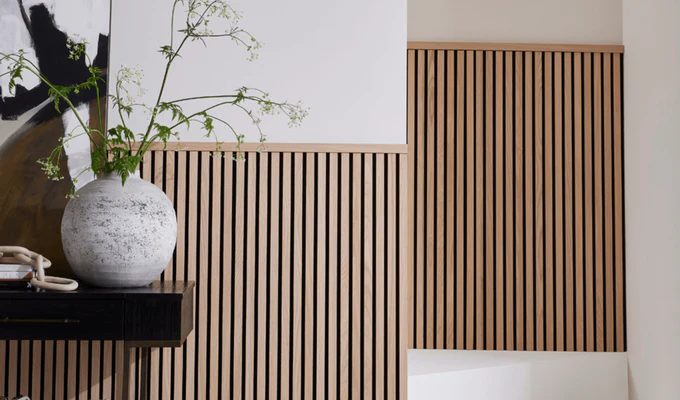
Wooden Accent Panel: Incorporate the warmth and natural beauty of wood into your half wall paneling design. Choose a wood species that complements your existing decor and install it horizontally or vertically for a rustic yet stylish look.
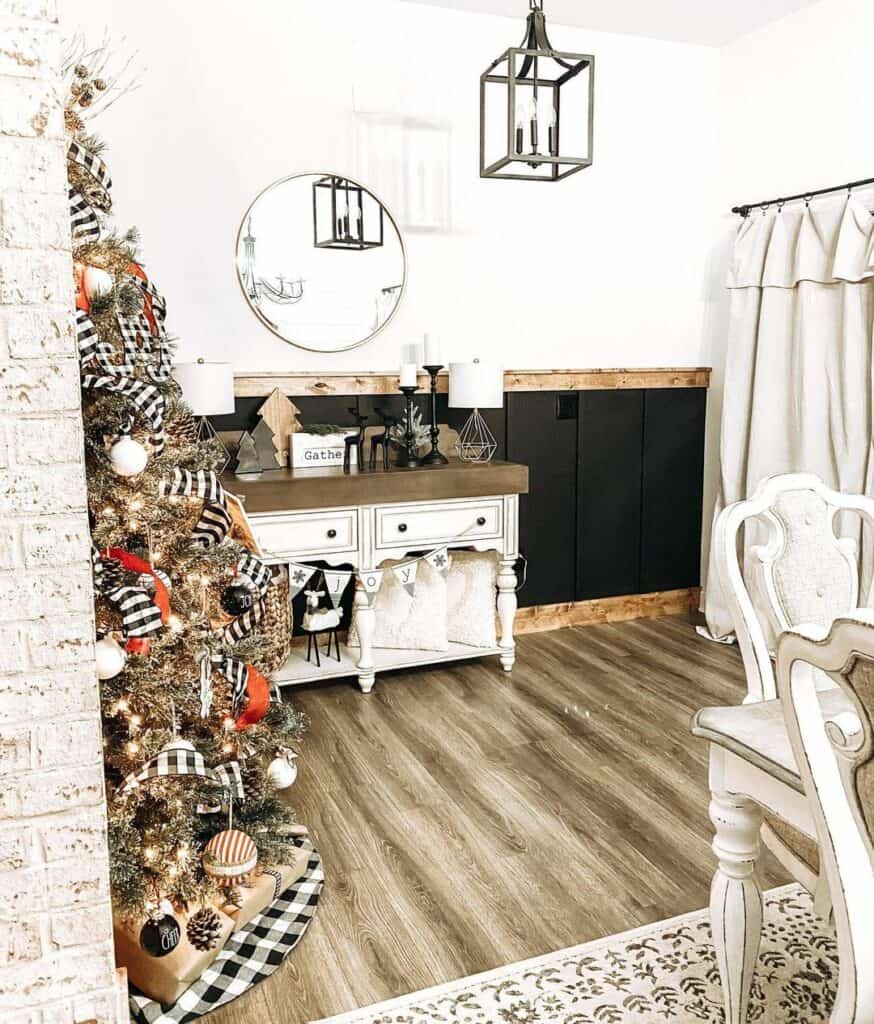
Black Half Wall Paneling with Rustic Wood Trim combines the sleekness of black paneling with the charm of rustic wood trim. This juxtaposition creates a unique and modern design that is both sophisticated and cozy. The contrast between the two elements creates a visually interesting and dynamic look. This atmosphere will look even more stylish during the Christmas season.
FAQ about Installing Wall Paneling
How to fix a hole in paneling?
- Remove any loose or damaged material around the hole.
- Cut a patch slightly smaller than the hole from a similar material as the paneling.
- Apply wood glue or a strong adhesive to the back of the patch.
- Insert the patch into the hole, ensuring it sits flush with the surrounding paneling.
- Fill any gaps or seams between the patch and the existing paneling with wood filler.
- Sand the patched area until it is smooth and even with the surrounding paneling.
- Prime and paint the patched area to match the rest of the paneling.
What is the best adhesive for 3d wall panels?
The best adhesive for 3D wall panels can vary depending on the specific type of panel and the surface it's being adhered to. Loctite PL Premium 3X Construction Adhesive is specifically recommended for installing wall panels. Gorilla Glue Construction Adhesive is also mentioned as a good choice for attaching wall panels.
How do you hide wood paneling seam strips?
- Fill with wax crayon: Use a lighter color wax crayon to fill in the gap between panels, and if the wax creates its own line, use a fine tip furniture marker to match the grain in the paneling.
- Cover with drywall: If you plan on covering the paneling with fresh drywall, you can stick mesh drywall tape over the seams to hide them. Spread joint compound over the tape before painting.
- Paint a stripe: Hold a sheet of paneling in place and mark a vertical pencil line on the wall along the edge of the sheet. Then, paint a 2-inch-wide stripe down the wall centered on the pencil line using a paint that matches the color at the edge of the paneling.
- Apply wood putty: Make sure beads and grooves line up, attach beadboard firmly to the surface, apply wood putty, clean wood putty out of grooves, and sand the face and grooves to hide the seam.
- Use paneling seam tape: Paneling seam tape neatly covers wall panel seams, edges, and inside/outside corners for a professional appearance. It's easy to apply with its self-stick tape.
How to remove wood paneling?
You can remove wood paneling from wall in 4 steps:
- Protect the area: Lay a drop cloth to protect the floor from dust and debris.
- Remove trim and molding: Use a pry bar to remove any trim pieces at the top and bottom of the paneling.
- Check for adhesive: If the paneling is glued to the wall, use a heat gun to soften the glue, then gently pry the paneling away from the wall.
- Pry the paneling: Use a pry bar to loosen the paneling, starting from a corner near the floor. If the paneling is nailed, use a hammer and pry bar to remove the nails and then pry the paneling away from the wall.
How to install beadboard paneling over drywall?
- Clean and dry both the walls and the back of the beadboard to ensure good adhesion.
- Apply adhesive to the back of the board, then position the beadboard into place. A zigzag pattern of adhesive works best.
- While the adhesive cures, use finish nails to hold the panels in place. Nail the panels at the top and bottom, as well as along the studs.
- Fill the nail holes with wood putty, then sand and paint the beadboard as desired.
How to cut panelling?
To cut panelling, you can use a fine-toothed saw. Fine-toothed or cross-cut blades can reduce splinters and achieve smoother cuts.
- Cut the panel to a certain length before cutting to width.
- Score the panel once or twice.
- Snap off the waste.
