Large-format tiles, such as 2'x4' tiles, are an increasingly popular choice for modern installations. However, working with tiles of this size can quickly become overwhelming due to the unique challenges they present. So, how to lay down 2'x4′ tiles?
From ensuring a perfectly flat substrate to applying proper adhesive coverage and preventing lippage, the process demands precise attention to detail. The specific techniques required can also vary depending on whether you’re installing tiles on a floor or a wall, as each surface introduces distinct considerations and potential complications.
Fortunately, this article simplifies the process by outlining smarter, more efficient methods for installing 2'x4' tiles. Drawing on industry expertise and proven practices, it provides step-by-step guidance to help you achieve a high-quality installation, whether you’re tackling a floor or a vertical wall. By following these instructions, you’ll be able to take full advantage of the stunning results that large-format tiles can deliver.
How to Lay Down 2'x4′ Tiles: Preparation
To lay down 2'x4′ tiles, proper preparation is critical, as their size magnifies the importance of a flat, stable surface. According to industry guidelines, such as those outlined in the Tile Council of North America (TCNA) Handbook, preparation requirements vary depending on the substrate type and whether you’re working on a floor or a wall. Let’s explore these essential steps.
For Floors
Installing large-format tiles on floors requires a substrate with no deviation greater than 1/4" in a 10-foot span. Any unevenness in the surface can compromise the bond between the tile and the substrate, leading to lippage and other installation failures.
To address this, installers often rely on self-leveling underlayment (SLU) to correct widespread unevenness or use patching compounds for localized low spots. High spots, on the other hand, must be ground down to ensure a perfectly flat surface. These steps not only meet industry standards but also help ensure that the thinset achieves full coverage beneath the tile, as recommended for tiles of this size.
>> See Don’t Break the Bank: Cheaper Alternative to Self-Leveling Compound
For Walls
When preparing walls for 2'x4' tiles, flatness and structural stability are equally important. Large-format tiles are heavy, and the substrate must be strong enough to support their weight without any deflection. Additionally, the surface should be thoroughly cleaned to remove dust, grease, or debris that could interfere with adhesion.
For best results, walls should also be primed with a suitable primer. This step not only strengthens the substrate but also improves adhesive adjustment time, giving installers the flexibility needed for precise tile placement.
Essential Tools Checklist
Having the right tools at hand ensures a smooth preparation process. For large-format tiles, the following are indispensable:
>> See Comparative Analysis: Vibrating Suction Cup For Tiles vs. Traditional Tile Installation Methods
Step 1: Surface Preparation
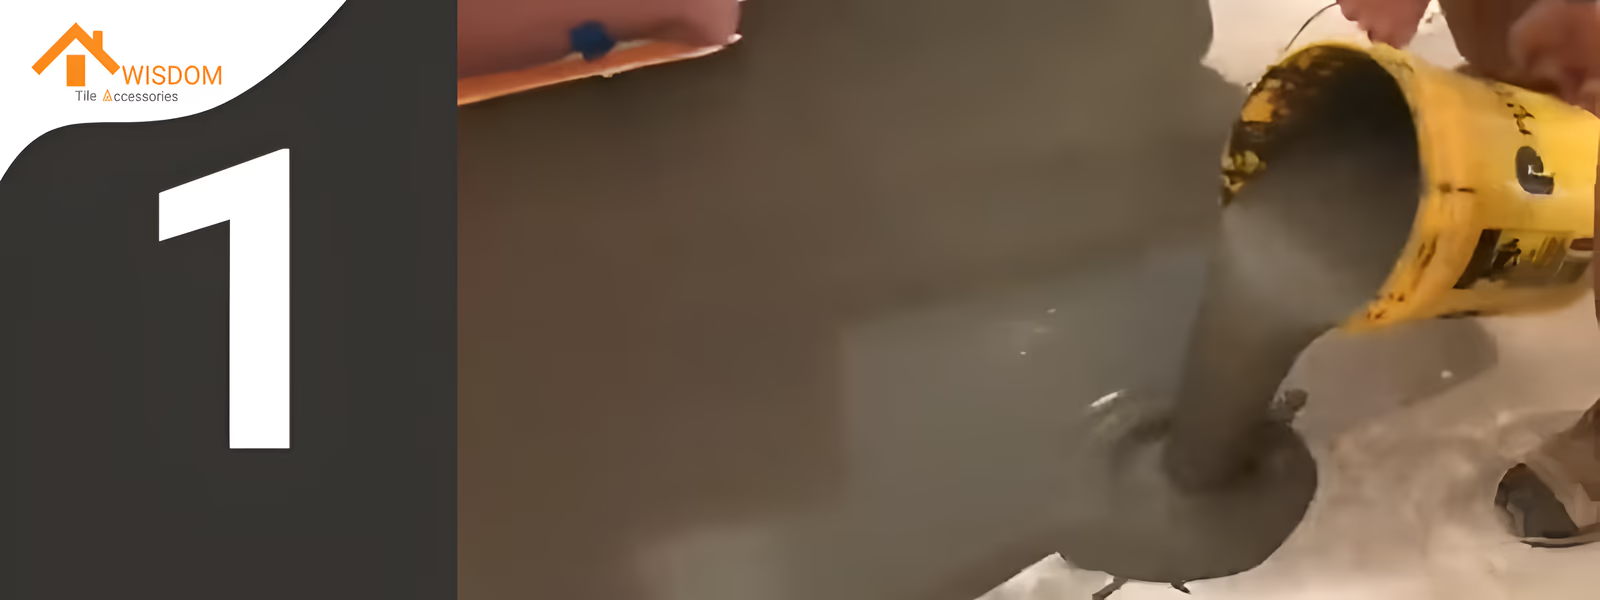
Surface preparation is the foundation of any successful tile installation, especially when working with large-format tiles like 2'x4'. If the substrate isn’t flat enough, the tiles won’t bond properly, and the finished product will fail. And let me emphasize: this is where it all begins.
For Floors
For floor installations, the Tile Council of North America (TCNA) sets clear flatness requirements: a maximum deviation of 1/4” in 10’ for smaller tiles and 1/8” in 10’ for tiles with any side longer than 15”. If your floor doesn’t meet these standards, stop. Don’t proceed until it does.
In most cases, a combination of grinding high spots and filling low ones will give you the flatness you need for a durable installation.
For Walls
The rules for walls are just as strict. A flat wall is non-negotiable for 2'x4' tiles, which are heavy and will magnify even minor imperfections.
If you don’t invest the time here, you’ll regret it later.
Step 2: Layout Strategy
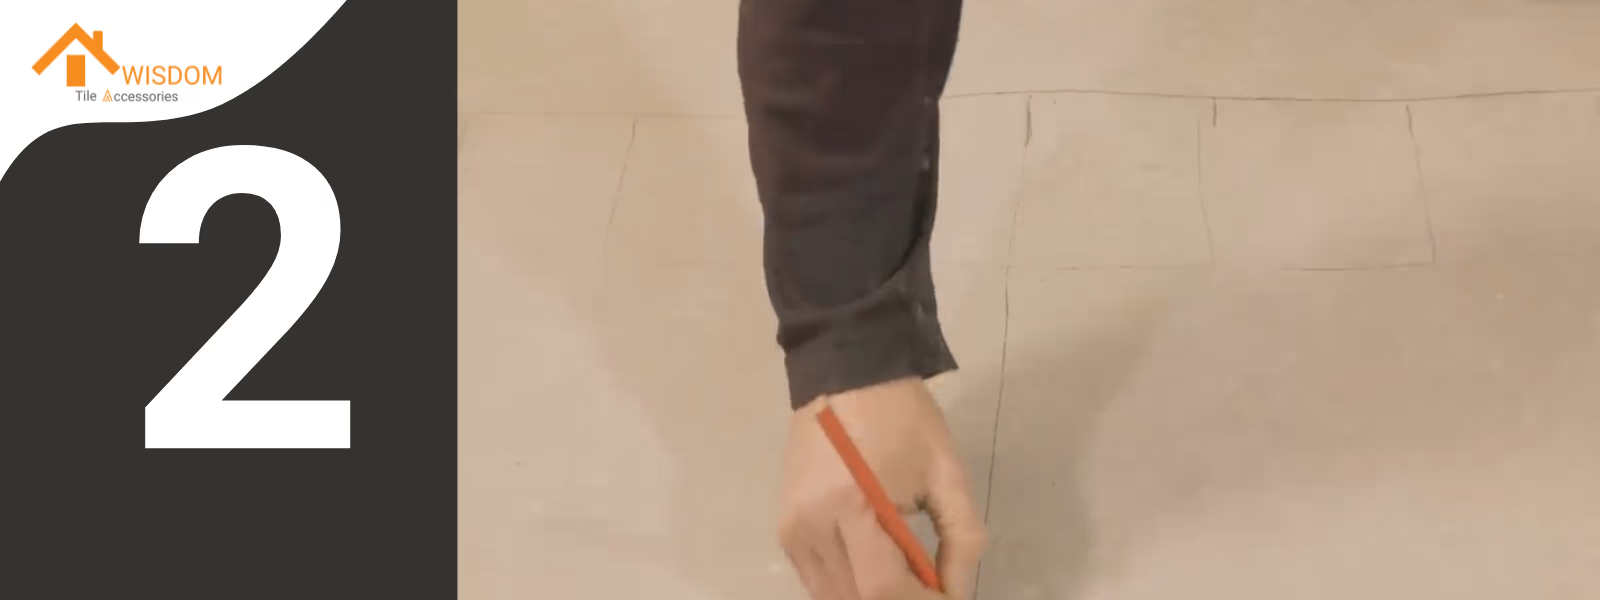
With 2'x4' tiles, getting the layout right is just as important as preparing the surface. Large-format tiles magnify any inconsistencies, so a well-planned layout ensures a professional finish. Let’s start with the basics.
>> See From Basic to Bold: 19 Tile Laying Patterns for Every Style
Finding the Center Point
Whether you’re tiling a floor or a wall, always begin by finding the center point of the area. Measure the length and width, and mark their midpoints to create a crosshair. This center point ensures symmetry and balance in your installation.
For Floors
When working on floors, you’ll typically straddle the center line with a 50% offset. This staggered pattern not only enhances visual appeal but also distributes weight evenly across the tiles.
For Walls
On walls, maintaining level placement is critical. Large tiles have less tolerance for uneven alignment, so tools like a button batten or ledger board are invaluable.
Precision here will save you from frustration later.
Step 3: Adhesive Application
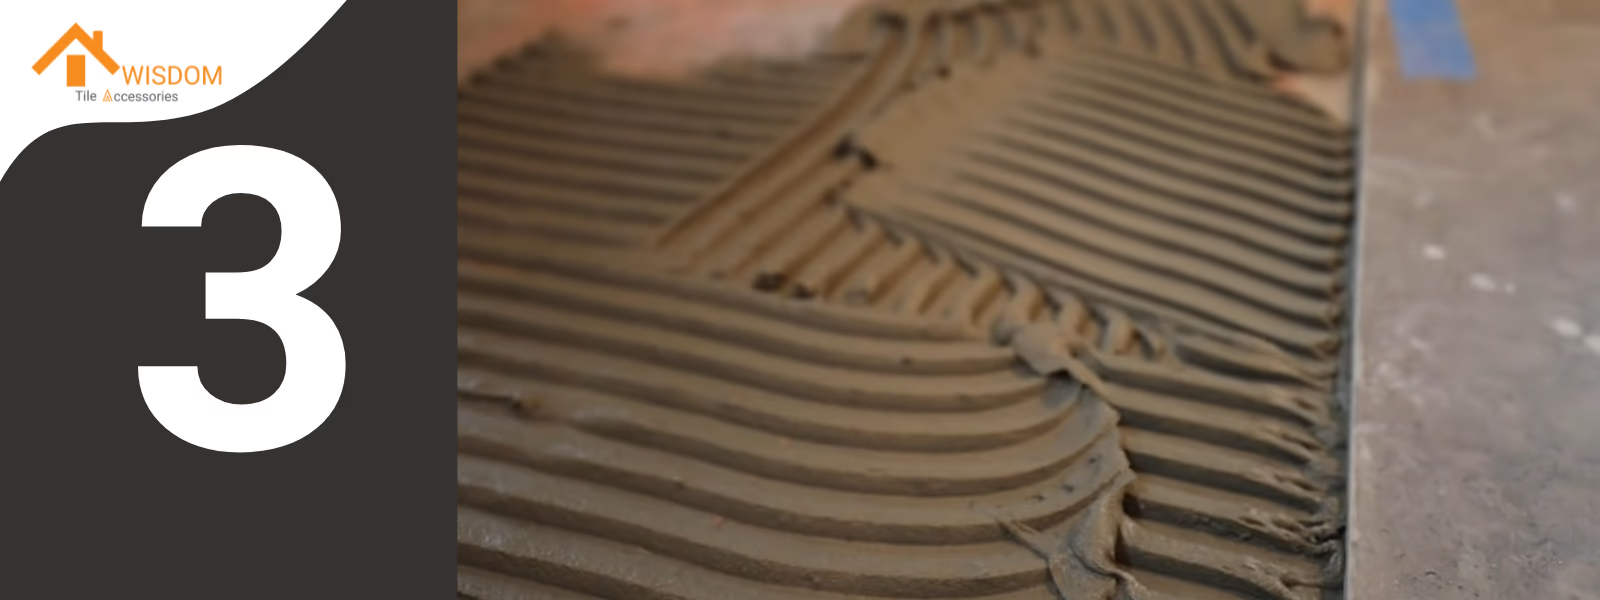
The substrate is flat. You’ve got the manufacturer-recommended thinset. Now it’s time to install the adhesive. But before you get started, let’s pause for a moment.
Have you checked the room’s perimeter?
Perimeter Movement Joints
ANSI standards and the TCNA Handbook (Method EJ-171) require movement joints at all perimeters and changes in plane. These joints allow the structure and tile installation to move independently, preventing cracks and failures. So, before you dive in, ask yourself:
"Are the movement joints clean and open?"
If not, now’s the time to fix that. Your tiles can’t bump up against walls, cabinets, or pipes. Neither can your substrate.
>> See What is a Movement Joint? All the Types You Need to Know
If you’re using Cementitious Backer Unit (CBU), it should stop about 1/4” short of all obstacles. The same goes for your uncoupling membrane. If mortar squeezes out under the membrane and fills the joint, clean it out. Leaving it there creates a hard joint, which defeats the purpose of allowing movement.
>> See What is Uncoupling Membrane & How It Works for Tiles
Eliminate Bond Breakers
One more thing—are there any bond breakers on the subfloor? Things like paint overspray, dust, or dirt can prevent the thinset from bonding properly. If you find any, sand it off and clean the subfloor thoroughly before proceeding. Otherwise, your entire system could fail, and no one wants that.
Now, mix your thinset according to the manufacturer’s instructions. Spread it onto the substrate using a notched trowel, and carefully press the membrane into place, ensuring full contact with the adhesive.
Step 4: Back Buttering Large Format Tiles
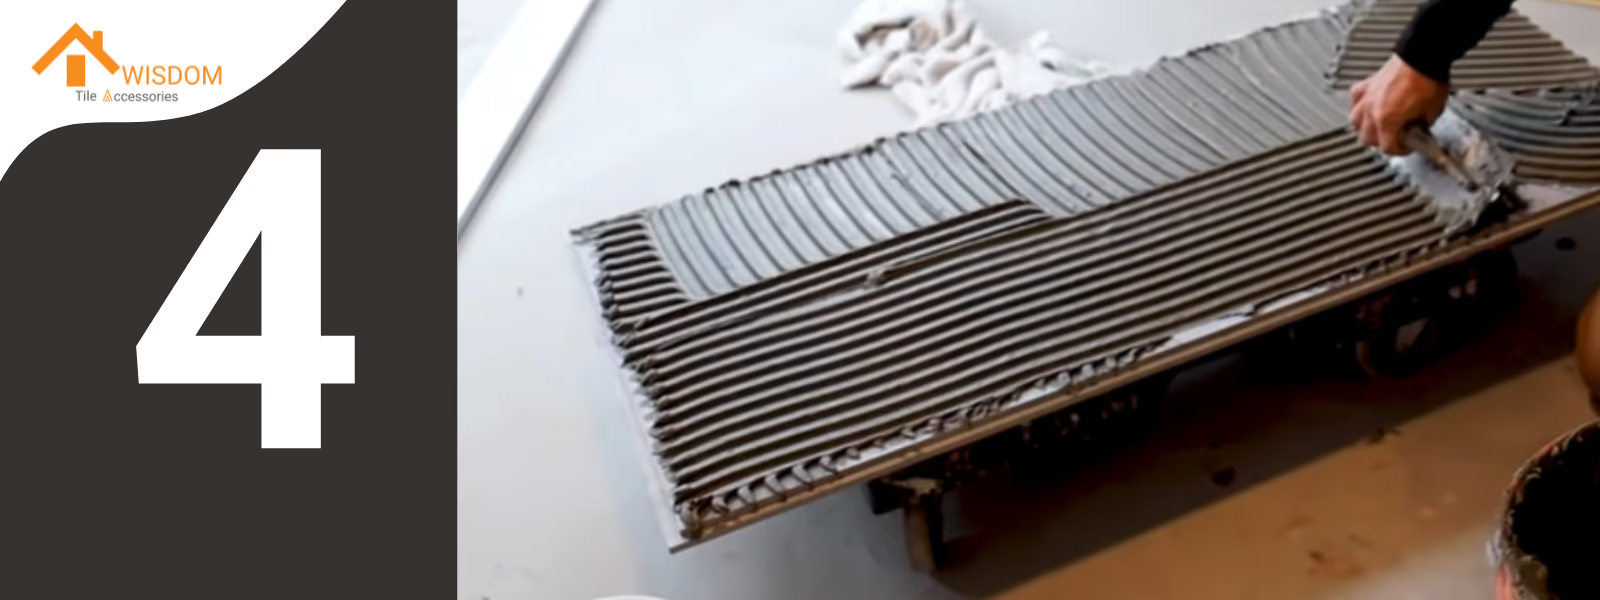
With the membrane down, it’s time to move on to the tiles themselves. Proper adhesive application for large-format tiles involves not just spreading thinset on the substrate but also back buttering the tiles. This step ensures maximum coverage and bond strength, especially for tiles as large as 2'x4'.
How to Back Butter
- Spread the Thinset: Using the flat side of your trowel, spread a thin, even layer of adhesive across the back of the tile. Work the thinset into the surface to fill any grooves or voids.
- Ensure Full Coverage: Make sure the back of the tile is completely coated. Any gaps or ridges in the adhesive can weaken the bond and lead to future problems.
>> For more, see How to Back Butter Tile & Why Important Is It?
This process is critical for large tiles, as their size and weight demand extra attention to detail. Skip it, and you risk hollow spots or poor adhesion.
Step 5: Tile Placement and Leveling
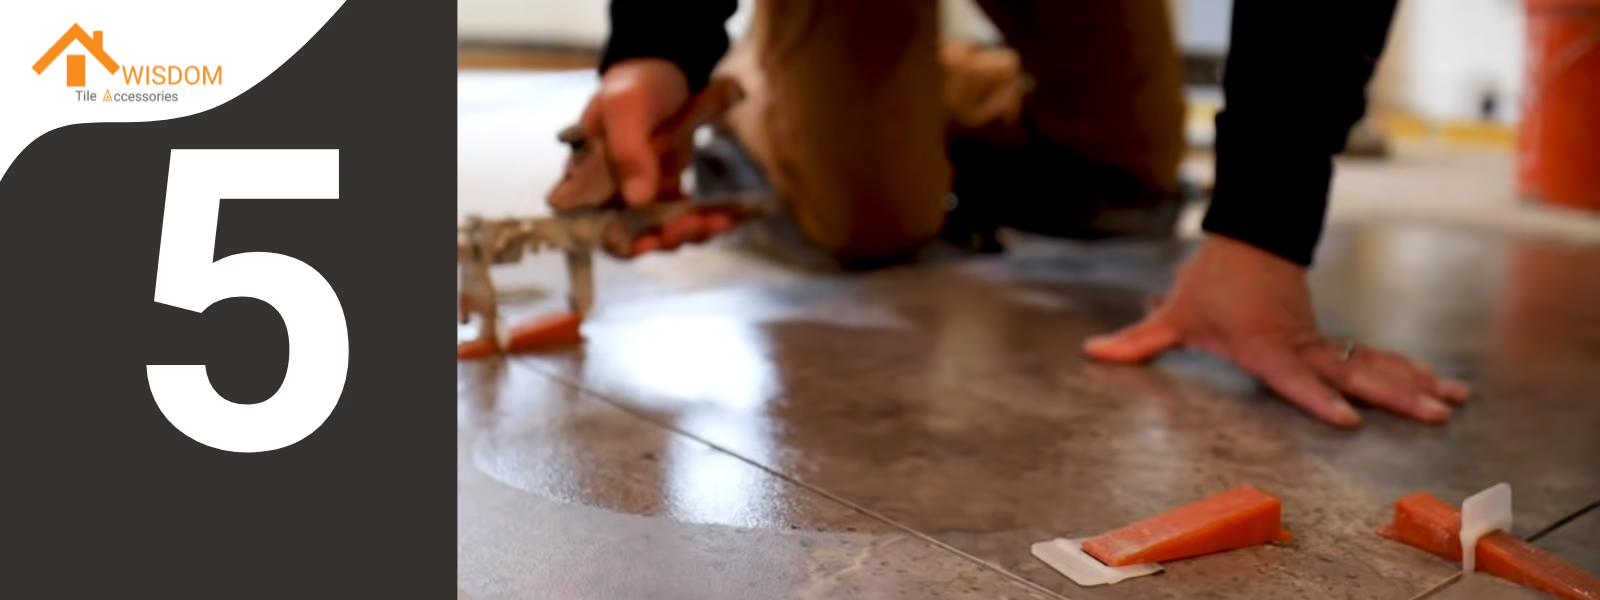
The membrane is installed. The adhesive is applied. Now it’s time to place the tiles. But before you start, here’s a quick suggestion: Take pictures.
Documenting the Installation
Before covering the wires or membrane with tile, pull out your phone and take photos of the entire system. These pictures should show:
Will you ever need these photos? Probably not. But if something goes wrong, you’ll be glad you have them. And now, it is happy time to lay down 2'x4' tiles.
Placing the Tiles
- Collapse the Ridges: Press each tile into the thinset, using firm, even pressure to collapse the adhesive ridges.
- Back-and-Forth Movement: Move the tile slightly side to side to eliminate air pockets and ensure full coverage.
- Use Leveling Clips: Place tile leveling clips at the edges of the tiles and insert wedges to keep the surface perfectly flush. This step is especially important for large-format tiles, where lippage is more noticeable.
Final Checks
Double-check your work as you go. Are the tiles level? Is the adhesive coverage sufficient? Are the joints consistent and clean? Taking a little extra time here will save you from headaches later.
Now, step back and admire your progress. You’re well on your way to a professional-grade installation.
"Want professional-grade tile installation results?"
Use tile edge trim to make your work perfect. Aluminum tile trim and stainless steel tile trim are both your best friends if you need to modify the edges.
Step 6: Quality Control and Finishing Touches
You’ve installed the 2'x4' tiles, and the hard part is done—or so you think. Don’t relax just yet. This step is where you catch potential mistakes and ensure the installation looks as flawless as it should.
Check for Level and Alignment
Large-format tiles demand perfection, and small mistakes in leveling or alignment can become glaringly obvious once the grout is in. Use a straightedge and level to check each row as you go. If something looks off, now is the time to fix it—not after the thinset has hardened.
Clean Excess Thinset
Thinset doesn’t forgive or forget. If you leave excess adhesive on the tile or in the joints, it will harden and become a nightmare to remove. Use a damp sponge or cloth to wipe away any excess as you work. A clean installation is a professional installation, and trust me—your future self will thank you.
Allow Proper Curing Time
Patience is your friend. Rushing the curing process can lead to tiles shifting out of place or adhesive bonds weakening. Follow the thinset manufacturer’s instructions, and avoid walking on or disturbing the tiles until the curing period is complete. This simple step ensures that all your hard work stays intact.
Pro Tips for Smarter Installation
Working smarter—not harder—is the key to tackling large-format tiles like 2'x4'. These tips will save you time, effort, and frustration while ensuring a professional finish.
Use Suction Cups and Safe Lifting Techniques
Large tiles are heavy and cumbersome. Suction cups are a game-changer, giving you better control over placement while reducing the strain on your arms and back. Always lift with your legs, not your back—your body will thank you later.
Work in Manageable Sections
Thinset has a limited working time before it begins to skin over. To avoid adhesion issues, divide your workspace into smaller, manageable sections. Spread only as much thinset as you can cover with tiles within the open time recommended by the manufacturer.
Plan Cuts Strategically
Start with full tiles whenever possible, and save the cuts for last. This strategy allows you to perfect your layout and ensure consistent grout lines before committing to the final pieces. When it’s time to make cuts, measure twice, cut once.
Clean as You Go
This isn’t just about thinset. Keep your workspace organized and free of debris. A clean environment helps you work more efficiently and reduces the risk of mistakes.
Conclusion
Installing 2'x4' tiles isn’t just a job—it’s an art form. These tiles bring modern elegance and minimal grout lines to any space, but their size and weight require special attention to detail. By following smarter techniques—like proper surface preparation, strategic layout planning, and using the right tools—you can achieve a flawless installation that lasts for years to come.
From ensuring a flat substrate to maintaining quality control during installation, every step matters. With patience, precision, and the tips outlined in this guide, you’re equipped to handle even the most challenging tile projects. Take pride in your work—you’re not just installing tiles; you’re creating a masterpiece.
Now, step back, admire your finished project, and get ready for the compliments to roll in. You’ve earned them.
Thanks for reading!
FAQ: Working with 2'x4' Tiles Smarter, Not Harder
Q1: Why is surface preparation so important for 2'x4' tiles?
Let me say this loud and clear: Surface preparation is EVERYTHING. Large-format tiles don’t forgive uneven substrates. A deviation of more than 1/4” in 10’ will cause lippage (uneven tile edges) or poor adhesion. When tiles this big rock back and forth because of a high spot or sink into a low spot, you’re in for trouble.
>> See What is Tile Lippage and How Much is Acceptable [Must Know]
Here’s the thing: You can have the best adhesive, the most beautiful tiles, and a top-tier layout, but if the surface isn’t flat, none of that matters. Take the time to grind, patch, or level your substrate before you lay down a single tile. Trust me—preparation is what separates professional results from DIY disasters.
Q2: Do I really need to use a leveling system?
Yes. Absolutely. Without question. Large-format tiles are tricky—they amplify even the slightest imperfections, and without a leveling system, lippage is almost inevitable. Clips and wedges are your best friends. They keep tiles flush, ensure clean grout lines, and help you maintain alignment across the entire installation.
The beauty of a leveling system is that it makes you look like a magician, even if you’re not. Don’t skip it—it’s a small investment for a huge payoff in your final results.
Q3: How do I handle heavy 2'x4' tiles during installation?
This is where suction cups and proper lifting techniques come in. Large tiles are heavy and awkward to maneuver, so trying to muscle them into place is asking for trouble (and a sore back).
Invest in a pair of suction cups—they give you control over placement without the strain. And when lifting, remember to use your legs, not your back. Bend at the knees, lift straight up, and let your body do the work in the safest way possible. Pro tip: If the tile is too heavy to handle solo, don’t hesitate to bring in a helper. It’s not about strength—it’s about working smarter.
Q4: How much thinset do I need to apply for large-format tiles?
Enough to ensure 93% coverage—and yes, that’s a real number. Why? Because large-format tiles need solid, even adhesion to prevent weak spots. Use a large notched trowel (like 3/4" x 1/2") to apply the thinset to the substrate with directional troweling. Then, back butter the tile with a thin, even layer of adhesive.
When you press the tile into place, those ridges should collapse fully. Check periodically by lifting a tile and inspecting the coverage. If you see gaps, apply more thinset. Better to do it right now than to deal with hollow tiles later.
Q5: How do I avoid messy grout joints with large-format tiles?
Grout joints can quickly get messy if you don’t clean as you go. Thinset loves to sneak into those spaces while you’re laying tiles, and once it hardens, it’s a nightmare to remove. The solution? Keep a damp sponge or cloth handy and clean up any excess adhesive as soon as it appears.
And while we’re on the subject, keep your grout joints consistent. Use spacers to maintain even gaps, and don’t rush through this step. Precision now will save you from headaches (and an amateur-looking finish) later.
Q6: What’s the best way to plan the layout for 2'x4' tiles?
Start with the center point of your room or wall. This gives you symmetry, which is crucial for large-format tiles. From there, straddle the centerline with a 50% offset pattern—this staggered layout not only looks great but also helps distribute weight evenly across the substrate.
Always dry-lay a few tiles before you begin. This lets you visualize the pattern and ensure your cuts at the edges will be even. And remember: Avoid skinny cuts or awkward slivers of tile along the edges. If something doesn’t look right, adjust the layout before you start setting tiles.
Q7: How long do I need to let the tiles cure before walking on them?
Patience, my friend. Large-format tiles need time to cure properly. Most manufacturers recommend waiting 24 to 48 hours before walking on the tiles or grouting them, depending on the thinset you’re using. Rushing this step can undo all your hard work. Let the adhesive do its job, and you’ll be rewarded with a rock-solid installation.
Q8: Can I cut 2'x4' tiles myself, or do I need special tools?
You can absolutely cut these tiles yourself—but only if you have the right tools. A wet saw with a high-quality diamond blade is your best bet for clean, precise cuts. For smaller adjustments, a tile cutter or grinder with a diamond wheel can work.
Here’s the catch: These tiles are big, so cutting them can be tricky if you’re not used to working with larger pieces. Measure twice, cut once, and don’t rush. And always wear safety gear—cutting porcelain is no joke.
Q9: What’s the biggest mistake people make when installing large-format tiles?
Two words: impatience and improvisation. Skipping surface preparation, rushing through layout planning, or ignoring manufacturer instructions can turn your dream installation into a nightmare.
The other big mistake? Not checking your work. Take the time to periodically inspect your alignment, leveling, and adhesive coverage. Small mistakes compound quickly with tiles this size, and fixing them later is a lot harder than catching them early.
Q10: Do I really need to back butter every single tile?
Yes, you really do. Back buttering ensures full adhesive contact between the tile and the substrate, which is especially critical for large-format tiles. Skipping this step risks hollow spots and weak bonds, which could lead to cracked tiles or loose pieces down the line.
Think of back buttering as insurance for your installation. It takes a little extra time, but the peace of mind (and the professional results) are worth every second.


