Achieving perfect tile installation requires mastering the details of tile spacing and grout application. This guide explores the depths of grout lines, optimal tile spacers, and proper installation techniques, equipping professionals with the knowledge to execute flawless tile projects. Dive into the nuances of tile spacing size, ensuring every tile job meets standards of precision and durability.
What is Tile Spacing
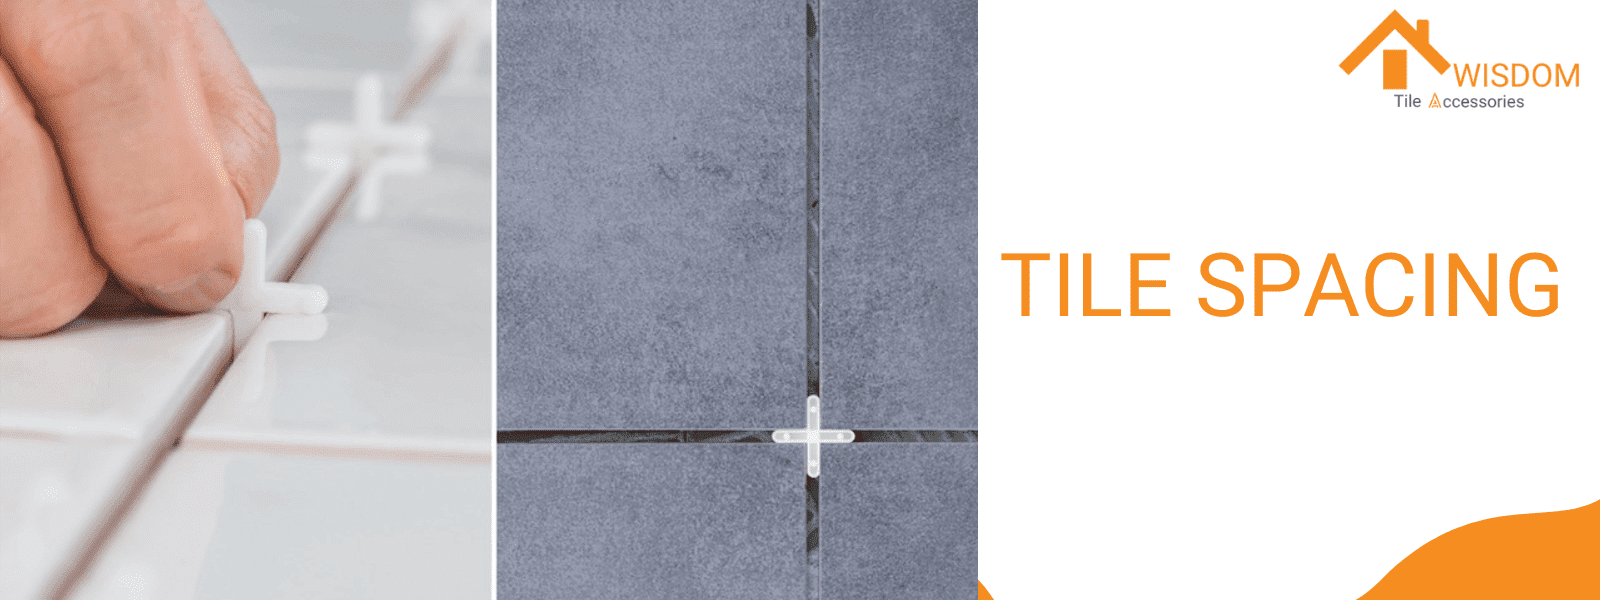
Tile spacing, also known as grout line width, is the intentional gap left between individual tiles during installation. This gap is filled with grout, a dense fluid that hardens to create a seal. Tile spacing involves several considerations:
- Alignment and Uniformity: Proper tile spacing ensures that tiles are evenly aligned, creating a uniform surface. Consistent grout lines contribute to the overall pattern and design of the tiled area.
- Accommodating Movement: Grout lines allow for minor adjustments due to variations in tile size and shifts caused by substrate movement or temperature changes. This flexibility helps to prevent cracking and damage to the tiles.
- Water Management: Grout lines act as barriers to prevent water from seeping beneath the tiles, which is relevant in moisture-prone areas such as bathrooms and kitchens.
The Best Grout Size Options
Various grout sizes are recommended based on the type and size of tiles used, as well as the installation area. Here, we will explore the most common and mainstream grout size options, their relevant specifications, and standards.
Common Grout Sizes
- 1/16 Inch (1.5 mm) Grout Lines
- Usage: This narrow grout size is typically used for small tiles such as mosaics and subway tiles, especially when a sleek and seamless look is desired.
- Tiles: Suitable for rectified tiles with precisely cut edges.
- Installation Areas: Ideal for walls and dry areas with minimal moisture exposure due to its minimal visual interruption and modern aesthetic.
- Considerations: Requires precise tile placement and uniform tile sizes to avoid issues with alignment and grout cracking.
- 1/8 Inch (3 mm) Grout Lines
- Usage: A versatile option used for both small and large tiles, balancing ease of installation with aesthetic appeal.
- Tiles: Works well with both rectified and non-rectified tiles.
- Installation Areas: Commonly used in residential settings, including floors, walls, and backsplashes.
- Considerations: Provides sufficient flexibility to accommodate slight variations in tile size and surface flatness.
- 3/16 Inch (4.5 mm) Grout Lines
- Usage: Recommended for larger tiles or tiles with more variation in size and shape, such as handmade or natural stone tiles.
- Tiles: Suitable for larger format tiles like 12x24 inches and tiles with irregular edges.
- Installation Areas: Often used in areas subject to thermal expansion and contraction, such as kitchens and bathrooms.
- Considerations: Offers increased tolerance for installation imperfections and enhances the structural integrity of the tiled surface.
- 1/4 Inch (6 mm) Grout Lines
- Usage: Typically used for very large tiles and in installations where a more pronounced grout line is desired.
- Tiles: Ideal for tiles with significant size variation or uneven edges.
- Installation Areas: Common in rustic or traditional designs and areas requiring additional traction, such as outdoor spaces.
- Considerations: Larger grout lines can help hide imperfections and provide better support for heavy tiles.
Standards and Recommendations
The American National Standards Institute (ANSI) provides guidelines for grout joint sizes. According to ANSI standards, the minimum grout joint size for rectified tiles in an offset pattern is 1/8 inch, while non-rectified tiles require a minimum of 3/16 inch. These standards ensure that grout joints are adequate to accommodate tile variations and installation conditions.
How to Choose the Right Tile Spacing Size
Choosing the correct tile spacing size involves considering various factors such as tile type, size, installation area, and the overall design goal. Here is a guide to help you select the appropriate tile spacing size for different scenarios:
Factors Influencing Tile Spacing Size
- Tile Size
- Small Format Tiles (≤ 6 inches): These tiles often require narrower grout lines, typically 1/16 to 1/8 inch. This size is commonly used for mosaic and subway tiles, creating a seamless and precise appearance.
- Medium Format Tiles (6 to 12 inches): For medium-sized tiles, a grout line of 1/8 inch is standard but can be up to 1/4 inch depending on design preferences and tile type.
- Large Format Tiles (> 12 inches): Larger tiles usually necessitate wider grout lines ranging from 1/8 to 3/8 inch to accommodate size variations and reduce the risk of slippage.
- Tile Type
- Ceramic and Porcelain: Uniform in size, these materials can use narrower grout lines (1/16 to 1/8 inch).
- Natural Stone (e.g., marble, slate): Due to size and thickness variations, these tiles often require wider grout lines (1/8 to 1/2 inch) to ensure consistency.
- Handmade Tiles: With inherent size differences, handmade tiles generally need wider grout lines up to 3/8 inch.
- Installation Area
- Walls: Smaller grout lines (1/16 to 1/8 inch) are typical for wall tiles, particularly in kitchens and bathrooms, to achieve a clean look.
- Floors: Floor tiles often use wider grout lines (1/8 to 1/4 inch) to provide additional traction and accommodate movement due to thermal expansion.
- Wet Areas (e.g., showers): Wider grout lines help manage water flow and provide slip resistance in areas exposed to moisture.
- Aesthetic Preferences
- Modern Look: Narrow grout lines (1/16 to 1/8 inch) emphasize the tiles themselves and create a sleek appearance.
- Traditional or Rustic Look: Wider grout lines (1/4 to 3/8 inch) add texture and highlight the tile layout, suitable for rustic or traditional designs.
Practical Recommendations
- Small Tiles (2x2 to 6x6 inches): Use 1/16 to 1/8 inch spacers for a tight, clean look.
- Medium Tiles (6x6 to 12x12 inches): Opt for 1/8 inch spacers, adjustable up to 1/4 inch for more pronounced grout lines.
- Large Tiles (12x24 inches and larger): Consider 1/8 to 3/8 inch spacers, ensuring enough room for movement and alignment.
By considering these factors, you can achieve a professional and aesthetically pleasing tile installation. Proper tile spacing not only enhances the visual appeal but also ensures the durability and functionality of the tiled surface.
Types of Tile Spacers
Tile spacers are essential tools used to maintain uniform gaps between tiles during installation, ensuring even grout lines and a professional finish. Various types of tile spacers cater to different tile patterns and installation needs. Here are the most common types:
1. X-Shaped Spacers
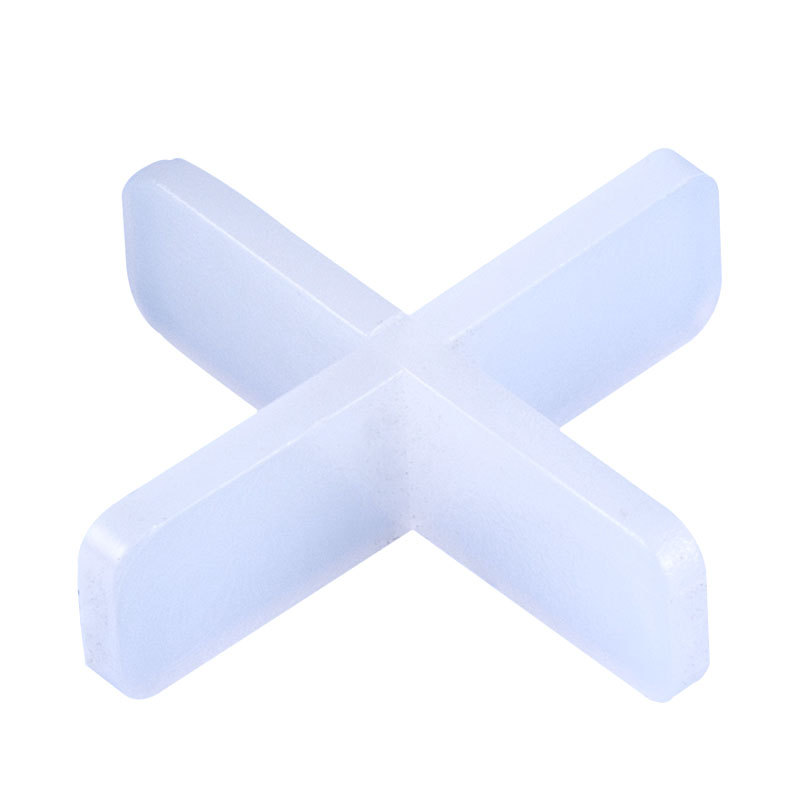
X-shaped spacers are designed for creating precise four-tile intersections. They are ideal for grid patterns where tiles meet at right angles. These spacers ensure consistent spacing at all corners, which is crucial for achieving a neat, checkerboard look.
2. T-Shaped Spacers
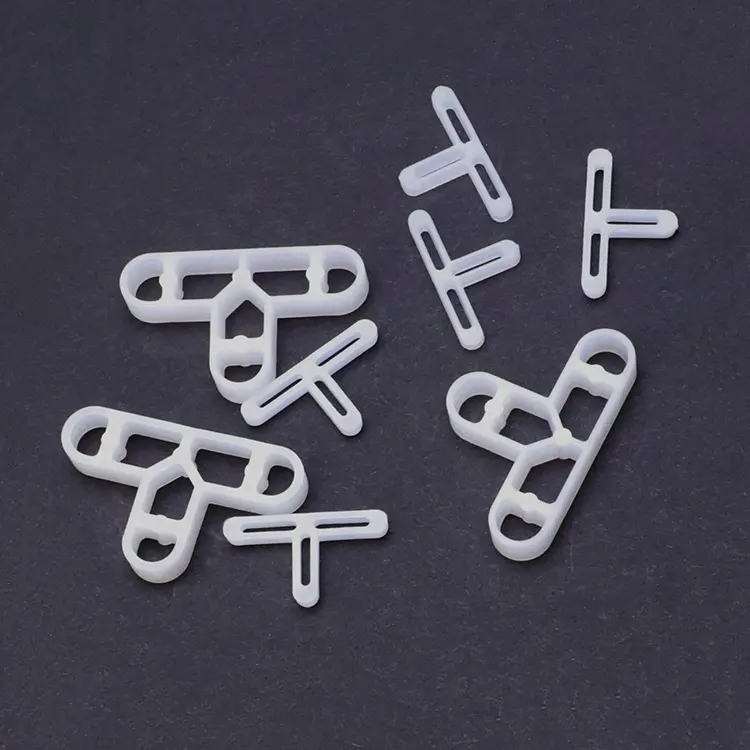
T-shaped spacers are used for three-tile junctions, particularly in offset patterns such as brick or herringbone layouts. They help maintain alignment and spacing consistency in these more complex designs.
3. U-Shaped (Horseshoe) Spacers
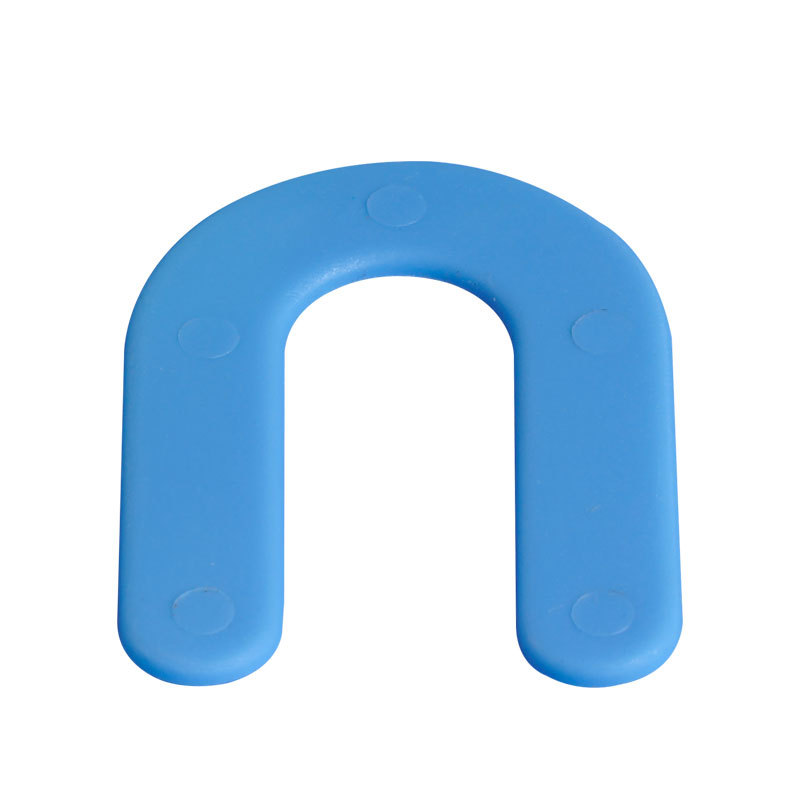
U-shaped spacers are versatile and often used for wall installations. They provide stability and support, ensuring even spacing and alignment, which is particularly useful for vertical surfaces. These spacers are also beneficial for leveling countertops before adding backer boards.
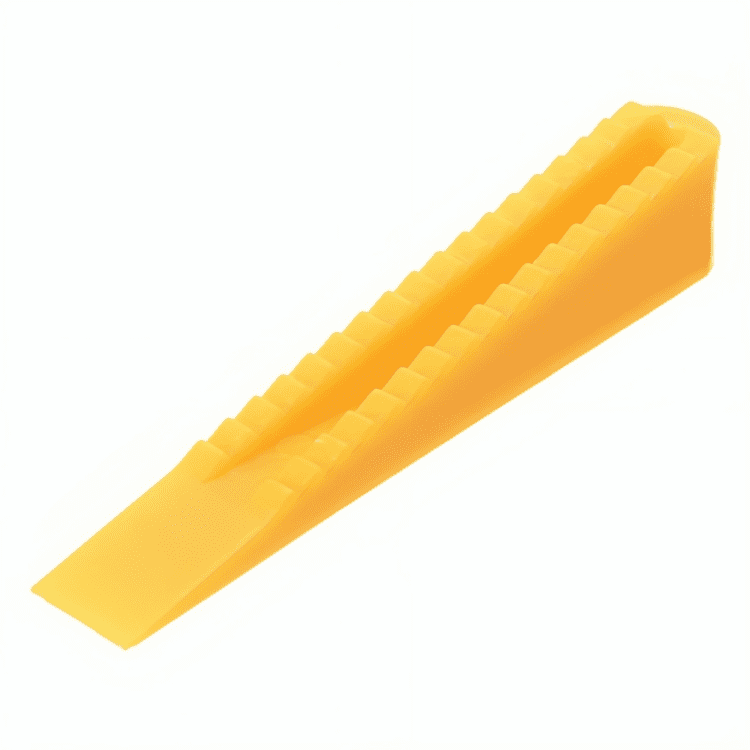
4. Wedge Spacers
Wedge spacers offer adjustable spacing and are particularly useful for ensuring tiles are level on uneven surfaces. They are commonly used in countertops and areas with slight curvatures, allowing for fine adjustments to the tile height.
5. TAVY Spacers
TAVY spacers feature a ring connecting the four ends of the X-shape, making them easier to remove from the adhesive. This design provides a strong grip, ensuring the spacer stays in place during installation and is simpler to remove before grouting.
6. Rubber Tile Spacers
Rubber spacers are flexible and can compress slightly, making them suitable for irregular and natural stone tiles. They are reusable and provide a tight grip, accommodating variations in tile thickness.
7. Foam Tile Spacers
Foam spacers are soft and compressible, ideal for delicate tiles like glass or marble. They are easy to remove after the adhesive sets and are gentle on tile surfaces.
8. Metal Tile Spacers
Metal spacers are durable and resistant to deformation, making them suitable for heavy-duty tile installations and large-format tiles. They offer stability in demanding conditions and are reusable.
Things to Know When Choosing Tile Spacer
When selecting tile spacers, consider the size and type of tile, the desired grout joint width, and the levelness of the subfloor. For small ceramic tiles, smaller spacers (1/8 to 3/16 inch) are appropriate, while larger tiles might require spacers up to 3/8 inch to accommodate size variations and ensure even spacing.
How to Install Tile Spacers
Preparation and Planning
- Surface Preparation: Ensure the substrate is clean, smooth, dry, and free from contaminants such as grease, oil, and dust. Any damaged or uneven areas must be repaired and leveled before starting the tile installation.
- Tool and Material Check: Verify that all tools and materials, including tile spacers, adhesives, and tiles, are on-site and meet the project specifications. Ensure all required approvals and clearances, such as waterproofing in wet areas, are completed and documented.
Installation Procedure
- Layout and Marking: Establish a grid layout by drawing chalk lines or using a laser level to ensure straight and even tile placement. Start from the center of the area and work outwards, ensuring the layout lines are parallel and perpendicular to the walls.
- Applying Adhesive: Apply a thin layer of adhesive to the substrate using a notched trowel. The thickness of the adhesive should be as recommended by the manufacturer, usually around 3-4 mm.
- Placing Tiles and Spacers:
- Positioning Spacers: Place spacers at each corner of the tile, ensuring they are flush with the edges. For larger tiles or more complex patterns, additional spacers may be required along the edges.
- Setting Tiles: Press the tile firmly into the adhesive with a slight twisting motion to ensure full contact. Use a rubber mallet to gently tap the tile into place, ensuring it is level.
- Adjusting Spacers: Insert spacers between tiles to maintain uniform grout joints. Common spacer sizes range from 1/16 inch to 3/8 inch, depending on the tile size and project specifications.
- Checking Alignment: Continuously check the alignment and level of the tiles using a spirit level. Make adjustments as necessary to ensure even spacing and a level surface.
- Spacer Removal: Allow the adhesive to set partially, typically for about 20-30 minutes, before removing the spacers. This prevents the spacers from getting stuck in the adhesive but ensures the tiles remain in place.
Grouting and Finishing
- Grout Application: After removing the spacers, apply grout to the joints using a grout float. Hold the float at a 45-degree angle and spread the grout diagonally across the joints to ensure full coverage. Fill all joints completely and remove excess grout with a damp sponge.
- Cleaning: Clean the tile surfaces with a damp cloth to remove any remaining grout haze. Allow the grout to cure according to the manufacturer's instructions before exposing the area to traffic or water.
- Final Inspection: Conduct a thorough inspection to ensure all tiles are properly aligned, joints are filled evenly, and there are no defects. Address any issues immediately to ensure a high-quality finish.
FAQs about Tile Spacing and Grout Line
How deep should grout be between tiles?
The depth of grout between tiles varies depending on the application. For wall tiles, the joints should typically be around 3 mm deep, while floor tiles require deeper joints, approximately 5 mm. The minimum recommended grout joint depth is 1.5 mm unless otherwise specified. This variation ensures that the grout provides sufficient support and flexibility for the tiles, accommodating thermal expansion and contraction, and preventing cracking.
What is the smallest grout line for tile?
The smallest recommended grout line for tiles is 1/16 inch. This size allows for adequate grout penetration and bonding between the tiles, ensuring stability and durability. Grout lines smaller than 1/16 inch, such as 1/32 inch, are often referred to as "credit card lines" or "penny lines" and are not practical because they do not allow for proper grout application, leading to potential tile movement and damage.
How big should grout lines be for 12x12 tile?
For 12x12 tiles, a grout joint size of 1/8 inch or 3/16 inch is recommended. This size balances the aesthetic appearance and functional requirements, allowing for slight variations in tile size and ensuring a strong, even bond between the tiles. Larger grout lines can also accommodate any minor discrepancies in the tile edges, leading to a more uniform installation.
What is the best spacing for tiles?
The optimal spacing for tiles depends on the tile size and design preferences. Generally, grout lines can range from 1/8 inch to 1/2 inch. Narrower grout lines, such as 1/16 inch, create a more seamless and minimalist look, while wider grout lines, up to 1/2 inch, can add texture and visual interest to the tiled surface. The choice of spacing should also consider the type of tiles and the specific installation area.
Can I tile without grout lines?
While it is possible to install tiles without grout lines for a sleek appearance, this practice is not recommended for long-term durability. Grout lines play a crucial role in absorbing the stress and movement of tiles, preventing them from cracking and breaking. Without grout, tiles are more likely to shift and become damaged over time, leading to increased maintenance and repair costs.
How do you calculate tile spacers?
To calculate the number of tile spacers needed, multiply the total number of tiles by four. This calculation ensures you have a spacer for each corner of every tile, providing consistent spacing throughout the installation. It is advisable to purchase a few extra spacers to account for any that may be lost or damaged during the tiling process.
Want to skip the math? Use our Tile Spacers Calculator now


