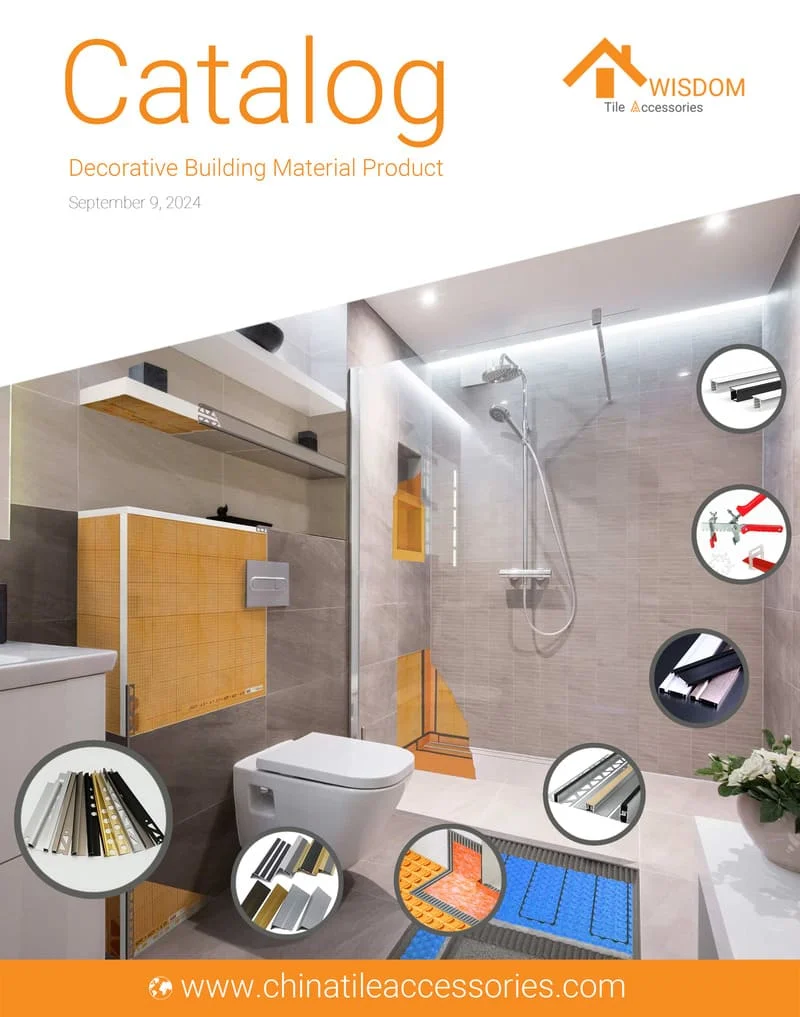
Professional tile installations demand precise execution at every stage, including edge treatment. Edge trim selection and proper installation directly impact the finished work's durability, safety, and visual refinement. Its functions include protecting exposed tile edges from damage, mitigating potential hazards from sharp corners, and creating the clean, finished lines characteristic of quality craftsmanship.
Aluminum profiles are frequently specified for these applications due to their inherent durability, corrosion resistance suitable for wet areas, and the broad range of available shapes and finishes. This material often provides a practical solution balancing long-term performance needs with project budgets.

Given the variety of aluminum trims available, understanding the specific purpose and correct use of each type is necessary. This guide details common aluminum tile edge trim profiles, outlining their designed functions and typical applications to aid in selecting the appropriate trim for specific installation conditions.
The Main 9 Aluminum Tile Edge Trim Types
Different aluminum tile edge trim profiles address specific conditions encountered during tile installation. Common types include:
L-Shape Trim (Angle Trim)

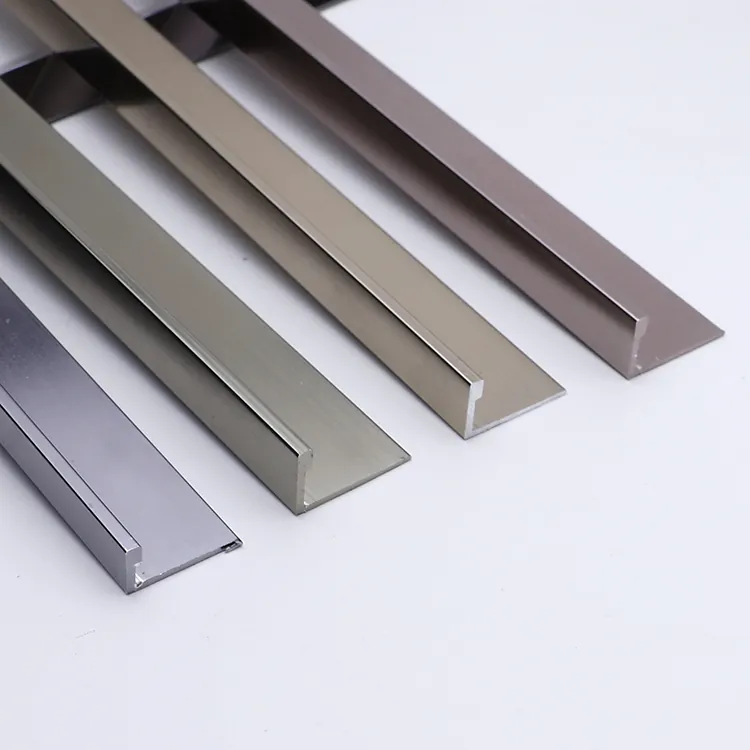
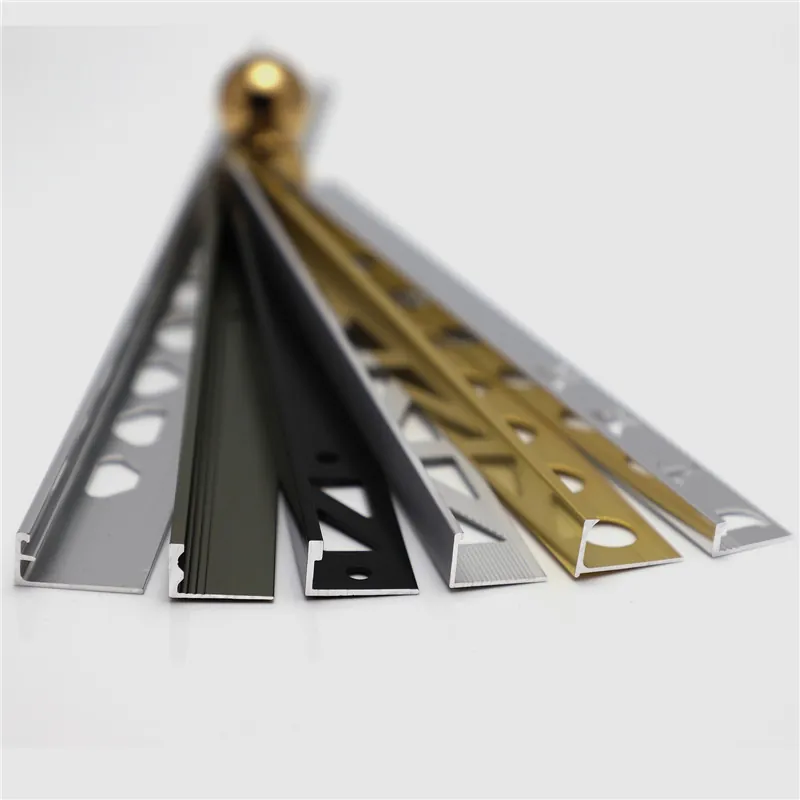
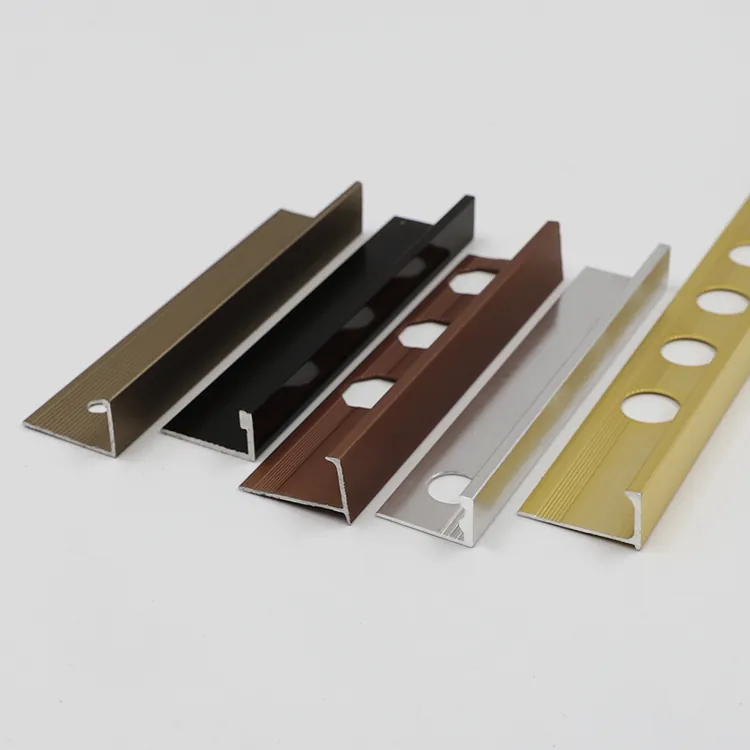
This profile forms a basic 90-degree angle. Its primary application is terminating tile fields at external corners or against adjacent surfaces, providing protection for the exposed tile edge. Installation involves embedding one leg (the anchoring leg, typically perforated) into the adhesive bed beneath the tile, leaving the perpendicular face exposed to cover the tile thickness. Its simple form and function make it a standard component for many basic edge-finishing requirements.
Square Edge Trim (Box Profile)

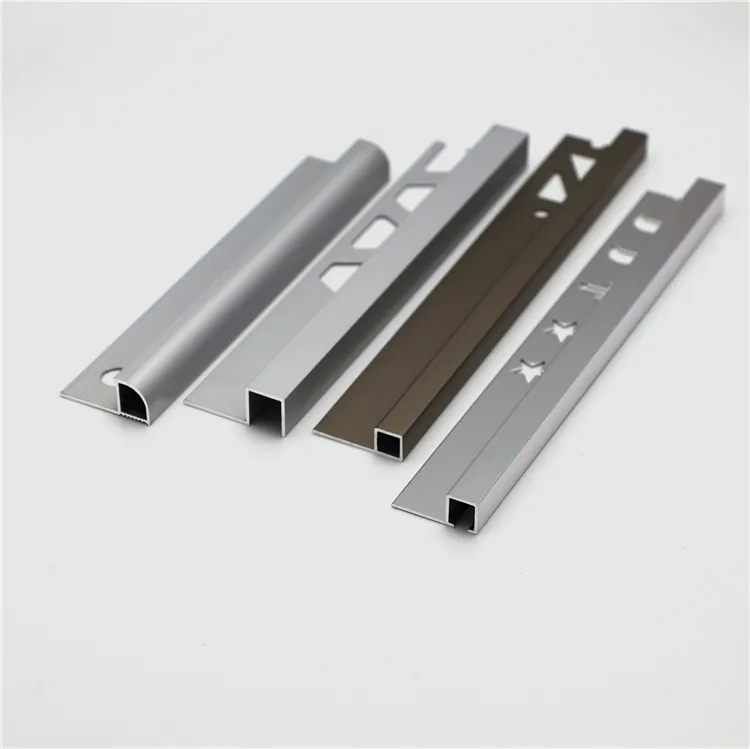

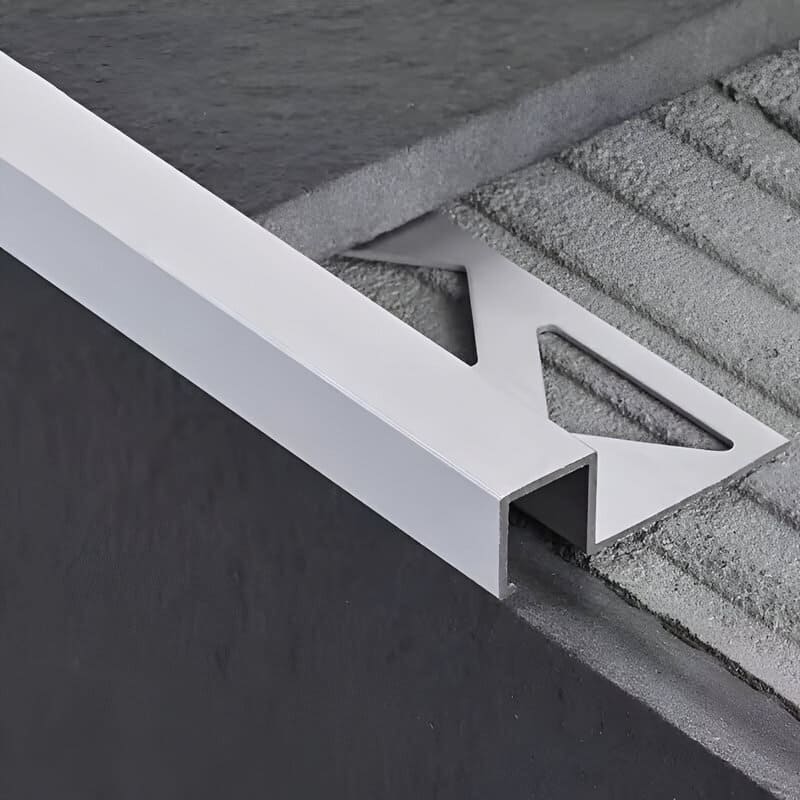
The square edge profile features a distinct square or rectangular face, resulting in a defined, right-angled edge finish. Compared to the L-shape, it often presents a more substantial profile, which may offer increased physical protection to the tile edge. It is installed similarly, with an anchoring leg set into the adhesive. This profile is often utilized where a pronounced, clean edge line is required for functional or design reasons on walls, countertops, or platform edges.
Round Edge Trim (Quadrant Profile)
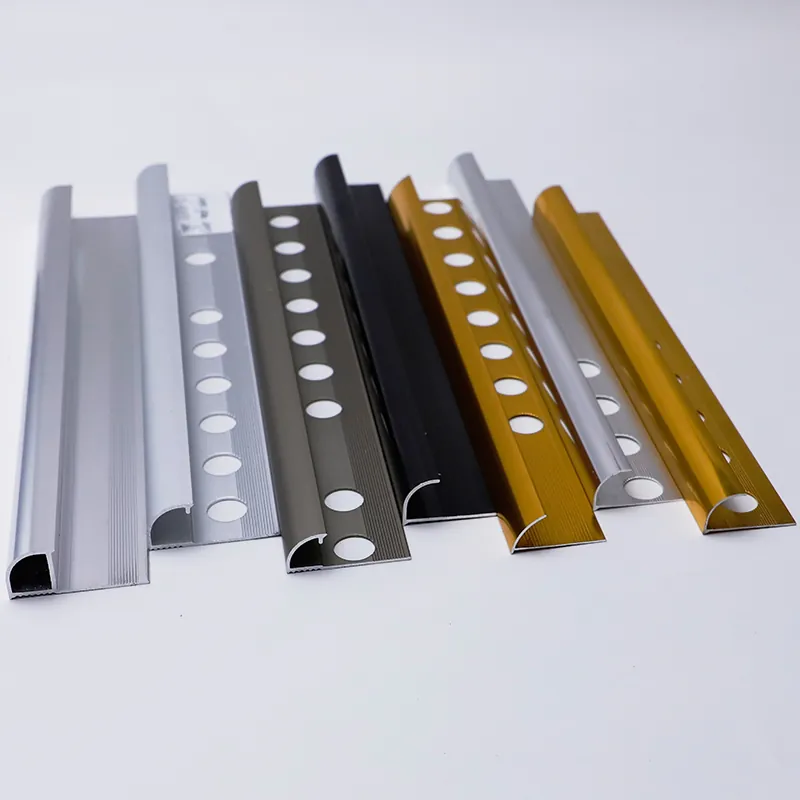
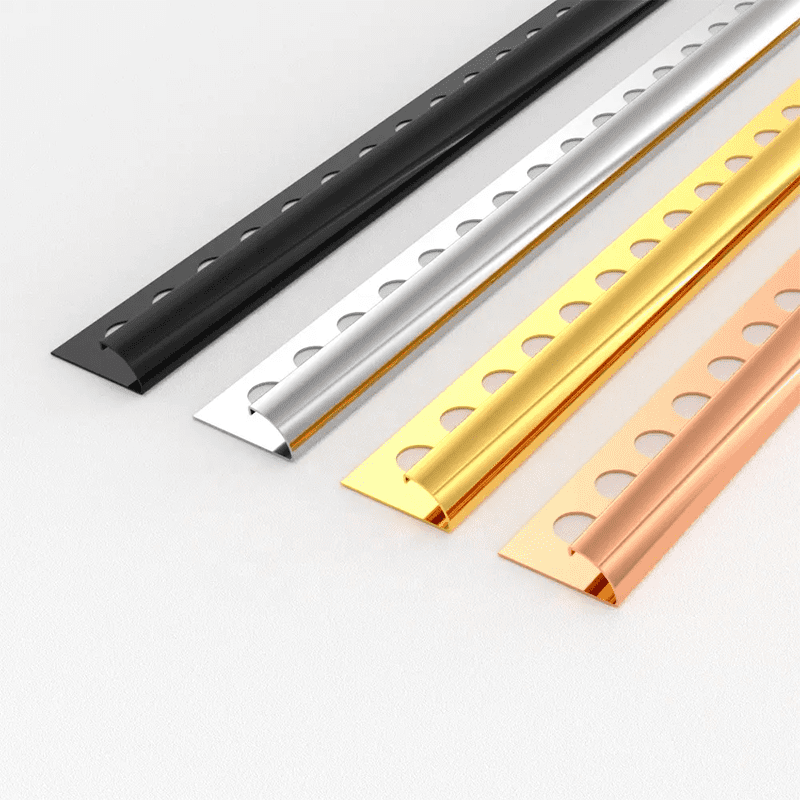
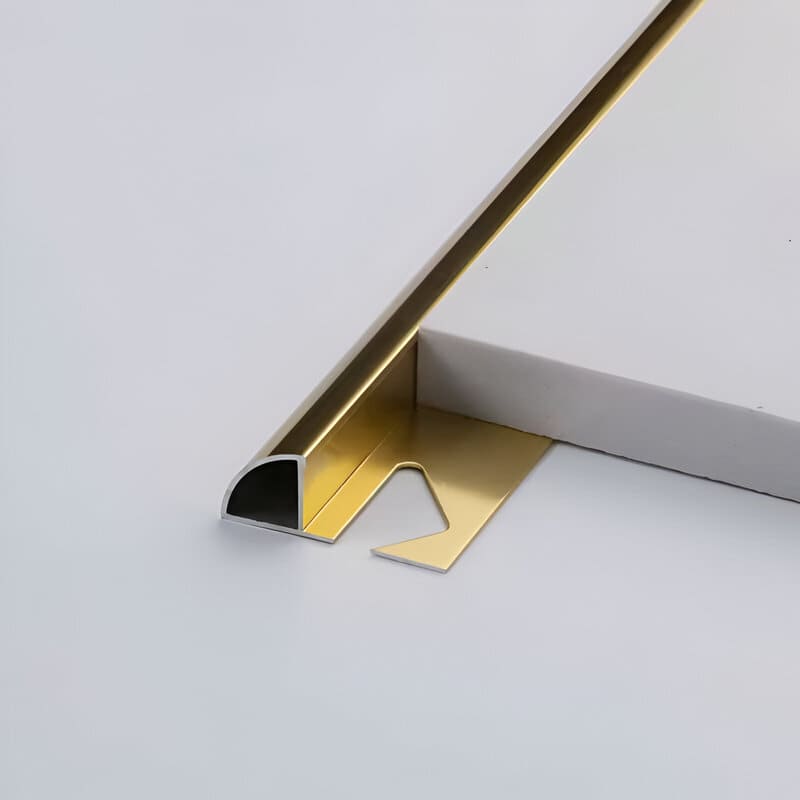
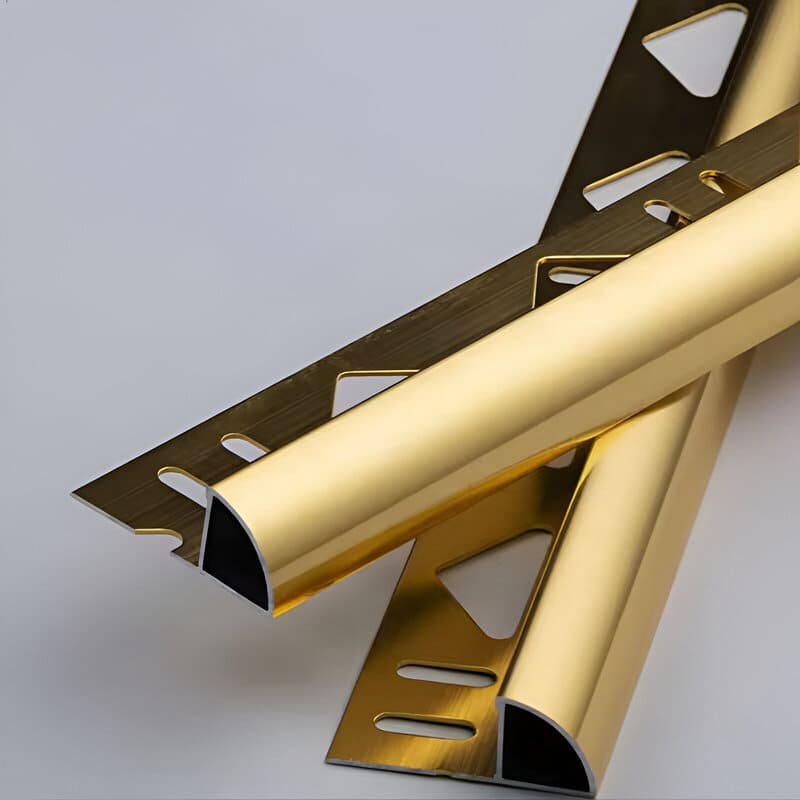
Characterized by a curved, convex face, the round edge trim is primarily used on external corners where mitigating the potential hazard of a sharp edge is a priority, such as in high-traffic areas or residential environments. The profile provides a smooth, rounded transition over the tile edge. Installation follows the standard method of embedding an anchoring leg into the setting material. The resulting curved surface is also less prone to dirt accumulation in the corner compared to a right angle.
Bullnose Trim
This profile presents a fully rounded exposed edge, serving as a durable alternative to traditional tile bullnosing. It is applied to terminate tile installations on countertops, window sills, or similar surfaces requiring a smooth, impact-resistant, and safe edge treatment. Installation utilizes an anchoring leg embedded in the setting material.
Cove Trim (Internal Corner Trim)


Featuring a concave radius, cove trim is designed specifically for internal junctions, such as wall-to-wall or wall-to-floor transitions. It effectively replaces the standard grout joint at these locations. The profile is installed by setting its anchoring legs into the adhesive on both intersecting surfaces.
Stair Nosing (Stair Edge Protection)
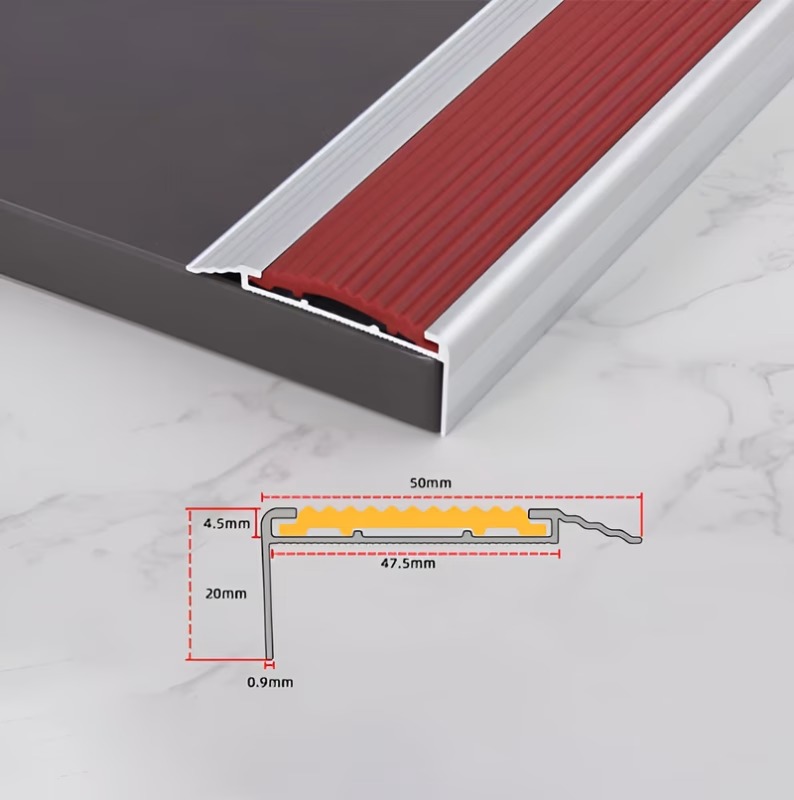
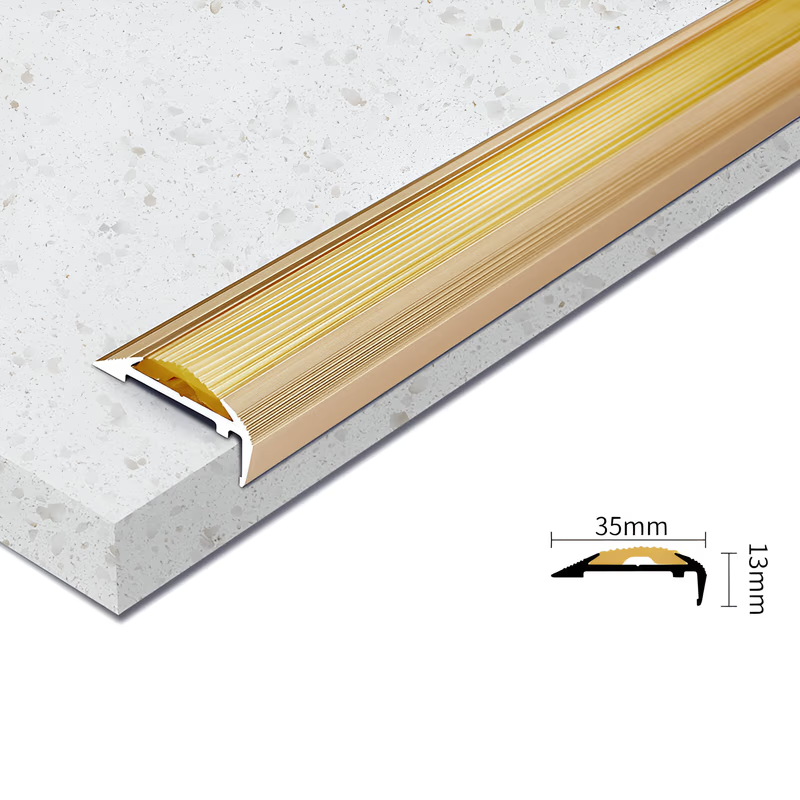
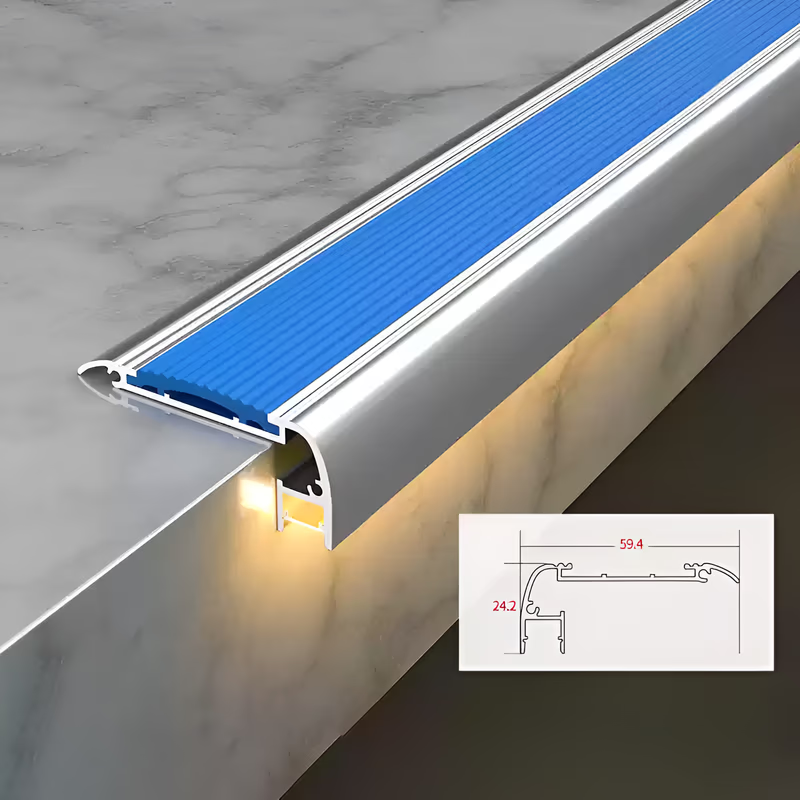
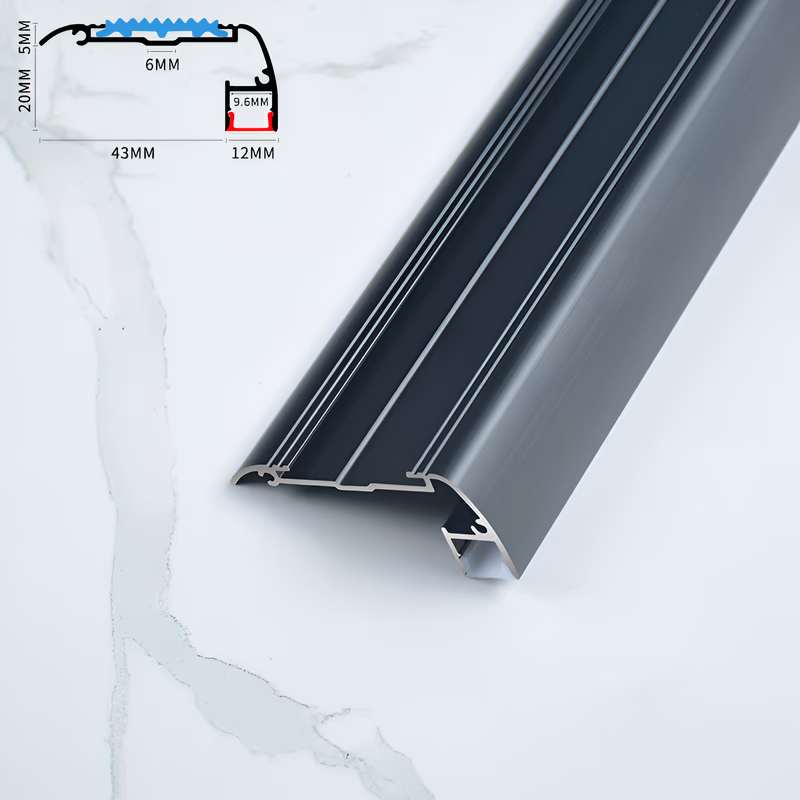
Stair nosing profiles are purpose-built, typically heavy-duty extrusions for application on the leading edge of stair treads. Their function is to protect the underlying tile edge from concentrated loads and wear associated with foot traffic. Many designs incorporate integral anti-slip features or provisions for inserts to address safety requirements. Secure installation, often involving methods beyond standard adhesive bonding depending on the system, is necessary for performance on stairs.
>> See 5 Types of Nosing to Upgrade Your Stairs in 2024
Movement Joint Trim (Expansion Joint Trim)
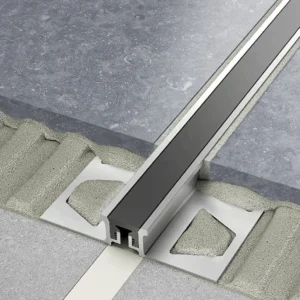
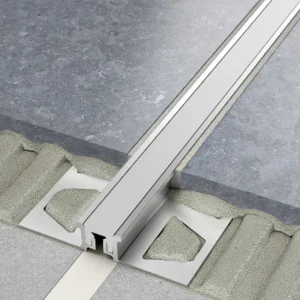
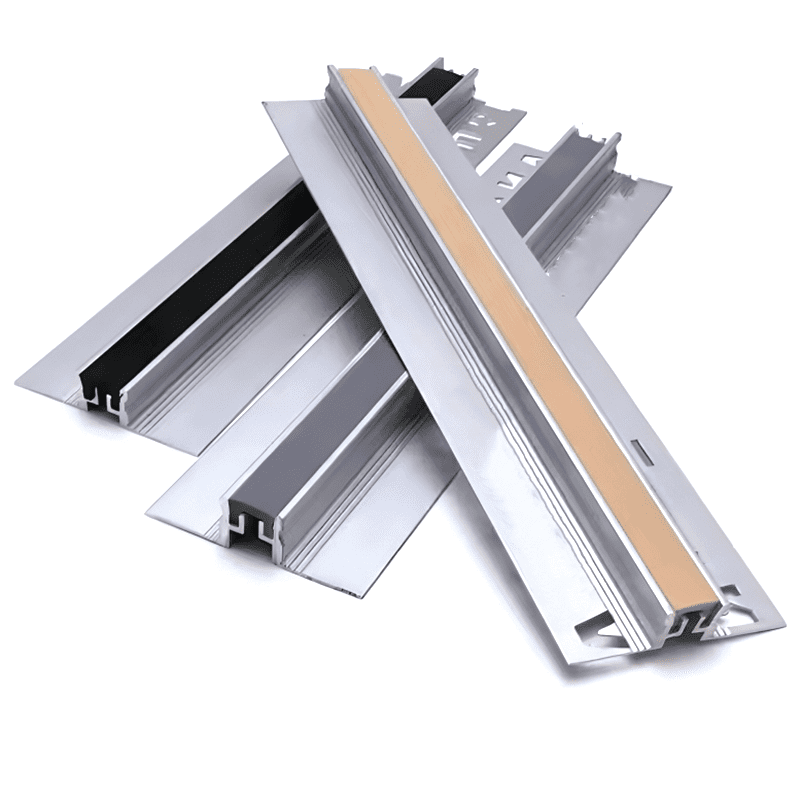
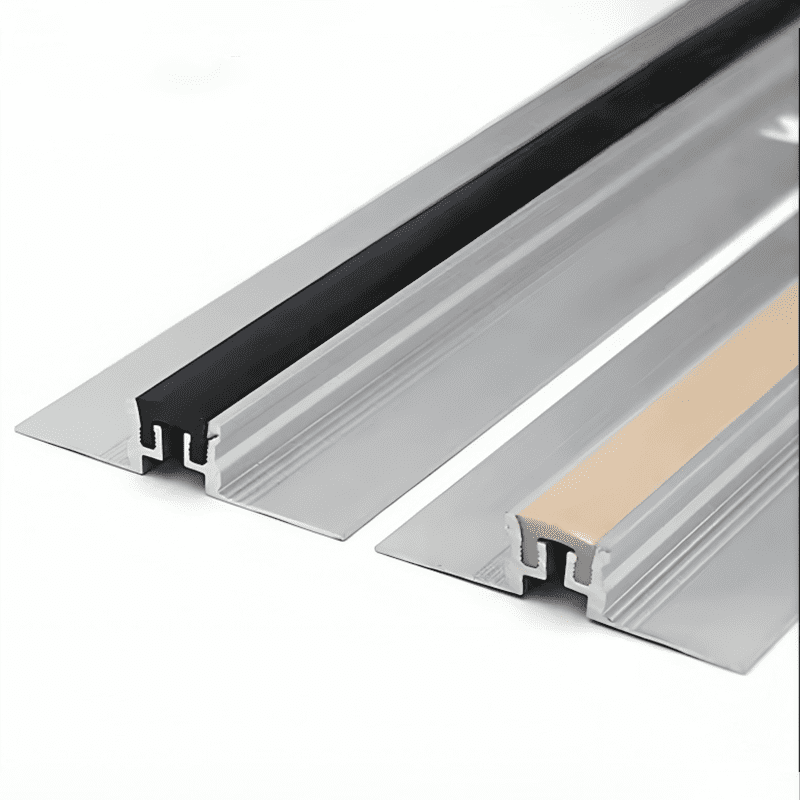
Movement joint trims accommodate differential movement between adjacent tile fields or across underlying structural joints. These profiles typically consist of rigid anchoring sections joined by a flexible central element capable of absorbing shear and tensile stresses. Their use prevents stress concentration in the tile layer, mitigating risks of cracking or debonding over large areas or where substrate movement is anticipated. Proper placement relative to substrate joints is dictated by standard industry practices (e.g., TCNA Handbook details).
>> See What is a Movement Joint? All the Types You Need to Know
Transition Trim (Floor Transition Profile)
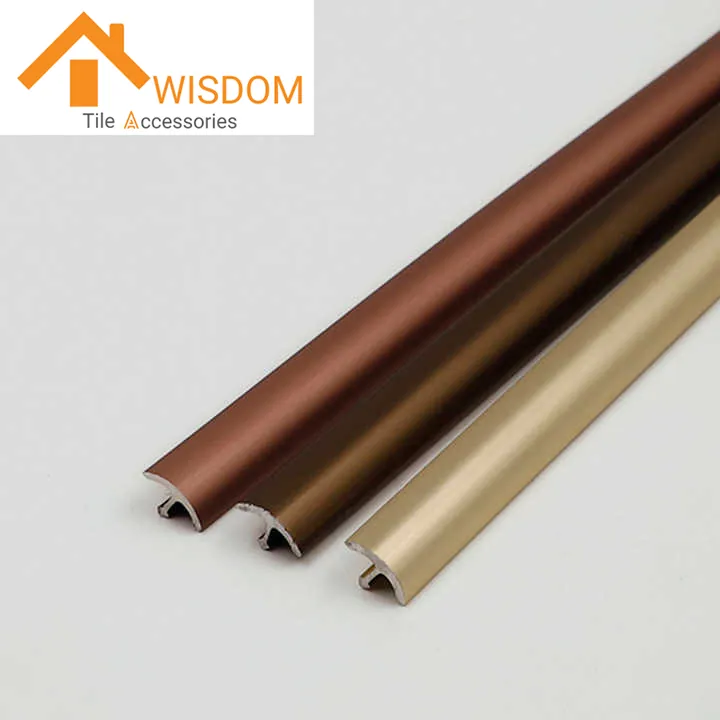
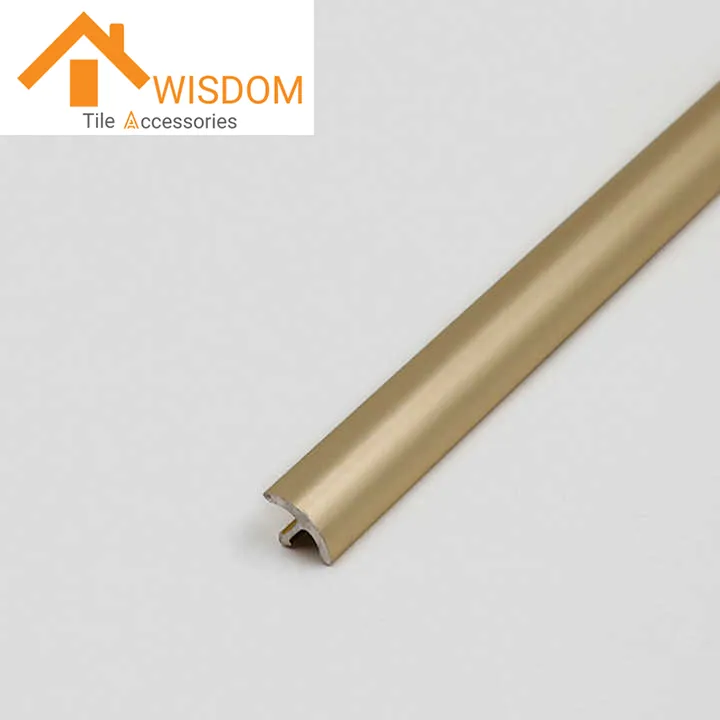


Transition trims facilitate changes between tiled floors and adjacent floor finishes, addressing differences in material or elevation. Profile designs vary (e.g., reducers, T-bars) to bridge the resulting gap, protect the edges of both floor coverings, and minimize potential trip hazards. Installation details depend on the specific profile and the adjoining flooring materials.
>> See Ultimate Guide: 8 Types of Transition Strip and When to Use
Decorative Trim/Listello
These are typically narrow aluminum profiles intended for insertion within the field of tile, rather than solely at perimeters. Their function is primarily aesthetic, used to create borders, dividing lines, or other visual elements as part of the tile layout design. They are set flush with the adjacent tiles during installation.
>> See Listello Meaning: What Is It & Do You Really Need It?
Benefits of Using Aluminum Tile Edge Trim
Aluminum tile edge trims contribute functionally to the overall performance and longevity of a tile installation through several key mechanisms derived from material properties and profile design:
How to Select the Right Aluminum Tile Edge Trim
The specification of an appropriate aluminum tile edge trim profile is a technical decision process driven by project requirements and anticipated service conditions, analogous to selecting appropriate underlayment based on substrate analysis:
Conclusion
The specification and installation of aluminum tile edge trim are not ancillary details but integral aspects impacting the overall performance and longevity of the tile assembly. Similar to how substrate preparation directly influences tile bond and flatness (ref. ANSI A108.02), the correct selection and execution of edge treatments are critical to mitigate edge damage, ensure safety at transitions, and achieve the finished tolerances expected in professional work. Success depends on matching profile functionality to specific application demands, ensuring dimensional accuracy relative to the tile thickness, and rigorously adhering to both manufacturer-specific installation directives and established industry methodologies, such as those documented within the TCNA Handbook. Ultimately, the utilization of qualified, experienced tile installers familiar with these systems remains paramount for delivering installations that meet both aesthetic expectations and long-term functional requirements.
Additional Technical Considerations & Field Notes
Beyond the selection of the primary profile type, several practical points warrant attention during the specification and installation phases of aluminum trims:
What is the best way to cut aluminum tile edge trim for clean results?
Achieving clean, precise cuts, particularly on factory-finished (anodized or powder-coated) aluminum, necessitates the use of appropriate equipment. A miter saw fitted with a high-tooth-count, non-ferrous metal cutting blade is typically recommended over abrasive blades or standard wood blades to minimize chipping or heat damage to the finish. Secure clamping of the profile is essential. Field cuts made with hacksaws require significant care and likely post-cut dressing of the edge.
Do I need to leave a grout joint between the tile and the aluminum trim edge?
Standard practice requires maintaining a consistent grout joint between the tile edge and the abutting face of the aluminum trim, consistent with the field grout width. This accommodates minor differential movement and allows for proper grout Curing and function. Direct, tight butt joints are generally not recommended as they can lead to stress concentration. Refer to TCNA Handbook details (e.g., EJ171 for movement joints, various details for edge terminations).
What's the functional difference between anodized and powder-coated aluminum trim finishes?
The distinction between anodized and powder-coated finishes relates to both appearance and performance. Anodizing (conforming to standards like AAMA 611) provides an integral, exceptionally hard surface with excellent abrasion and corrosion resistance. Powder coating (ref. AAMA 2603, 2604, 2605 for increasing performance levels) offers wide color versatility but exists as a surface layer potentially more susceptible to deep scratches or impact damage. Selection must balance aesthetic requirements with the anticipated in-service wear and exposure.
Can aluminum movement joint trims accommodate vertical (out-of-plane) movement?
Standard movement joint profiles incorporating flexible inserts are designed primarily for accommodating in-plane thermal or shrinkage movements. They possess limited capacity for significant out-of-plane (vertical) differential movement. Where substantial vertical displacement is anticipated across a joint, specialized engineered joint systems designed for multi-axis movement must be specified, often based on structural engineering input.
Is it possible to repair scratches or damage on installed aluminum trim?
Repairs to damaged finishes on installed aluminum trims are often problematic. Scratches penetrating anodized surfaces typically cannot be effectively repaired. While touch-up materials exist for powder coatings, achieving a durable and visually seamless repair is difficult. Gouges or deformations generally necessitate replacement. Therefore, careful handling during transport and installation, along with selecting finishes appropriate for the expected service conditions, is the most effective approach.


