Welcome to this guide, where you'll learn about the characteristics of different types of corner beads and their installation methods. Whether you're a beginner or an experienced DIY enthusiast, I believe you'll gain valuable insights after reading.
Let's embark on this ultimate guide together and learn how to install corner bead.

What is Corner Bead?
"Corner bead" is a type of gypsum board product used to finish the external corners where two gypsum boards intersect, protecting the vulnerable outer corners of walls. Typically, it comes in lengths ranging from 9 to 12 feet, providing a neatly straight finish for the external corners.
Understand 3 Types of Corner Bead
Corner bead can be classified into three main types: vinyl, metal, and paper-faced. Currently, the most widely used is vinyl corner bead, known for its excellent durability. Vinyl corner bead maintains its shape during transportation and installation, offering optimal resistance to cracking and separation on external wall corners.
Due to its material properties, vinyl corner bead is virtually resistant to rust or corrosion. Additionally, it exhibits high stability after installation due to its natural flexibility, preventing deviation caused by internal structural movements and avoiding wall cracks.
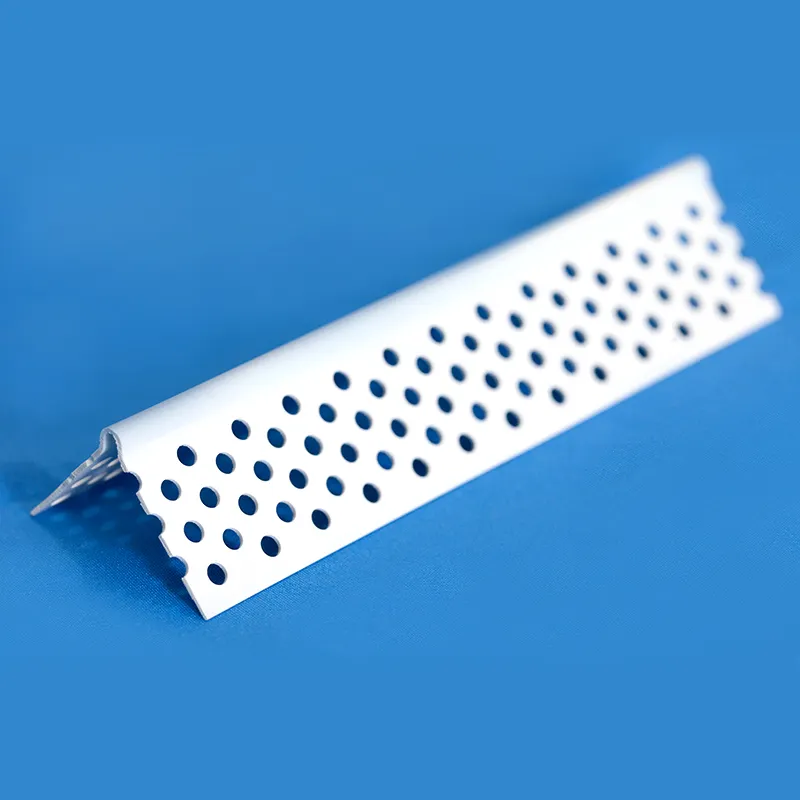
>> See The Latest PVC Corner Bead in 2023
In the past, people predominantly used metal corner bead since the technology at that time couldn't produce high-quality vinyl corner bead. However, it is now considered less favorable because of its poor impact resistance, making it inadequate for effectively protecting external wall corners.
When subjected to external force, metal corner bead is prone to denting, and repairing it is nearly impossible. This results in high maintenance costs as the only solution is replacing it with new metal corner bead. Moreover, over time, it tends to rust, and rust stains can penetrate the outer surface, causing unsightly discoloration.
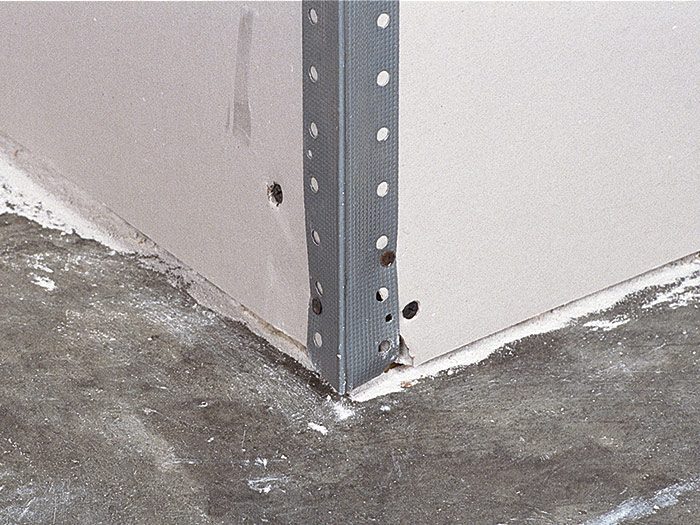
Another alternative is paper-faced corner bead, a more modern product. It comes with a low cost, easy installation, and avoids issues like rusting and cracking associated with metal corner bead. However, it's essential to install paper-faced corner bead accurately; otherwise, it may peel off from the wall.
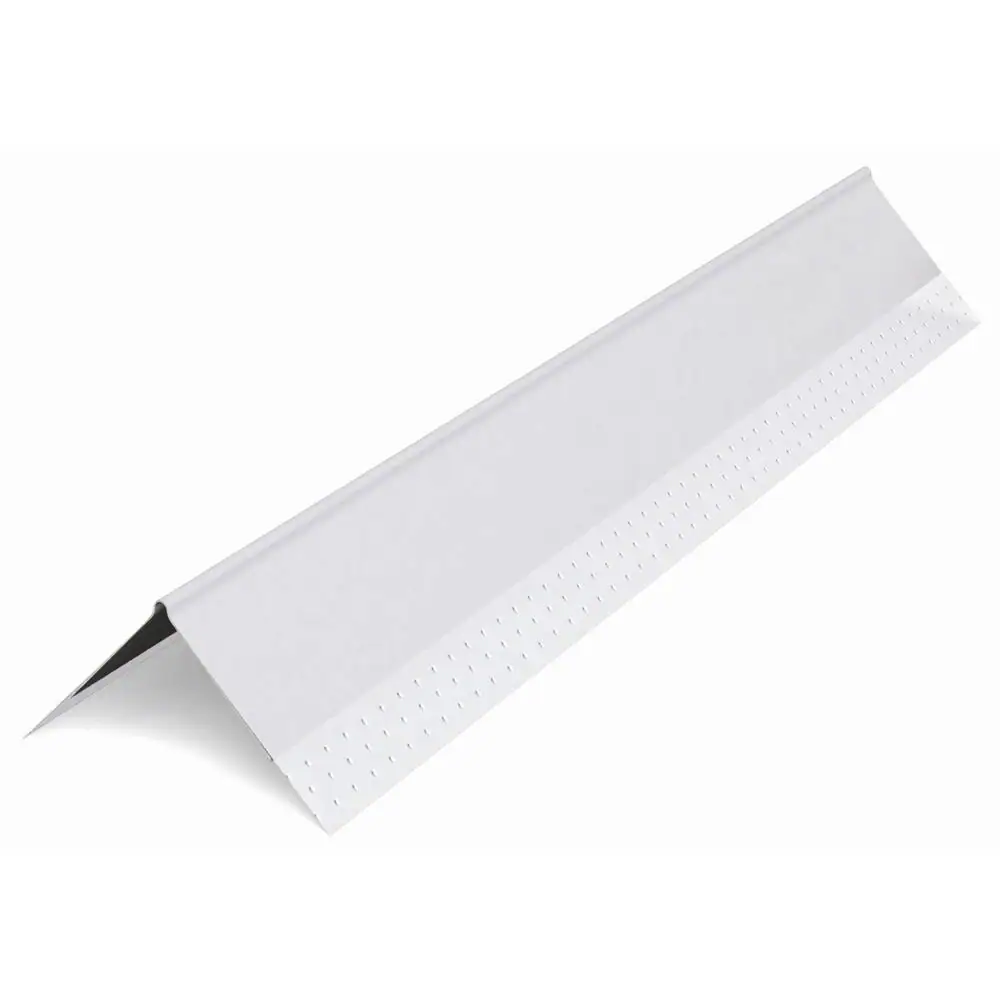
Now that we've briefly explored the characteristics of different types of corner bead, let's delve into their specific installation methods and differences.
How to Install Vinyl Corner Bead?
Step 1: Cut the Drywall Vinyl Bead with Tin Snips
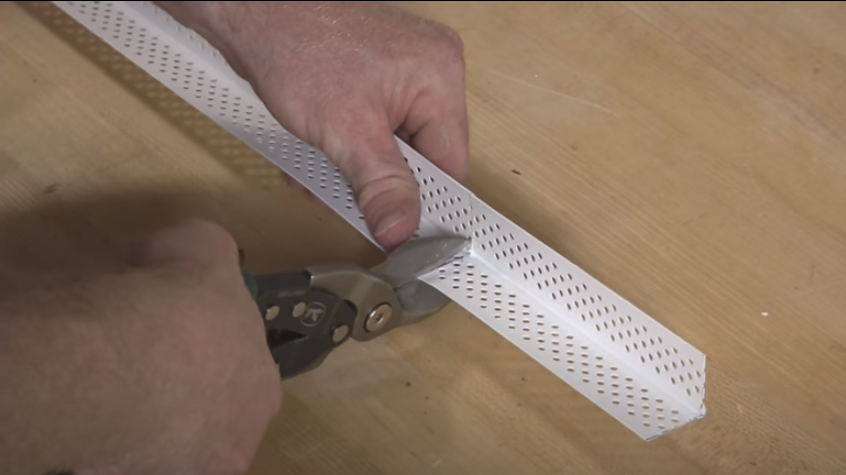
Before starting the installation process, measure the length of the wall corner where the vinyl corner bead will be applied. Use tin snips to carefully cut the vinyl corner bead according to the measured length, ensuring precise and clean cuts for a professional finish. By the way, trim the joints at a 45° angle to meet the requirements of most scenarios.
Step 2: Apply the Spray adhesive
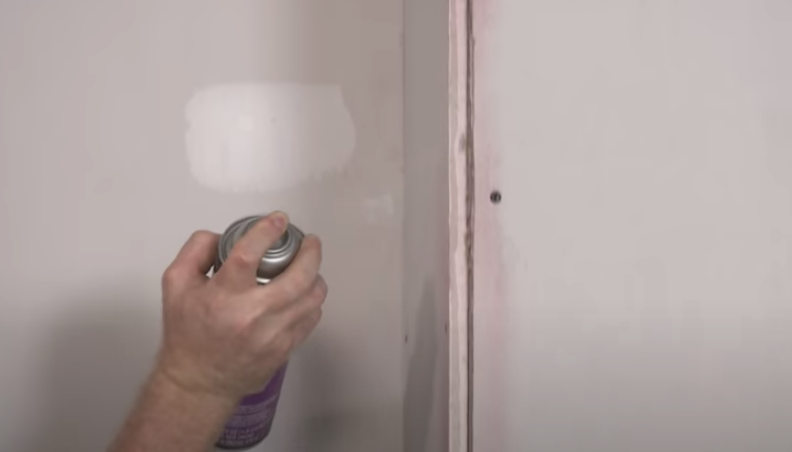
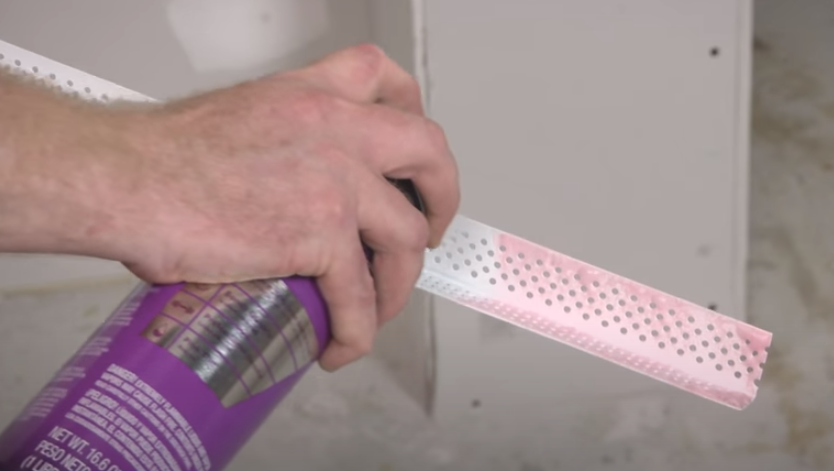
To enhance the adhesion of the vinyl corner bead, evenly spray a thin layer of adhesive onto the wall corner where it needs to be installed. Ensure complete coverage of the entire surface in contact with the drywall by also spraying adhesive on the vinyl corner bead. This step is crucial for a lasting bond and can prevent any potential displacement over time.
Step 3: Lay on the Bead
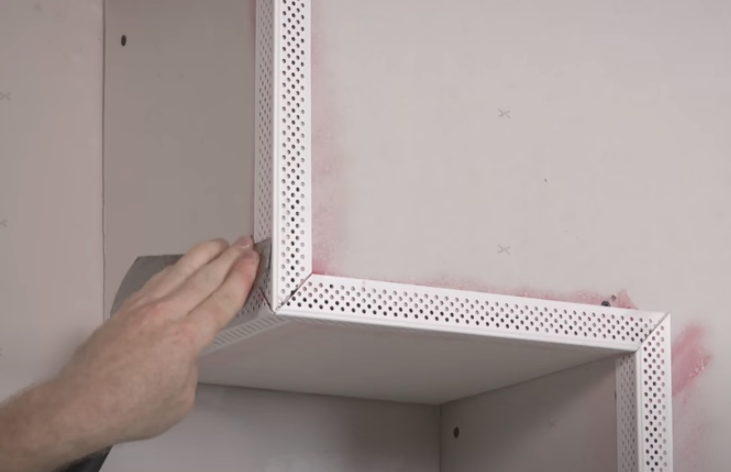
Place the vinyl corner bead on the corner of the drywall, ensuring it aligns perfectly with the edges. You can use a chisel or the handle of a hammer to press the corner bead against the drywall, ensuring a strong bond with the adhesive. Slowly adjust the corner bead to ensure a precise fit, maintaining a straight appearance.
Step 4: Stapling the Bead
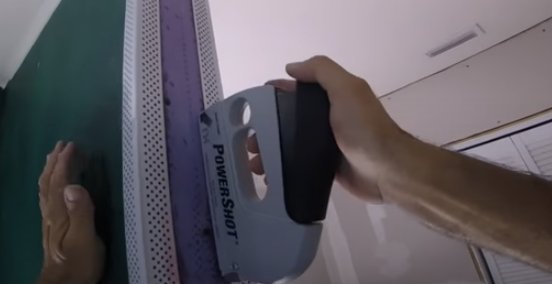
Next, secure it to the drywall using a nail gun. I recommend using 1/2-inch-long finishing nails to ensure the nails penetrate both the vinyl and the drywall substrate. Pay attention to the spacing between the nails, typically recommended at 6 inches. Excessive spacing may compromise the stability of the vinyl corner bead, while too close may cause deformation.
Step 5: Apply Compound
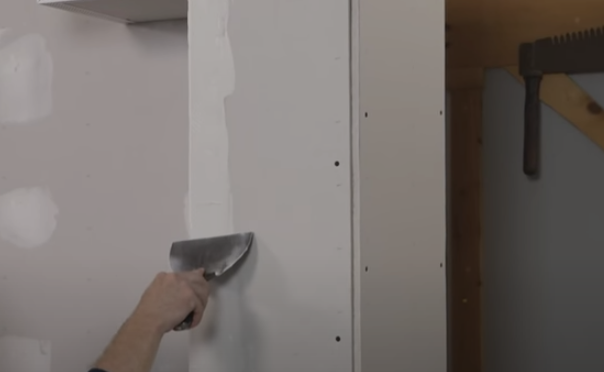
After firmly securing the vinyl corner bead, apply joint compound to achieve a seamless transition between the corner bead and the drywall. Use a putty knife to spread a thin layer of joint compound over the vinyl corner bead, keeping the edges slightly thinner to create a smooth, gradual transition. Allow the compound to completely dry before proceeding to the next step.
Expert Tip!
Want to achieve a better appearance for your wall corners? After installing the corner bead, consider using tile trim or wall panel trim, depending on whether you're decorating your wall with tiles or panels. These two products not only enhance the protection of your wall corners but also serve a decorative purpose. Whether your home decor leans towards modern or classical styles, these trim options can seamlessly integrate into both.
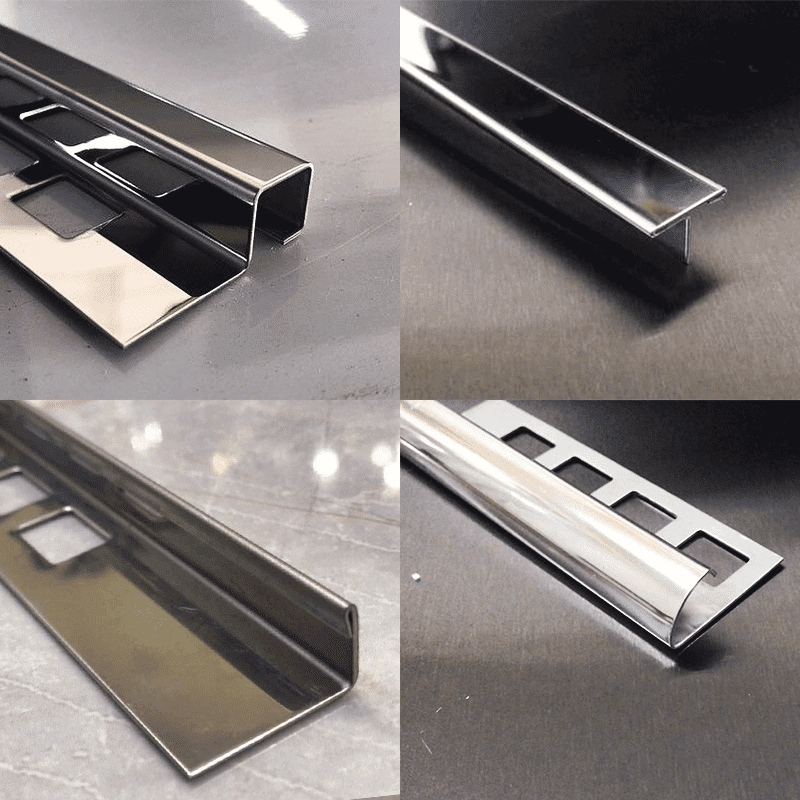
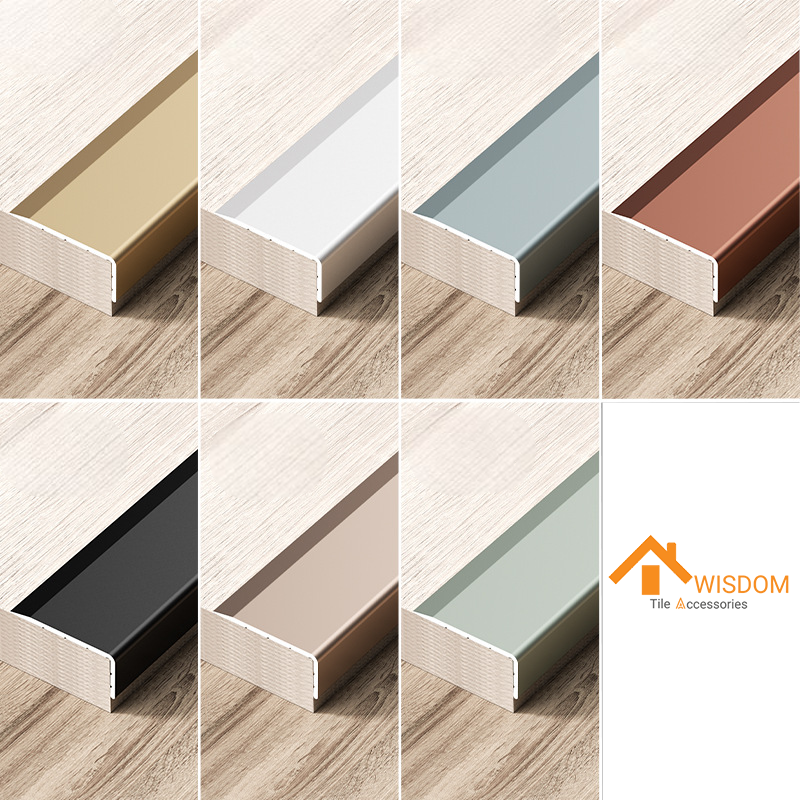
>> See Tile Trim
>> See Wall Panel Edge Trim
How to Install Metal Corner Bead?
Step 1: Cut the Metal Bead
First, measure the length of the wall corner where you plan to install the metal corner bead. Use tin snips or metal shears to carefully cut the metal corner bead according to the measured length. Ensure precise and clean cuts for a seamless fit against the drywall.
Step 2: Use screws or staples to Attach it
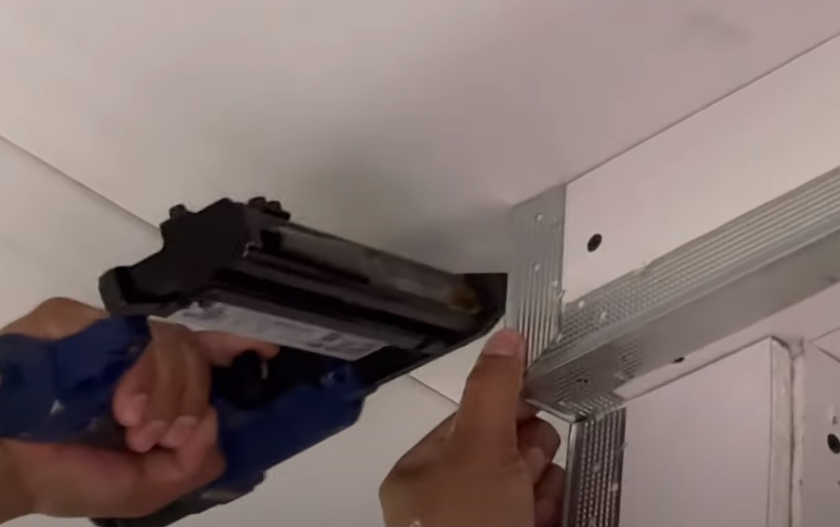
Place the cut metal corner bead at the corner of the drywall, making sure it aligns perfectly with the edges. Secure the metal corner bead in place using screws or finishing nails. If choose screws, use a screwdriver to pass the screw through the perforations in the metal corner bead and into the drywall. If using finishing nails, you can also use a nail gun for a quick and effective securing.
Remember, do NOT use nails with fixtures, as this can damage the wall.
How to Install Paper Corner Bead?
Step 1: Measure and Cut
First, measure the length of the corner you need to cover. Then, use tin snips or a utility knife to cut the paper corner bead to the appropriate length, ensuring a clean and smooth cut.
Step 2: Apply Drywall Compound
Use a drywall knife to apply a thick layer of joint compound to the corner. The thickness should be approximately 1/16 inch, ensuring even distribution of the material covering the entire wall corner. Otherwise, the corner bead may not adhere well to the wall surface.
Professional Tip: To enhance adhesion, you can moisten the paper-faced corner bead in advance. For example, use a spray bottle to lightly spray water on the corner bead. This not only improves adhesion but also helps the paper-faced corner bead maintain a smooth surface after installation.
Step 3: Embed the Bead
Place the paper corner bead on the corner of the drywall, ensuring it aligns perfectly with the edges. Press the paper bead firmly into the wet drywall compound, securing it in place. Use a putty knife to smooth out any bubbles or wrinkles, ensuring a tight bond between the paper corner bead and the drywall.
Step 4: Apply 3 Coats of Joint Compound
After the first application of compound on the drywall has dried, apply another layer of joint compound for a smoother surface. Wait for the second layer of compound to dry, and then apply a final layer for the best appearance and protective effect.
Final Thought
Now, do you know how to install corner bead? As you can see, installing corner bead is not a difficult task. This is because it is already a highly matured product, especially vinyl corner bead. So, don't think of it as a task only for professional DIY enthusiasts.
Keep up with your learning and grow together with Awisdom. If you have more knowledge you want to explore, feel free to contact us.
FAQ about Drywall Corner Bead
Is drywall corner bead necessary?
Drywall corner beads are essential for finishing the outer corners where two drywall panels meet. They provide a clean, precise decorative finish and enhance the durability of drywall installations. Therefore, corner beads not only offer visually appealing finishes but also contribute to increased durability in drywall installations.
Why does drywall corner bead crack?
Drywall corner bead cracks can occur due to various reasons:
- Installation errors: Improper installation, such as not using enough screws or nails, not driving them in deep enough, or leaving too little mud burying the bead, can cause tension across the corner and lead to cracks.
- Structural movement: Seasonal changes, swelling or shrinking of framing lumber, or more significant structural problems can cause movement in the building, leading to cracks in the corner bead.
- Loose or damaged corner bead: Over time, the corner bead may become loose or damaged, causing cracks to form.
- Inadequate support: Not using corner beads or using the wrong type of corner bead can result in insufficient support for the drywall corners, making them more prone to cracking.
Do you nail or screw corner bead drywall?
Drywall corner presses can be installed with either nails or screws, depending on the type of corner press and the specific situation.
For metal corner nails, nails are most commonly used, but screws or staples can also be used. However, if you are using metal studs, it is recommended that you do not use nails.
For paper drywall corners, staples are most commonly used, but nails or screws can also be used.
In addition to nails and screws, adhesives, especially vinyl corner beads, can be used. Some professionals also use a combination of mud and mechanical fasteners for added strength.
What are some benefits of installing corner bead?
- Protecting Wall Corners: Wall corner beads serve to protect corners from damage. They provide a protective barrier, preventing corners from crumbling, cracking, or breaking, especially during construction and renovation projects.
- Reinforcing Walls: Corner beads reinforce wall corners, preventing them from bending or warping. This is particularly crucial in areas of the wall subjected to stress, such as around doors and windows. Corner beads offer additional support, making the walls more durable and resistant to damage.
- Aesthetic Appeal: Corner beads contribute to providing a straight and neat decorative edge for the walls. When applying joint compound to outer corners, they guide your putty knife and help ensure a smooth and even finish for decorative work.


