Did you know? Tile lippage isn't only caused by incorrect installation methods. And it can be accepted within specified tolerances. Welcome to read this guide, where you will comprehensively learn what tile lippage is, understand the reasons for its occurrence, and the acceptable range for it.
![What is Tile Lippage and How Much is Acceptable [Must Know] What is Tile Lippage and How Much is Acceptable [Must Know]](https://chinatileaccessories.com/wp-content/uploads/2023/12/What-is-Tile-Lippage-and-How-Much-is-Acceptable-Must-Know.png)
What is Tile Lippage?
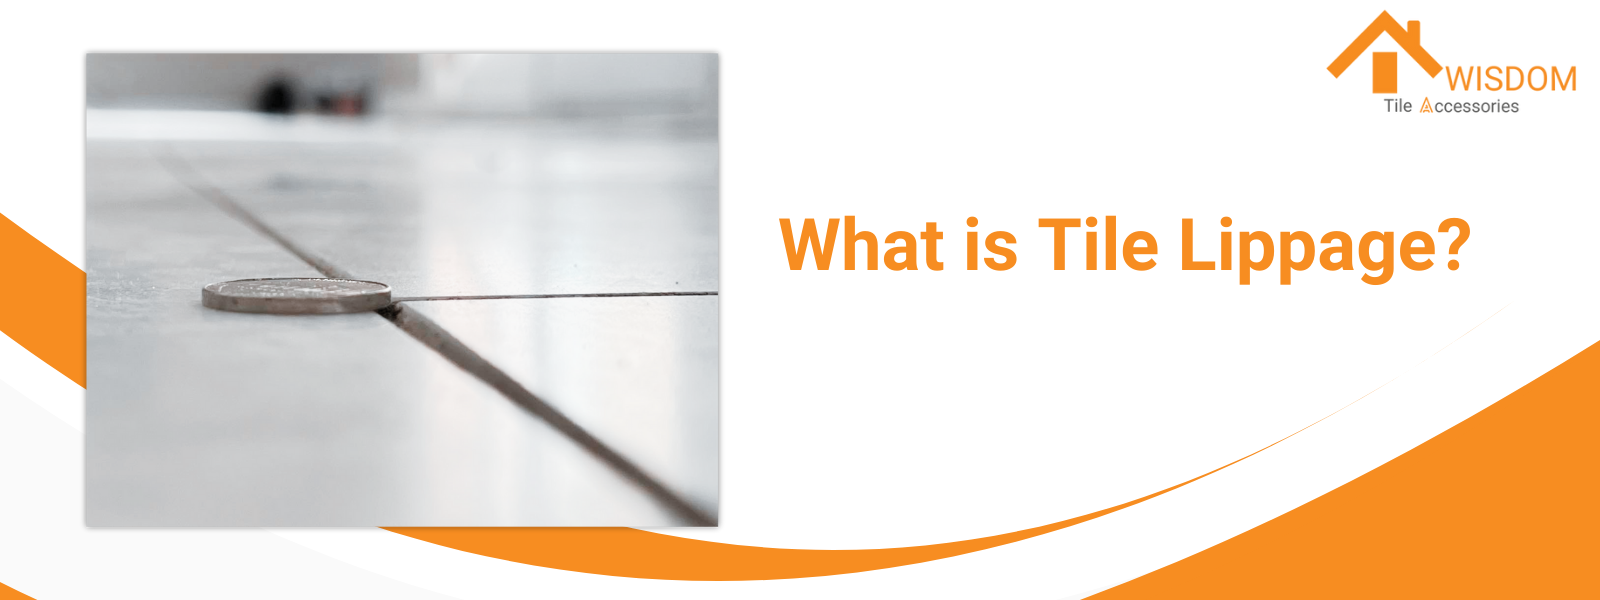
Tile lippage refers to a situation where adjacent tiles are not level with each other, resulting in one edge being higher or lower than the neighboring tile. This discrepancy in height, known as tile lippage, is more than just an aesthetic issue. It's also a matter of functionality and safety, especially for flooring.
Tips: Why is it Called "Lippage”?
The term "lippage" is determined by its physical appearance. When one tile is higher than its adjacent counterpart, a "lip-like" shape forms at their edges.
In the construction and tile industry, this phenomenon has conventionally been referred to as "tile lippage." Over 60 years ago, this terminology was standardized by the American National Standards Institute (ANSI) in their standard A108.02, Section 4.3.7.
The Hazards of Tile Lippage
- Tile lippage can lead to the edges of the tiles breaking. This is not only detrimental to maintenance but can also increase costs due to tile replacement.
- Tile lippage can cause furniture and appliances to get stuck, such as sofas, tables, chairs and TV.
- Tile lippage can lead to pedestrians tripping and sustaining serious injuries. Installers and contractors could face costly lawsuits.
What is the Acceptable Tile Lippage?
In addressing the critical aspect of tile lippage in professional tiling, the proposed revision to A108.02, section 4.3.7, provides a comprehensive framework for ensuring optimal tile installation.
The section on acceptable tile lippage states that
- For glazed wall and mosaic tiles ranging from 1 x 1 to 6 x 6 inches with joint widths of 1/16 to 1/8 inch, the acceptable tile lippage is 1/32 inch (1 mm).
- For quarry tiles sized 6 x 6 to 8 x 8 inches with joint widths of 1/4 inch or greater, the acceptable tile lippage is 1/16 inch (2 mm).
- For pressed floor and porcelain tiles, the allowable lippage is 1/32 inch (1 mm) for joint widths between 1/16 inch and less than 1/4 inch. And 1/16 inch (2 mm) for joint widths of 1/4 inch or greater.
Tile Type | Tile Size(in.) | Joint Width(in.) | Alllowable Lippage(in.) |
|---|---|---|---|
Glazed Wall/Mosaics | 1×1 to 6×6 | 1/16 to 1/8 | 1/32 |
Quarry | 6×6 to 8×8 | ¼ or greater | 1/16 |
Pressed Floor and Porcelain Tiles | All | 1/16 to less than ¼ | 1/32 |
Pressed Floor and Porcelain Tiles | All | ¼ or greater | 1/16 |
Gauged Porcelain Tiles (GPT) and GPT Panels/Slabs | All | All | 1/32 |
7 Reasons Why Tile Lippage Occurs
The perception of lippage can be influenced by several factors, including the thickness variation and warpage of the tiles, the spacing between tiles, and the angle and type of lighting which can accentuate even minor variances in tile elevation.
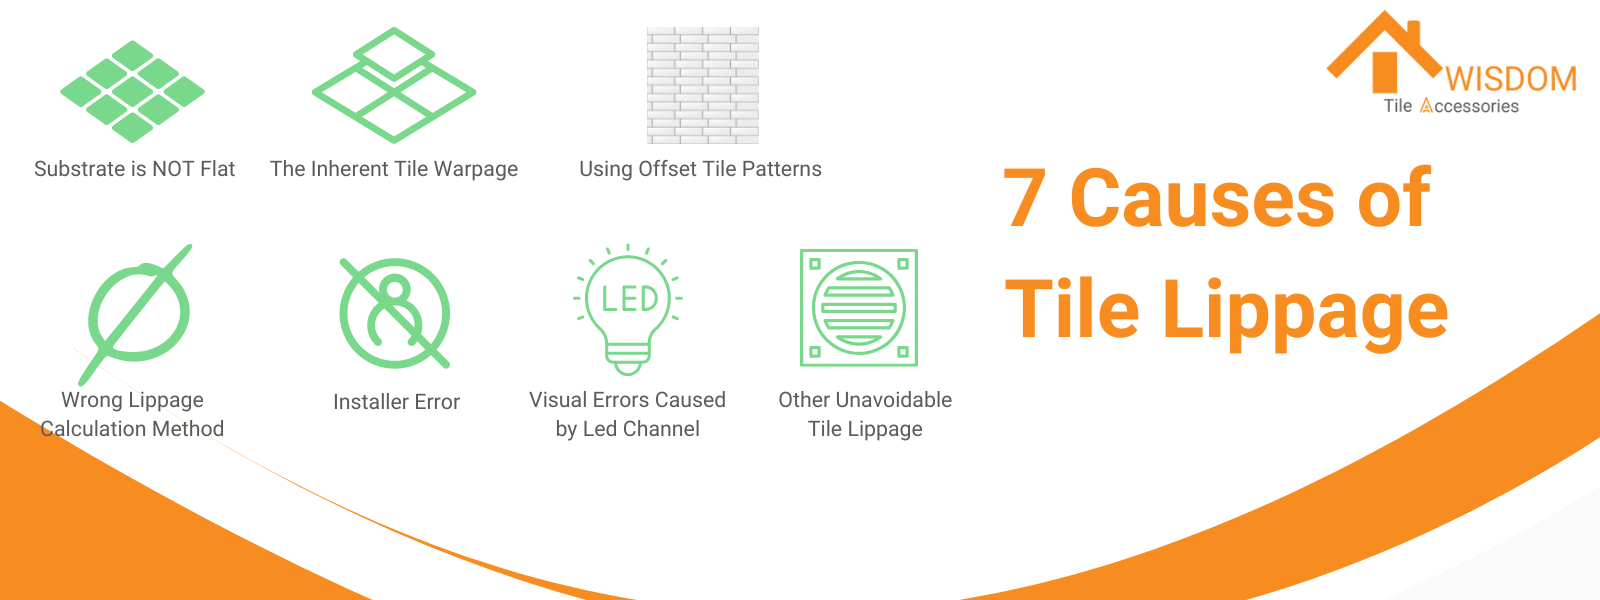
Regarding the causes of tile lippage, the following is a summary of 7 aspects.
#1 Substrate is NOT Flat
The ANSI Standard for Subfloor Surfaces, ANSI A108.02 - section 4.1.4.3.1, states in part:
“For tiles with at least one edge 15” (0.38m) or longer, the maximum allowable variation is no more than 1/8” in 10’ (3 mm in 3 m) and no more than 1/16” in 2’ (1.6 mm in 0.6 m) from the required plane, when measured from the high points in the surface.”
If the substrate is not prepared before installing tiles, tile lippage is likely to occur. There may be raised high points and low points on concrete or wooden surfaces. The most effective approach is to grind the high points and then fill the low points with compounds such as grout or self-leveling material.
>> See What is the Tile Underlayment?
>> See Cheaper Alternative to Self-Leveling Compound
#2 The Inherent Tile Warpage
Tile warpage is a common cause of tile lippage, determined by the inherent quality of the tile itself. Generally, larger tiles are more prone to warping and thus more likely to cause lippage. Unfortunately, warping is an inevitable part of tile production.

In modern tile manufacturing, uniform standards have been established. In ANSI A137.1, the allowable warpage tolerances for different shapes and materials of tiles are clearly specified.
However, as tile sizes become more diverse, deciding the width of the grout joints has become a new challenge. Some contractors pursue narrower joints, such as less than 1/16 inch.
But this practice prevents the grout from fully filling the gaps between tiles, greatly reducing the firmness between tiles. Not only that, but overly narrow grout widths are not conducive to adjusting the position of tiles, increasing the likelihood of lippage.
#3 Using Offset Tile Patterns
Besides the warpage of the tiles themselves, the incorrect use of offset patterns can also lead to tile lippage. Section 4.3.8.2 of A108.02 states:
"For running bond/brick joint and or any other offset patterns(i.e. non‐continuous grout joints) utilizing tiles(square and/or rectangular) where the side being offset is greater than 15 in. (nominal dimension), only patterns with an the offset pattern will be a maximum of 33% or less shall be specified.
Unless otherwise specified by the tile manufacturer. If a pattern with an offset greater than 33% is specified desired, the specifier and owner must approve a mock‐up and the resulting lippage."
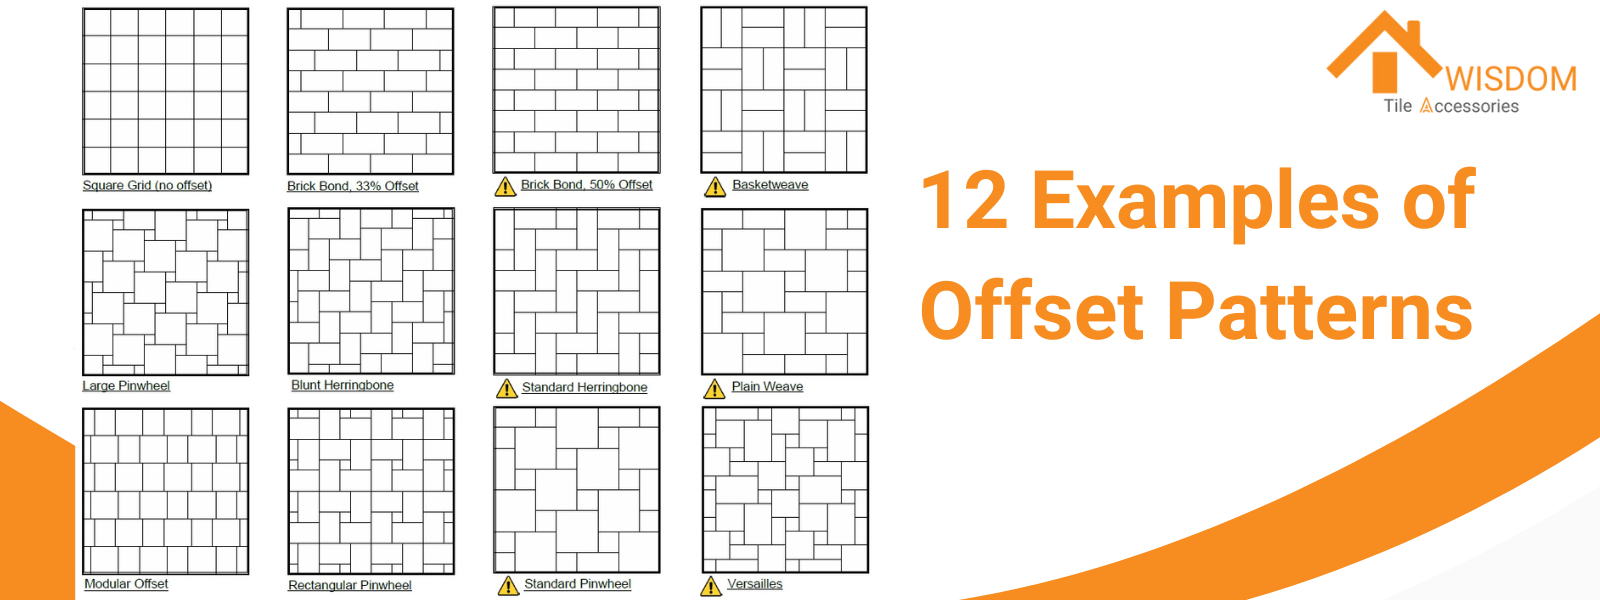
Therefore, installers should strictly follow standard specifications to minimize tile lippage caused by subjective reasons. Of course, when purchasing tiles, attention should be paid to whether the selected size conforms to the standards. The best practice is to avoid using tiles with one side larger than 15 inches and patterns with more than a 33% offset.
#4 Wrong Lippage Calculation Method
As mentioned in the section about tile warpage. ANSI A137.1 specifies the allowable warpage tolerance of tiles, which also includes the maximum allowable warpage. ANSI A108.02 also provides a calculation method: the total allowable lippage is calculated by adding the actual tile warpage to the allowable lippage number from the chart.
For example: For a porcelain tile with a 1/8 inch grout joint and an actual warpage of 1/32 inch, according to the chart above, we can calculate that the allowable lippage deformation is 1/16 inch (2/32 inch).
$$ Total Lippage=Allowable Lippage+Actual Tile Warpage $$
However, some installers mistakenly take the maximum allowable warpage as the actual tile warpage, leading to a deviation in the total allowable lippage result.
$$ Max Allowable Warpage≠Actual Tile Warpage $$
#5 Installer Error
Improper tile installation methods can also lead to tile lippage. Because tile installation is not just about laying tiles on concrete. Preparing the substrate is also part of the process, hence ensuring the flatness of the base material becomes a crucial step in the tile installation process.
Besides, the skill level of tile installers is also important.
Moreover, the skill and proficiency of tile installers are extremely important. Lack of relevant knowledge and experience often leads to poor tile laying, naturally resulting in tile lippage.
#6 Visual Errors Caused by Led Channel
An interesting fact is that even after following relevant standards, significant tile lippage can still occur. This is often due to the use of lighting equipment, like LED channels (profiles) on walls. Unless the surfaces between the tiles are absolutely level, any slight deviation in height can be magnified under the light.
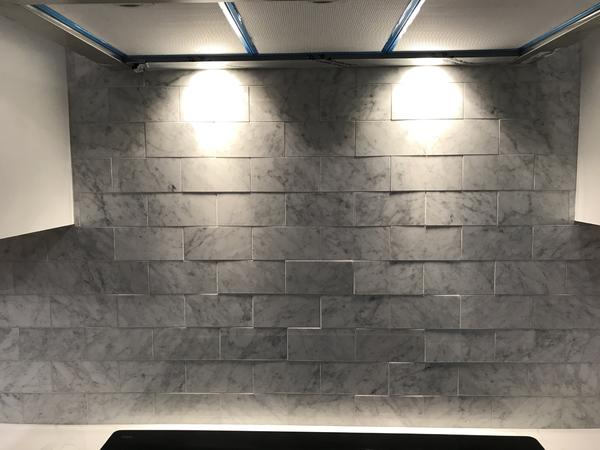
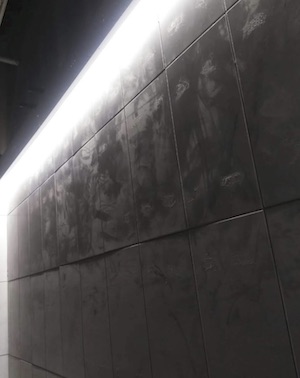
Despite the absence of fault on the part of installers, the shadows produced at the grout joints can visually create a poor impression, leading to rejection by the homeowner or contractor.
#7 Other Unavoidable Tile Lippage
Finally, the aforementioned standards do not apply to tiled floors sloping to drains, as lippage is inevitable in these cases, especially with larger tiles (6 x 6 inches).
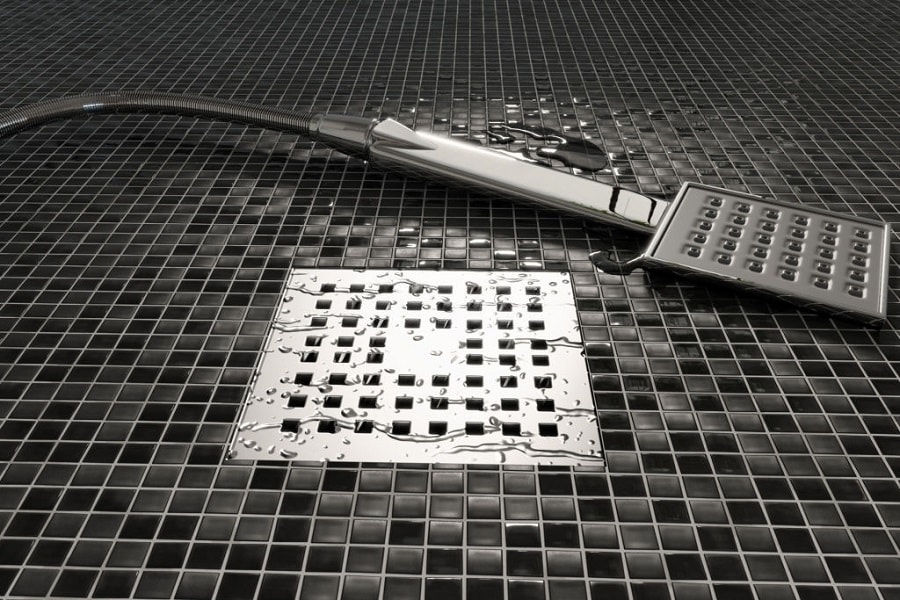
So, in special cases, there is no need for explicit tolerance requirements for lippage. However, out of professionalism, tile installers should also try to minimize tile lippage as much as possible, not neglecting it due to the lack of specified tolerances.
How to Avoid Lippage in Tile?
Understanding the Industry Standards for Tiles
- Follow the requirements proposed by ANSI A108 to ensure tile lippage is within an acceptable range.
- Adhere to the standard tolerances for various types of tiles as outlined in ANSI A137.
Choosing Products that Meet Regulations
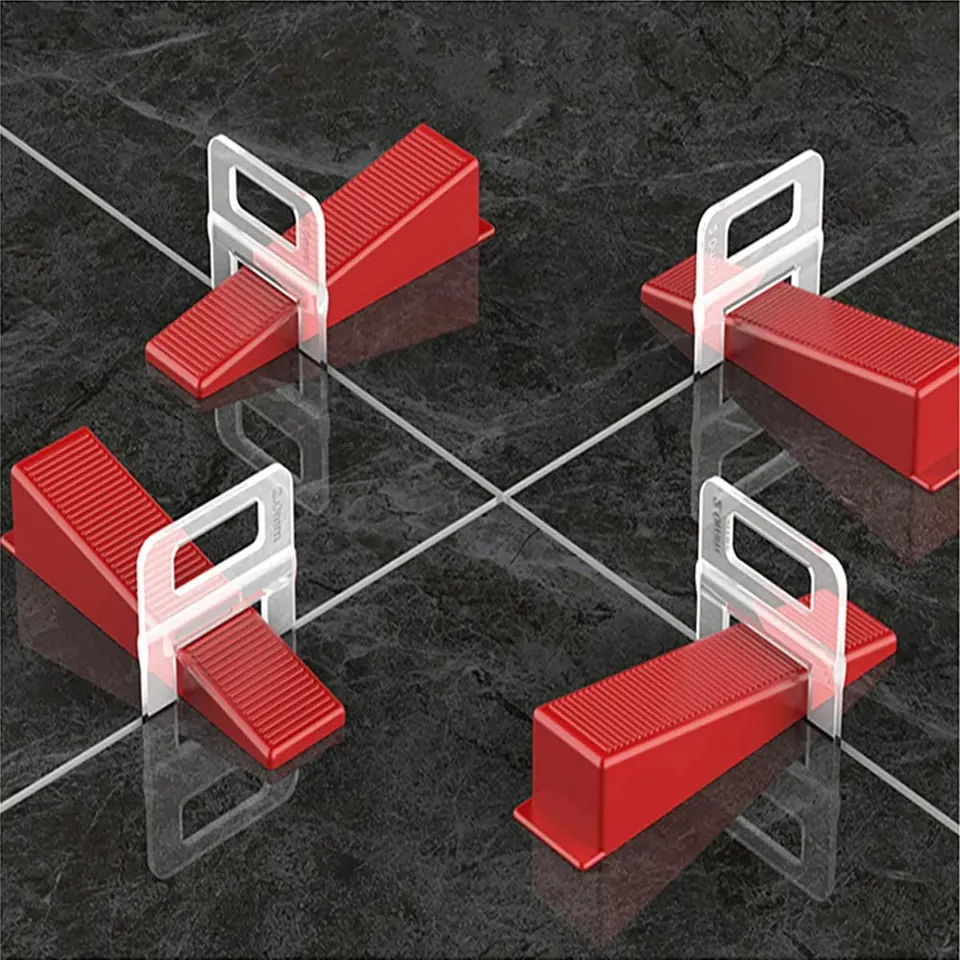
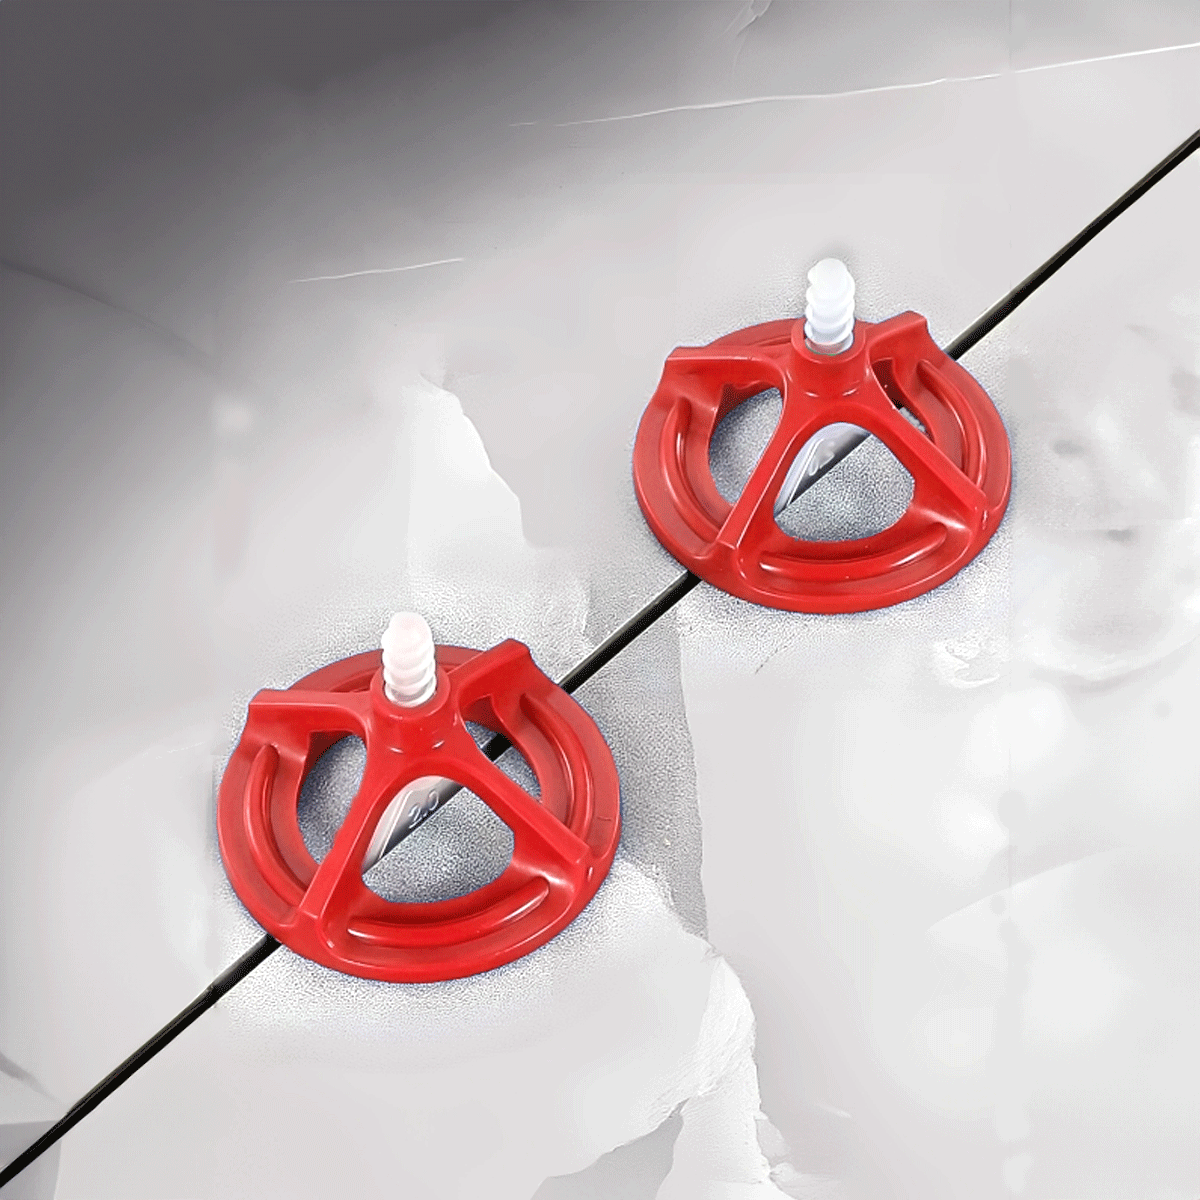
- Use tile leveling system. Not only can they reduce the occurrence of tile lippage, but they also lower the skill requirements of installers.
>> See Best No Lippage Tile Leveling System
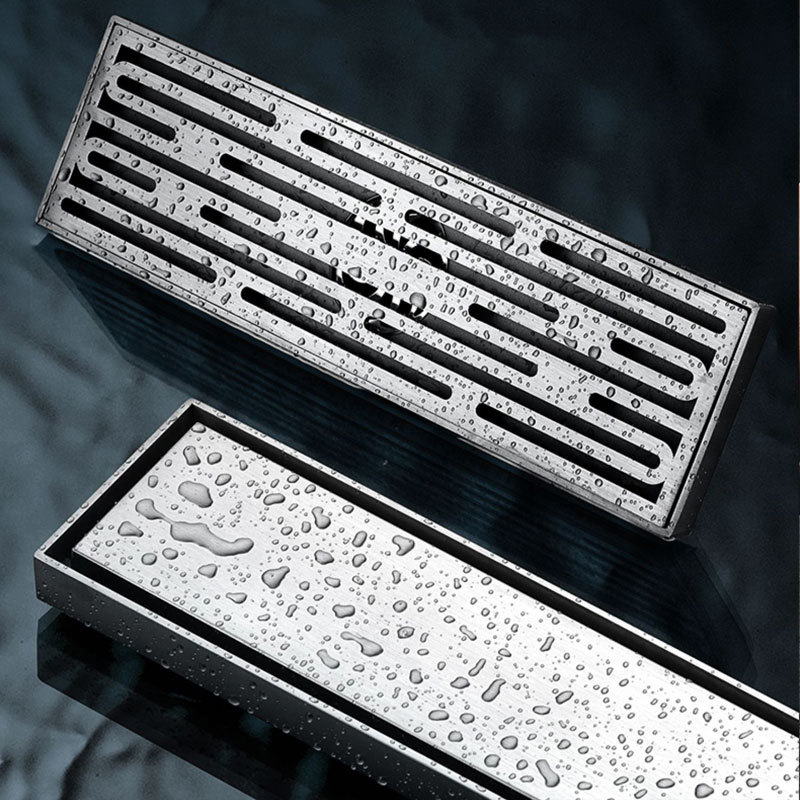
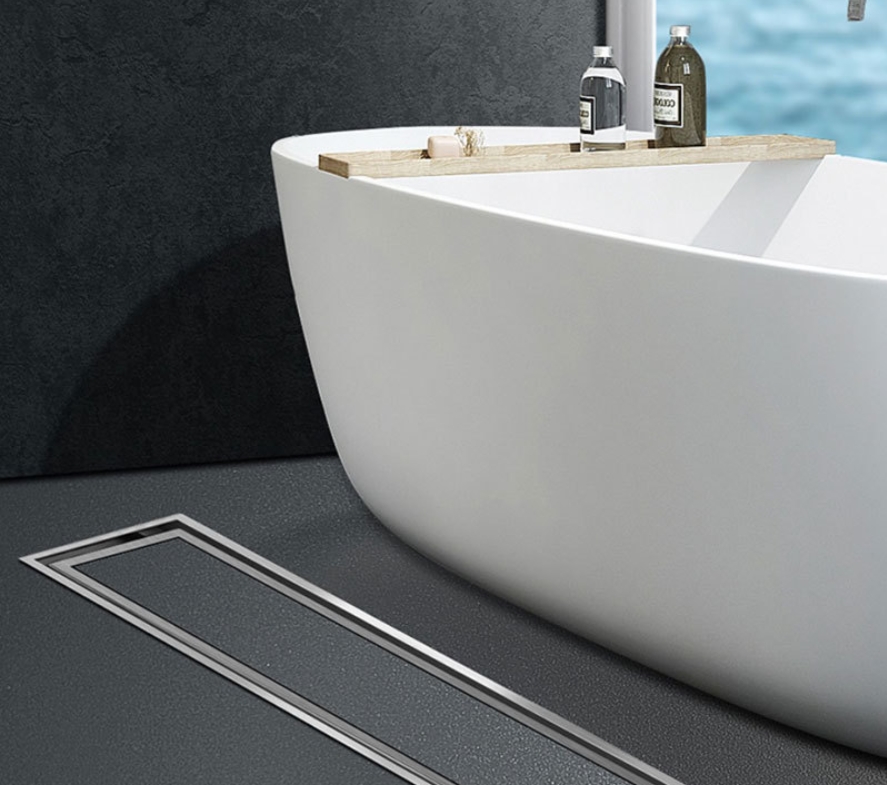
- Use linear drains that can be installed on the tile floors of bathrooms. Their flat design maintains a level state between the tile and the drain, reducing lippage around the tiles.
>> See 2023 Latest Linear Tile Shower Drain
- Try to minimize the use of LED strips on tile walls, as the shadows they cast can make lippage that is within an acceptable range appear more severe visually.
Adhering to the Correct Tile Installation Methods
- Ensure the flatness of the substrate before installing tiles and make corrections according to the specific requirements of ANSI A108.02.
- When installing tiles in a staggered pattern, pay attention to the size of the tiles. If one side of the tile being offset is greater than 15 inches, then the offset pattern should not exceed 33%.
- Train and assess tile installers to ensure that tile installation is carried out using the correct methods.
Why Awisdom Tile Leveling System is a Perfect Solution?
If you are looking for a perfect solution to tile lippage, the Awisdom Tile Leveling System would be your best choice. Awisdom tile leveling system is designed to enhance the efficiency of tile installation and prevent tile lippage.
![What is Tile Lippage and How Much is Acceptable [Must Know] 1 Why Awisdom Tile Leveling System is a Perfect Solution](https://chinatileaccessories.com/wp-content/uploads/2023/12/Why-Awisdom-Tile-Leveling-System-is-a-Perfect-Solution.png)
Thanks to our innovative clips and wedge system, accuracy and levelness in tile installation are assured. Awisdom also offers recyclable and screw-type tile leveling systems, broadening your project options while minimizing costs.
At Awisdom, we're not just experts. We're pioneers with a passion for perfection. We recognized the evolving challenges faced by modern tiling professionals, especially with the trend of larger tiles making evenness harder to achieve.

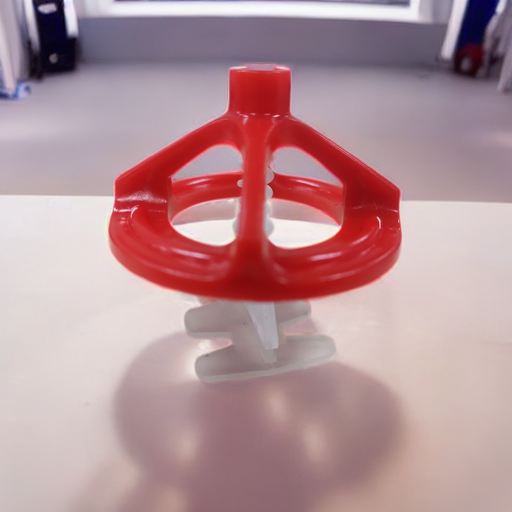
While many solutions on the market claim to address these issues, we found them lacking the finesse and precision that true professionals demand. Determined to craft the ultimate tile leveling solution, we channeled our extensive industry experience and innovative spirit. The result is that our tile leveling system is the best one for you.
>>See Ultimate Guide of Tile Leveling System
FAQ about Tile Lippage
Is tile lippage normal?
Tile lippage is a normal occurrence in tile installations. But it should be minimized according to ANSI standards. For example, ANSI A108.02 suggests that for pressed floor and porcelain tiles of any size, with a grout joint width of 1/16 to less than 1/4 inch, the allowable lippage is 1/32 inch.
How to fix tile lippage?
- Inspect the Tiled Surface: Look for uneven tiles, gaps, or tilting.
- Gather Tools: You'll need a trowel, grinder, mortar, sponge, and brush.
- Identify Uneven Spots: Use a line marker to find high and low areas.
- Prepare the Surface: Clean it thoroughly to remove debris.
- Mix Mortar Evenly: Aim for a mashed potato-like consistency.
- Apply Thin-Set to Uneven Areas: Spread it uniformly.
- Place and Level Tiles: Use tile spacers for even placement; check with a level.
- Let Tiles Set: Wait 24 hours before grouting.
- Apply and Clean Grout: Use a float for grouting and a damp sponge for cleaning.
- Dry Grout: Allow 24-72 hours for grouting to set.
Why is 50% tile pattern not recommended?
A 50% tile offset pattern is generally not recommended, especially for larger, longer tiles (like 6x24" tiles or wood plank tiles). These tiles often have a slight bow due to their manufacturing process. When installed in a 50/50 offset pattern, where each tile is centered on the tile below it, this bowing becomes more pronounced.
The highest point of one tile aligns with the lowest point of the adjacent tile, creating an uneven surface or "lippage." This not only affects the floor's visual appeal but can also pose a tripping hazard, making the surface less safe.
To avoid these issues, it's better to opt for a staggered approach that limits the offset, such as a 1/3 or 1/4 offset pattern, which helps in minimizing lippage and ensures a more aesthetically pleasing and safer installation.
How do you check tile lippage?
- Use a Straightedge: Place a suitable length straightedge across the tiles.
- Employ a Feeler Gauge: Use a leaf-type feeler gauge to measure the gap at the widest location between the straightedge and tile.
- Apply Pressure: Press the gauge leaf down tightly to the tile while holding the straightedge snugly to the floor.
- Reference ANSI Standards: ANSI A108.02 defines lippage as variations in elevation between edges of adjacent tiles. Factors like tile thickness variation, warpage, spacing, lighting, and reflective surfaces affect lippage perception.
- Consider Tile Warpage: ANSI A137.1 standard specifies allowable warpage for different tile types. For paver tiles, warpage shouldn't exceed 1.0 percent along any edge or 0.75 percent on diagonals.
- Understand Lippage Calculation: Allowable lippage includes actual tile warpage plus the value from the standard table. It's important to note that allowable lippage isn't just the allowable warpage from the table.
Following these steps ensures a precise assessment of tile lippage, adhering to industry standards for a quality tile installation.


